7
MAINTENANCE
7-14
Note: Enter the check mark in [load Custom Hold Music] item on the [USB] screen. (p.5-109)
Note: If there is a folder whose name is the same with WAN side MAC address, and there is the “music” folder
inside, the audio files in the folder is loaded. In this case, the “music” folder in the root directory is ignored.
9. How to use the custom hold music
Prepare the hold music files and name them “music1.wav,” “music2.wav,” and “music3.wav.”
• Adjust the audio in level to appropriate, before copy them to a USB flash drive.
• Any other filename is not acceptable.
• Supported file formats.
CODEC Sampling Rates Bits Channels Container Format
Liner PCM 8 kHz 16-bit Monaural wav
G711 µ-law 8 kHz 8-bit Monaural (µ-law) wav
1
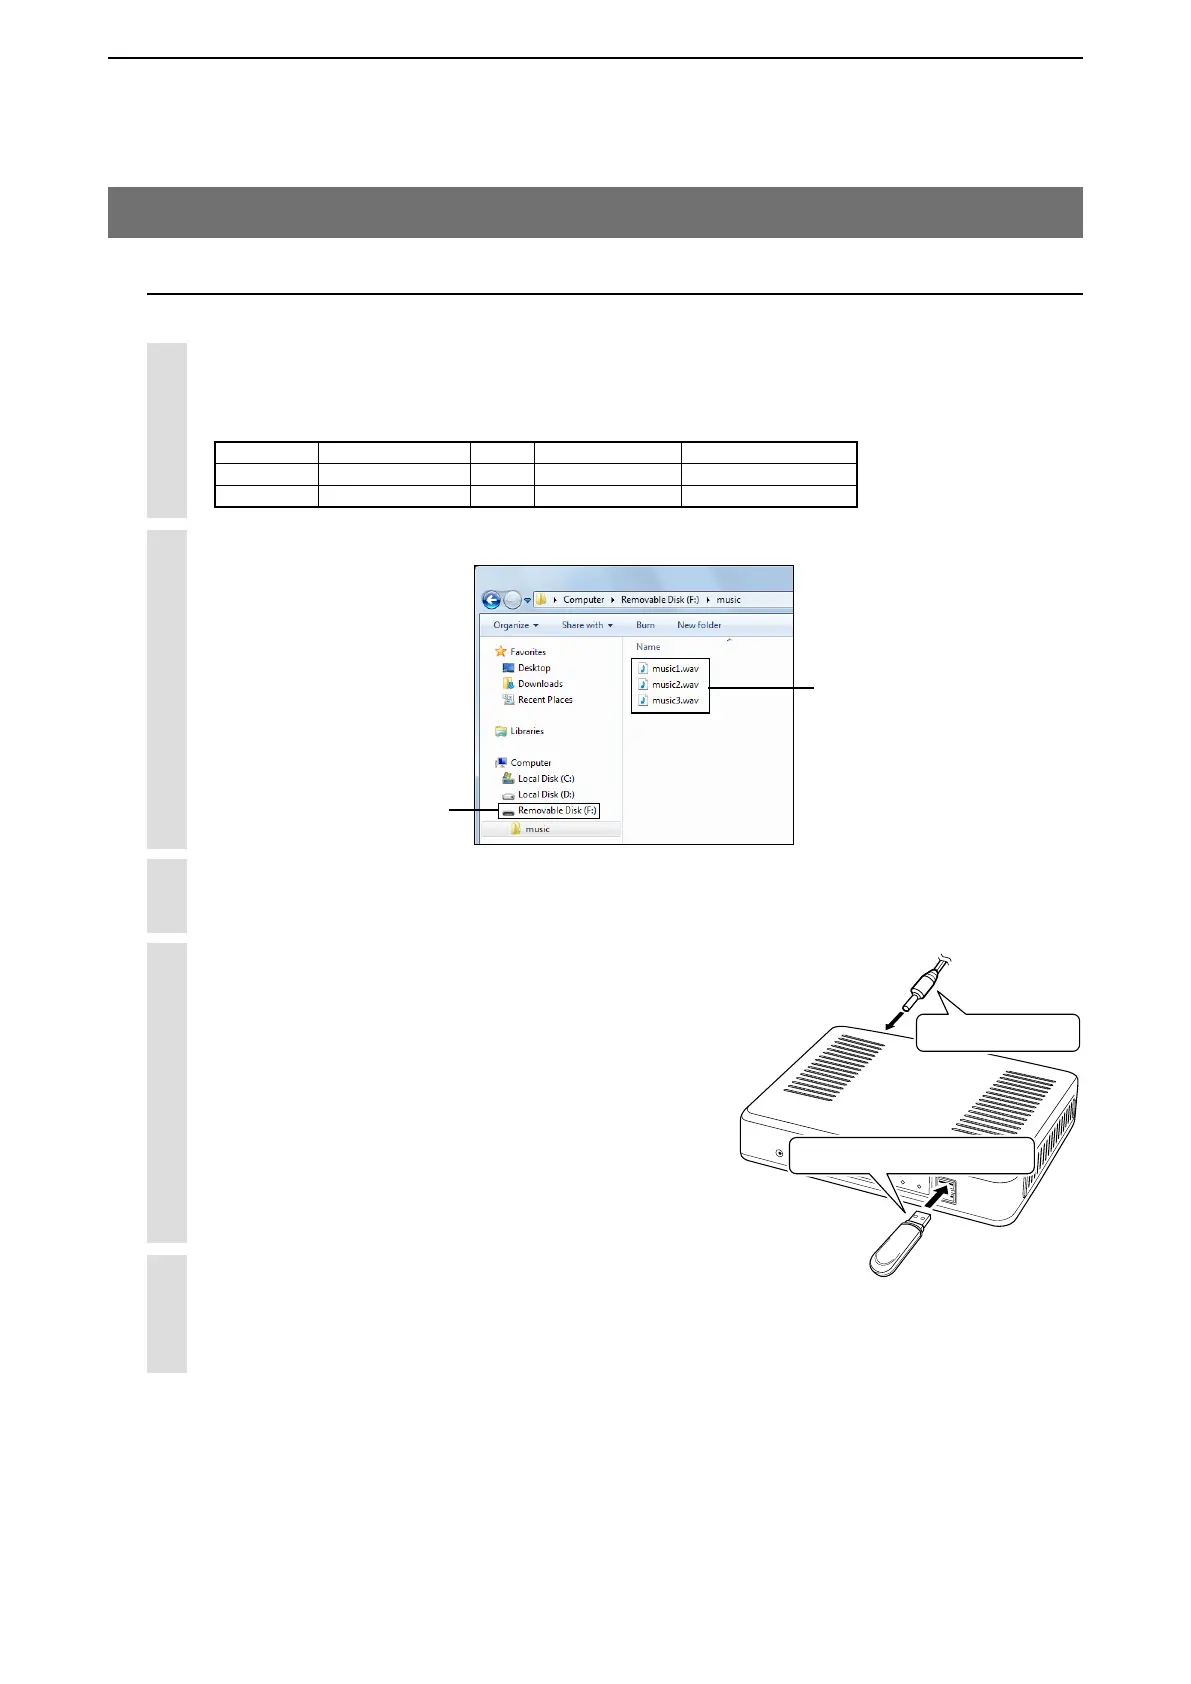
Create the folder named “music” in a USB flash drive, then copy the music files to the folder.
2
Insert the USB flash drive, which contains the music
files (“music1.wav”–“music3.wav”), to the [USB] port,
and then turn ON the power.
• While accessing the USB flash drive, [PWR/MSG]
blinks.
NOTE:
NEVER remove the USB flash drive, or turn
OFF the VE-PG3’s power while transferring
data. It will cause data corruption, or damage
the USB flash drive.
4
UPDATE
PWR/MSG
WAN
V/RoIP
D-TRX
TRX1
TRX2
EXT1
EXT2
w
Power ON
q
Insert the USB memory
Turn OFF the VE-PG3’s power.
NOTE: Turn OFF the power, before inserting the USB flash drive.
3
Select the music in the [Hold Music] item. (p.6-34)
• Item option and file name
Hold Music 1 = “music1.wav”
Hold Music 2 = “music2.wav”
Hold Music 3 = “music3.wav”
5
Using a music file as the custom hold music
Create the folder named
“music,” then copy the
music files to the folder.
Music files.