3.22
SEL-421 Relay Instruction Manual Date Code 20171021
Testing
Checking Relay Operation
Step 4. Upload the new settings to the SEL-421.
a. Click File > Send.
b. QuickSet prompts you for the settings class you want to send to
the relay, as shown in the Group Select dialog box of
Figure 3.15.
c. Click the check box for Group 1.
d. Click OK.
QuickSet responds with a dialog box similar to the second dialog
box of Figure 3.15.
If you see no error message, the new settings are loaded in the
relay.
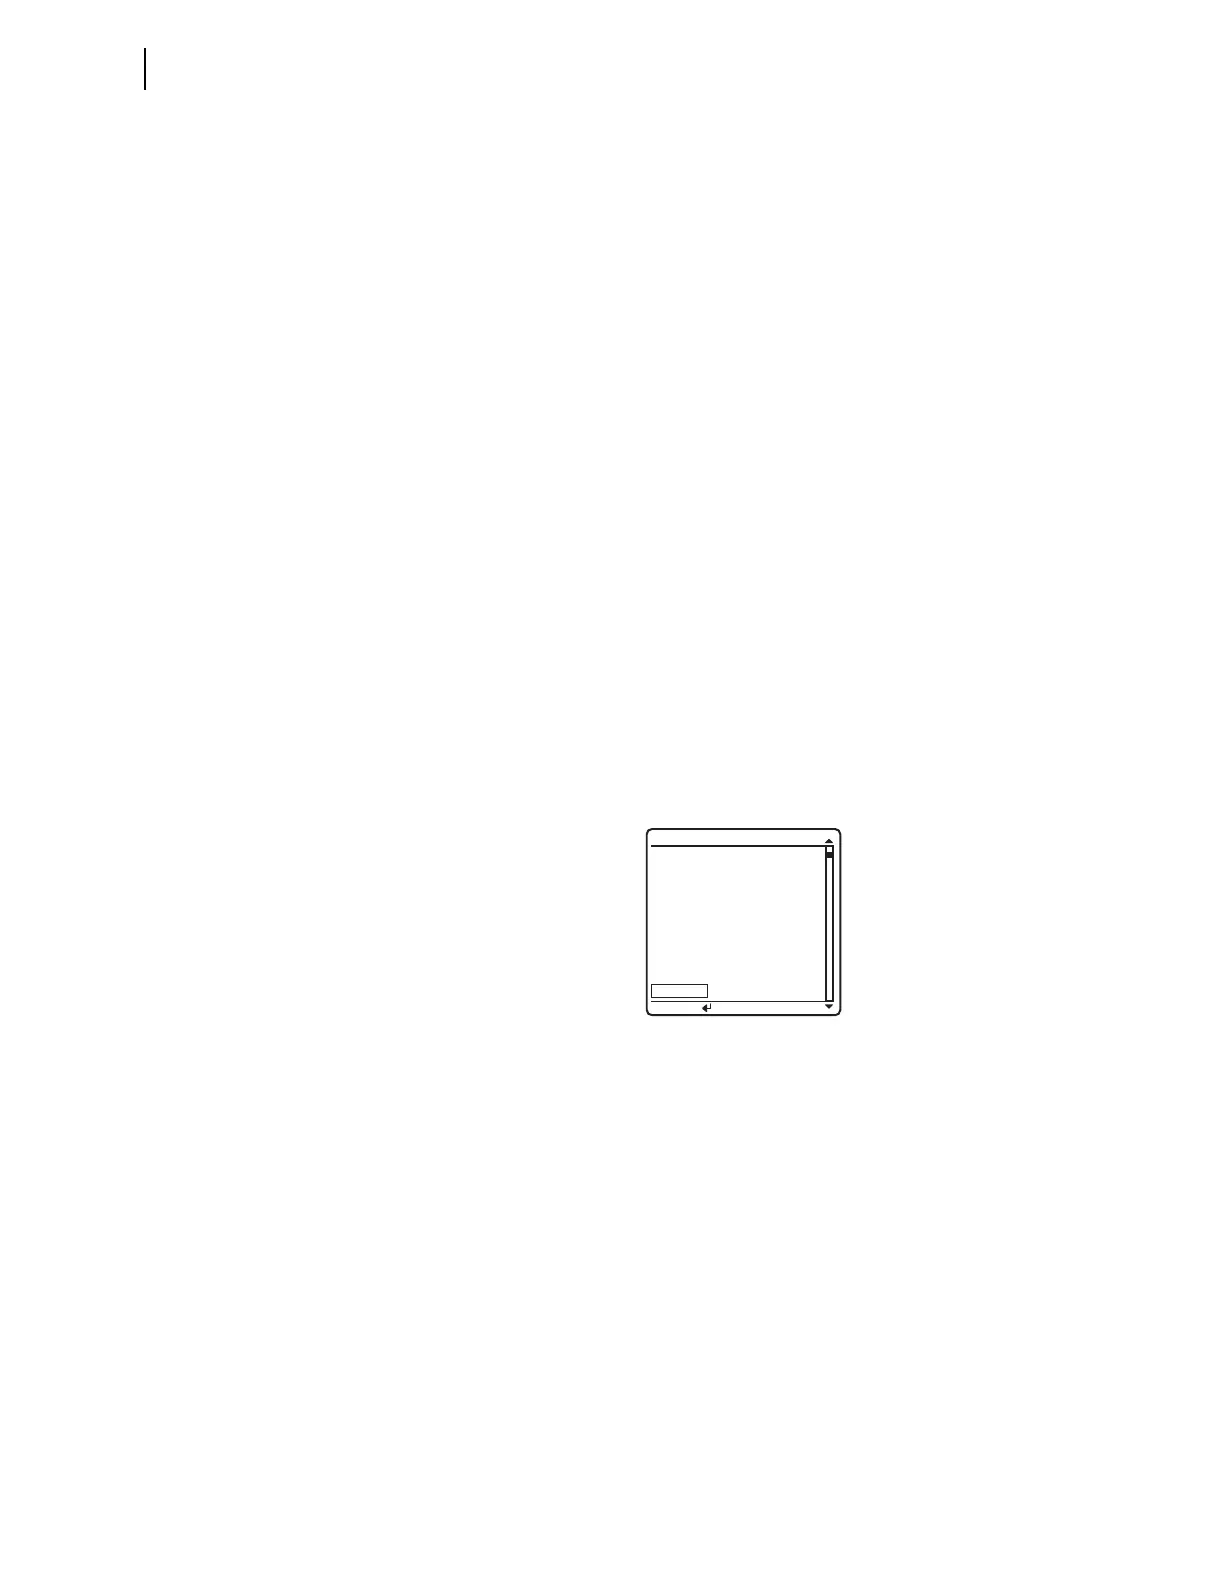
Step 5. Display the MBC2 Relay Word bit on the front-panel LCD screen.
a. Access the front-panel LCD
MAIN MENU.
b. Highlight
RELAY ELEMENTS and press ENT.
c. You will see a
RELAY ELEMENTS screen with SEARCH highlighted
at the bottom of the screen.
d. Press ENT to go to the
ELEMENT SEARCH submenu shown in
Figure 3.9.
e. Use the navigation keys to highlight
M and press ENT to enter
character in the text input field.
f. Enter the
B, C, and 2 characters in like manner.
g. Highlight
ACCEPT and press ENT.
The relay displays the LCD screen containing the MBC2
element, as shown in Figure 3.19.
Step 6. Set the magnitudes and angles of the test signals for a B-Phase-to-
C-phase fault.
a. Connect the test sources (with power off) to the relay, as in
Figure 3.6.
This connection is a B-Phase-to-C-Phase fault where I
A
0 and
I
B
= –I
C
.
b. Adjust the voltage sources to provide the following test voltages:
V
A
= 67 V 0°, V
B
= 46.8 V –150°, and V
C
= 46.8 V 150°.
c. Set the current source for I
B
= 0.0 A –174°.
Figure 3.19 RELAY ELEMENTS LCD Screen Containing Element MBC2
PRESS to search
RELAY ELEMENTS
SEARCH
ROW 8 ROW 9
* =0 * =0
MCA2 =0 MCA4 =0
MBC2 =0 MBC4 =0
MAB2 =0 MAB4 =0
* =0 * =0
MCA1 =0 MCA3 =0
MBC1 =0 MBC3 =0
MAB1 =0 MAB3 =0