414
7 Repairing the knitting machine
Replacing parts
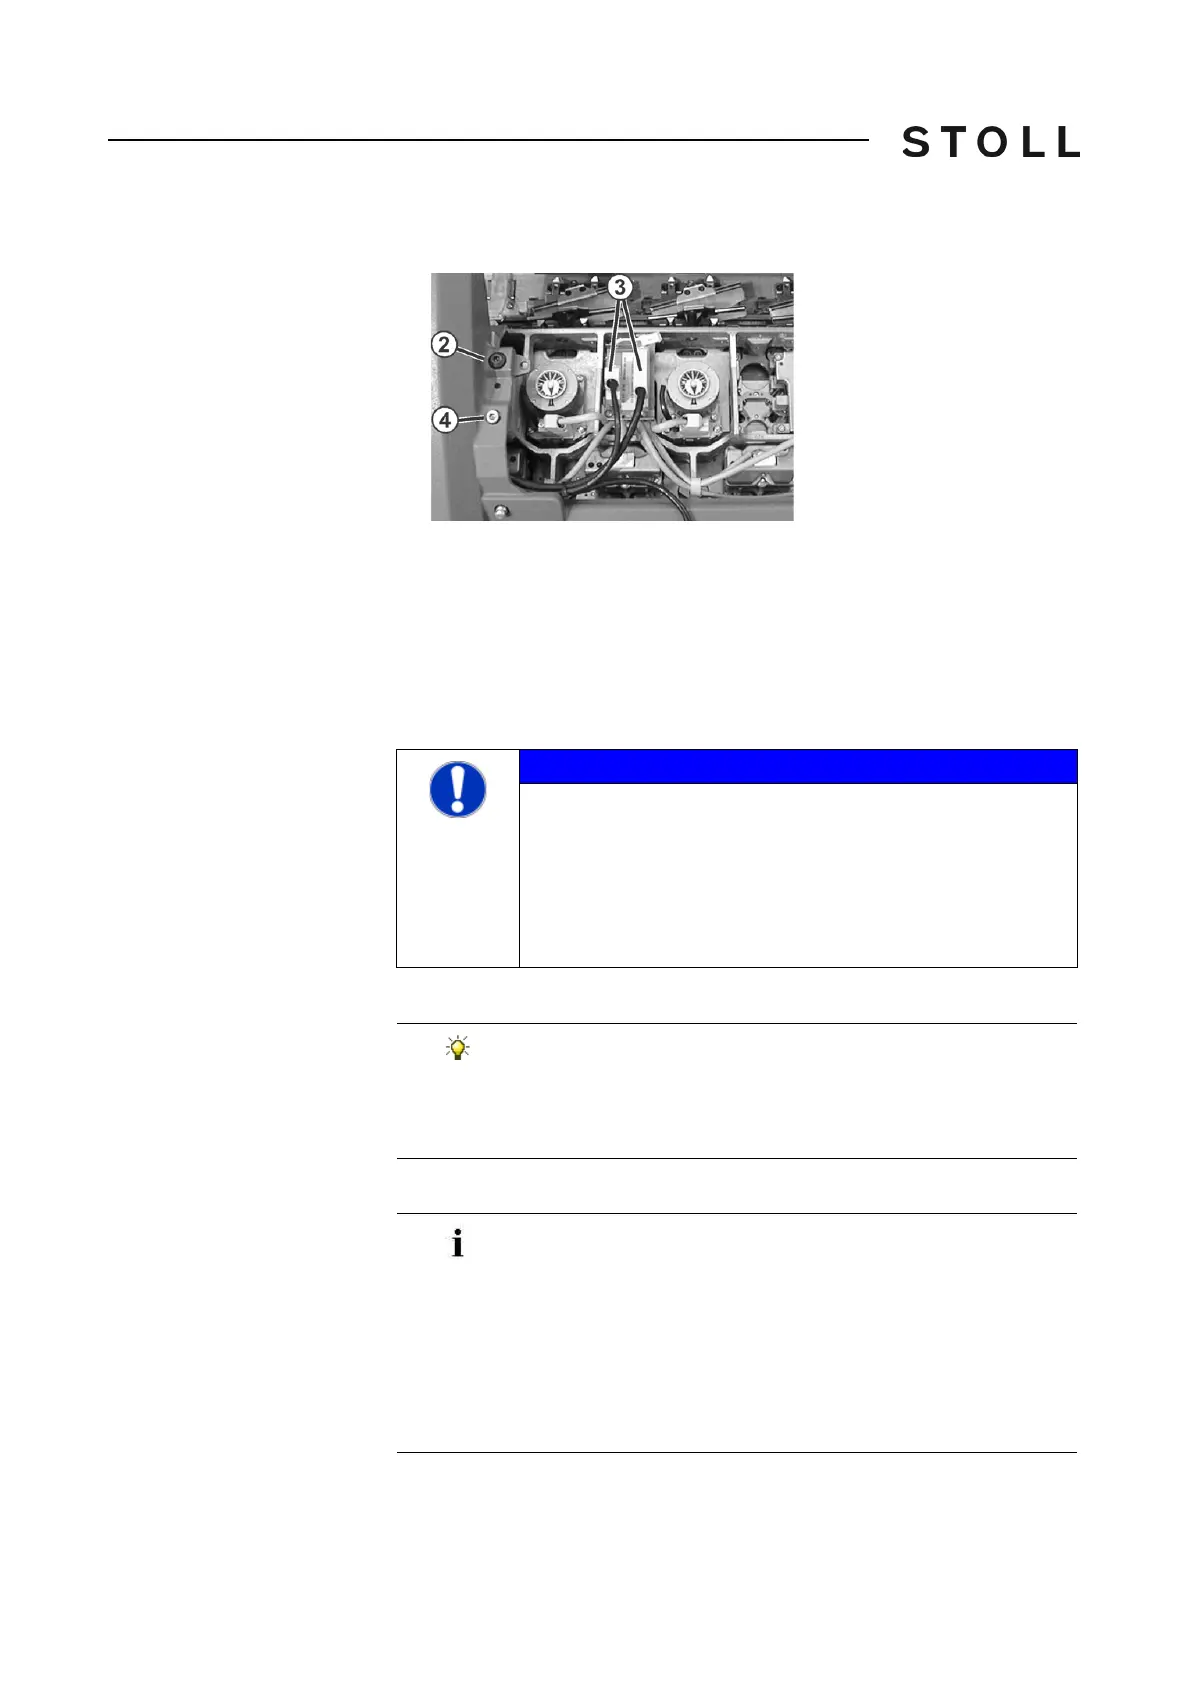
14. Loosen the screws on the plugs (3) and pull out the plugs.
Opened carriage assembly
Opened carriage assembly
15. To lower the carriage part again, loosen the shoulder screws (2) and
screws (4) on the left and right-hand sides.
16. Remove the shoulder screws (2) and screws (4).
17. To release the drive brake, tap the "Rel. drive brake" key.
("Main menu" -> "Manual interventions
service" window, "Release driv
e
brake" key)
18. Push away the carri
age assembly.
19. Lift carriage part from needle bed.
20. Check the carriage part and the needle bed.
NOTICE
Damage to needles and knitting system!
There are still needles in the knitting system. If the
direction is
changed when moving the carriage assembly, the needles and
knitting system will be damaged.
➜ Never
change the pushing direction o
f the carriage
assembly.
If the carriage assembly is blocked:
The drive brake has automatically closed.
➜ Release the drive brake again and continue
pushing the
carriage assembly in the original direction.
With CMS 520 C, CMS 830 C there is a danger of the selection
jacks being damaged if the carriage part is lifted off directly
from the needle bed.
The reason for this: The carriage part engages under the upper
end
of the
selection jacks.
➜ Lift the carriage part in the directio
n of the "Yarn carrier
rods".
➜ Lift carriage part from needle bed.