429
Repairing the knitting machine 7
Replacing parts
8. Check the adjustment the yarn carrier.
Further information:
Symbols in this document [16]
Intarsia yarn carrier * [36]
Adjusting intarsia yarn ca
rrier
(type 1) * [225]
Adjusting intarsia yarn carriers
(type 2) * [226]
Replacing yarn control unit
7.3.18 Replacing yarn control unit
Dismantling a yarn control unit
Dismantling a yarn control unit
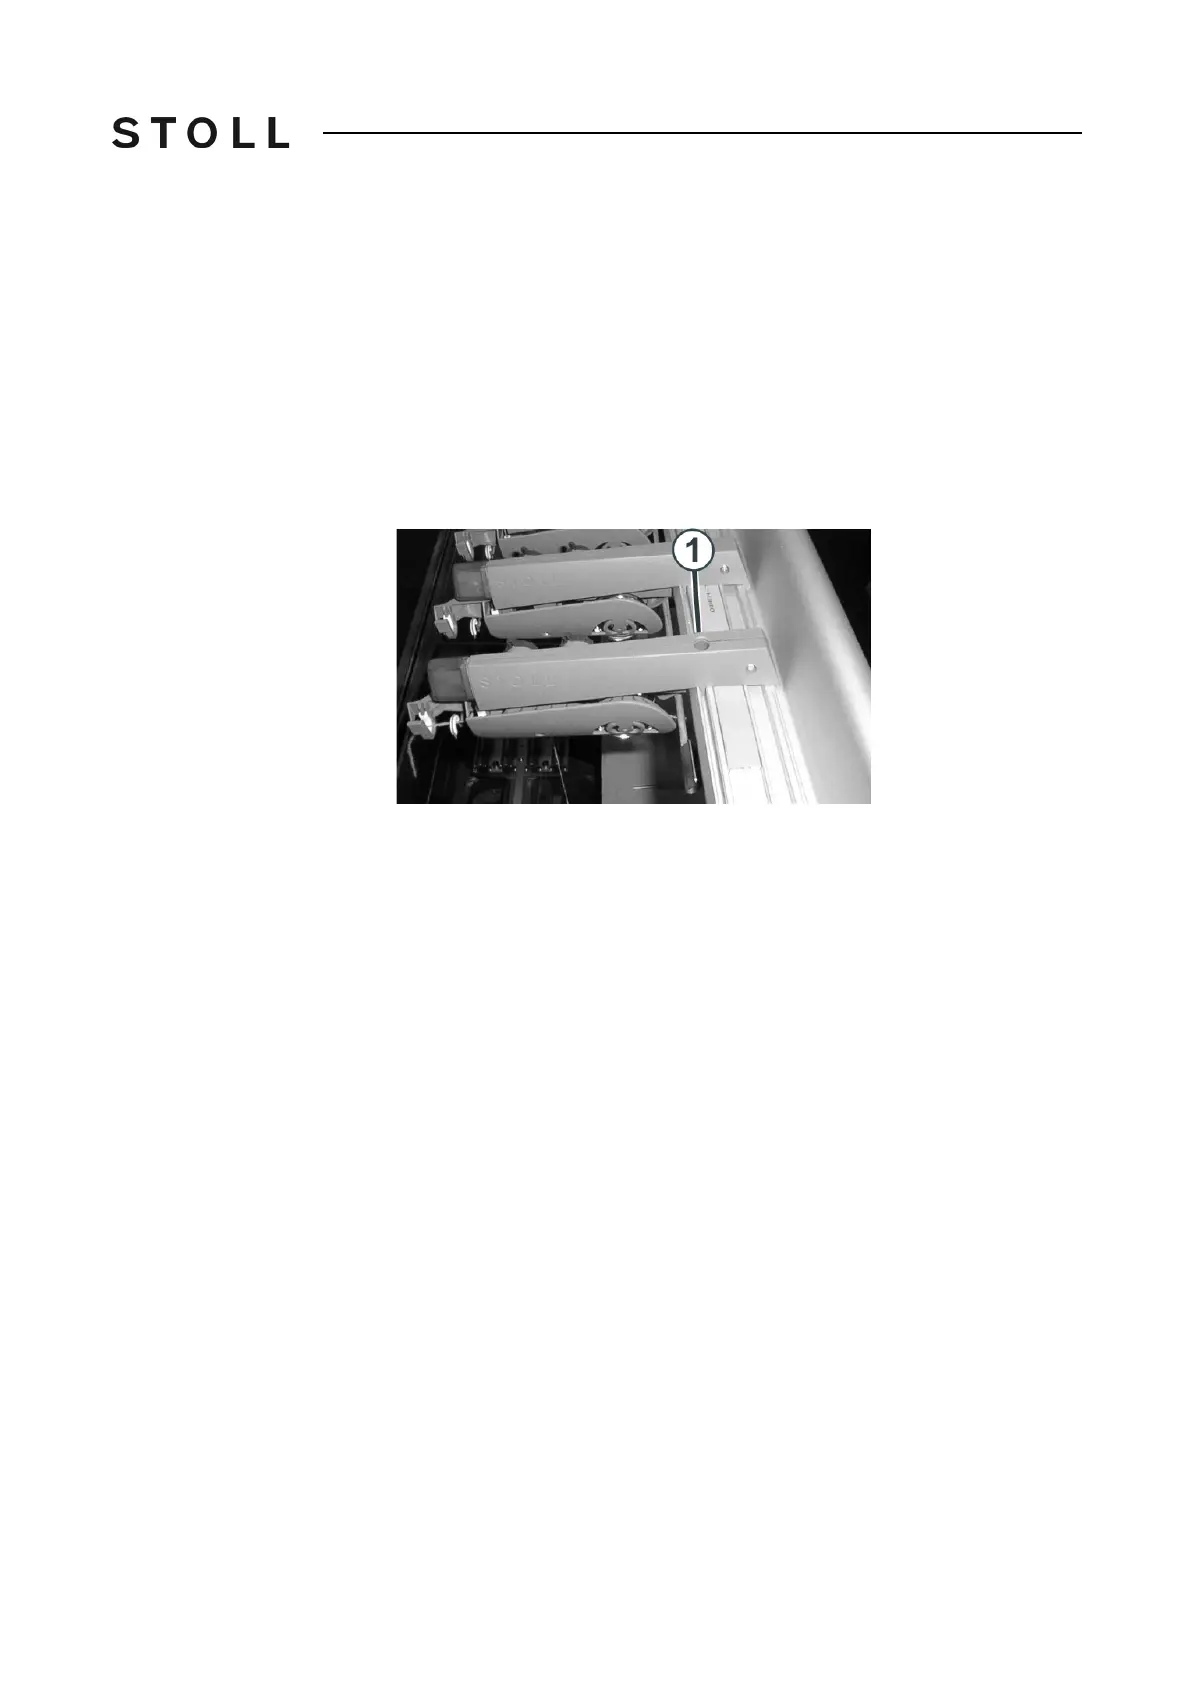
1. Mark the position of the old yarn control unit.
2. Remove the screw (1).
3. Lift the yarn control unit at the front until the contact pins ar
e free. Push the
yarn control unit to the rear and remove it.
4. Mount the new yarn control device exactly at the position (marking)
of the
old yarn control device.
- or -
➜ Mount an additional yarn control unit at a distance of 90 mm (minimum 75
mm)
from the next yarn control unit.
5. Hook in the new yarn control unit in the rear guide rail. Pull the yar
n control
unit to the front and press it downwards simultaneously.
6. Pull the yarn control unit to the front and screw it tightly with the sc
rew (1).
CMS 502 HP+ 1. Mark the position of the old yarn control unit.