417
Repairing the knitting machine 7
Replacing parts
Keys for assembling carriage part and carriage assembly
Keys for assembling carriage part and carriage assembly
1. Switch on 40 V power supply.
2. Call up "Manual interventions" window.
3. To release the drive brake, tap the "Rel. drive b
rake" key.
4. Push the carriage assembly directly over the
carriage part.
5. Switch off 40 V power
supply.
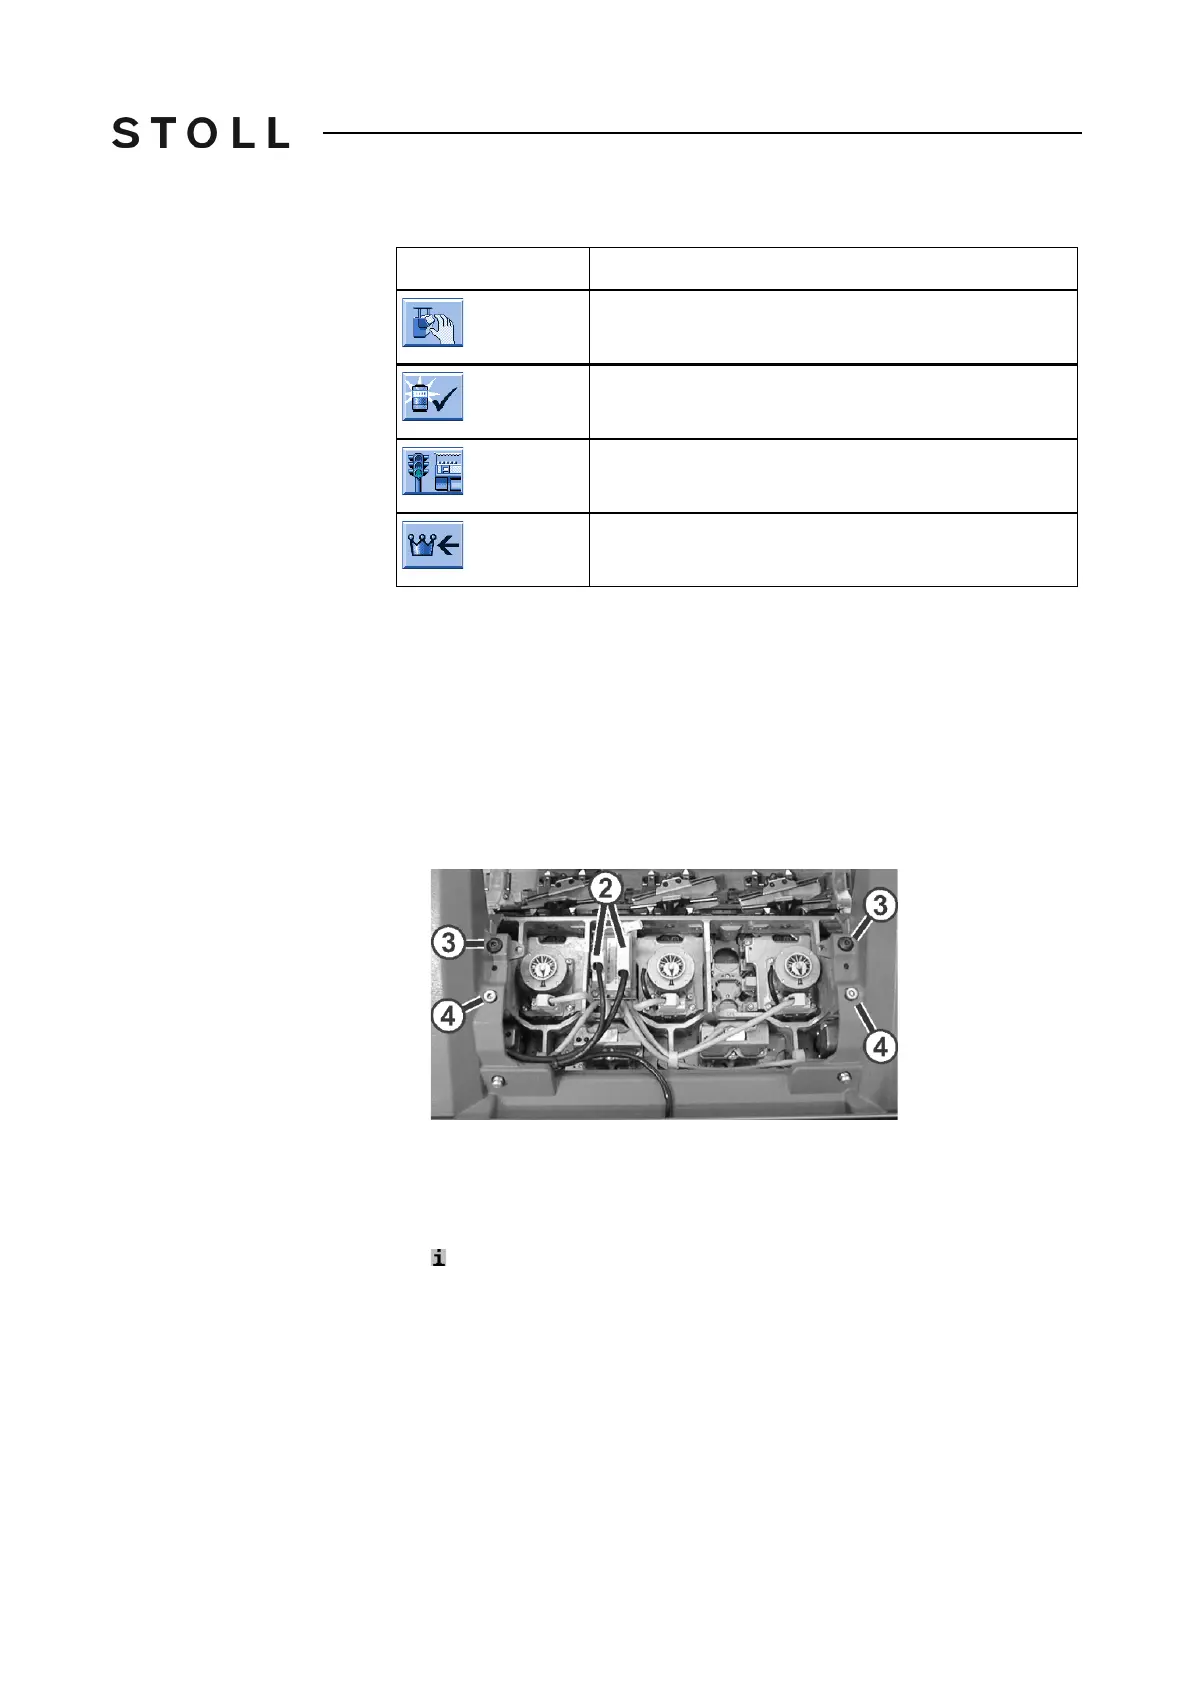
6. Screw in the shoulder screws (3) until the carriage assembly is raised
somewh
at.
Fastening carriage assembly on carriage part
Fastening carriage assembly on carriage part
7. Swivel the left and right swiveling plates outward below the carriage
assembly.
8. Tighten both shoulder screws (3) fo
r fastening the carriage assembly.
Assembly of the rear carriage part: pull the upper area
of the carriage
part (needle brushes) away from the needle bed to ensure that the
shoulde
r screw does not cant.
9. Tighten screws (4) evenly.
10. Plug in the plugs (2) while watching the plug coding.
11. Tighten the safety screws on the p
lugs.
Key
Function
Call up "Manual interventions" window
Confirm the repair
Call up "Machine start" window
Call up "Main menu"