X35 ConsoleGeneral Operations
8.16
3. Prime the metering augers (fill each metering
auger with product):
a. Go to the air seeder tank.
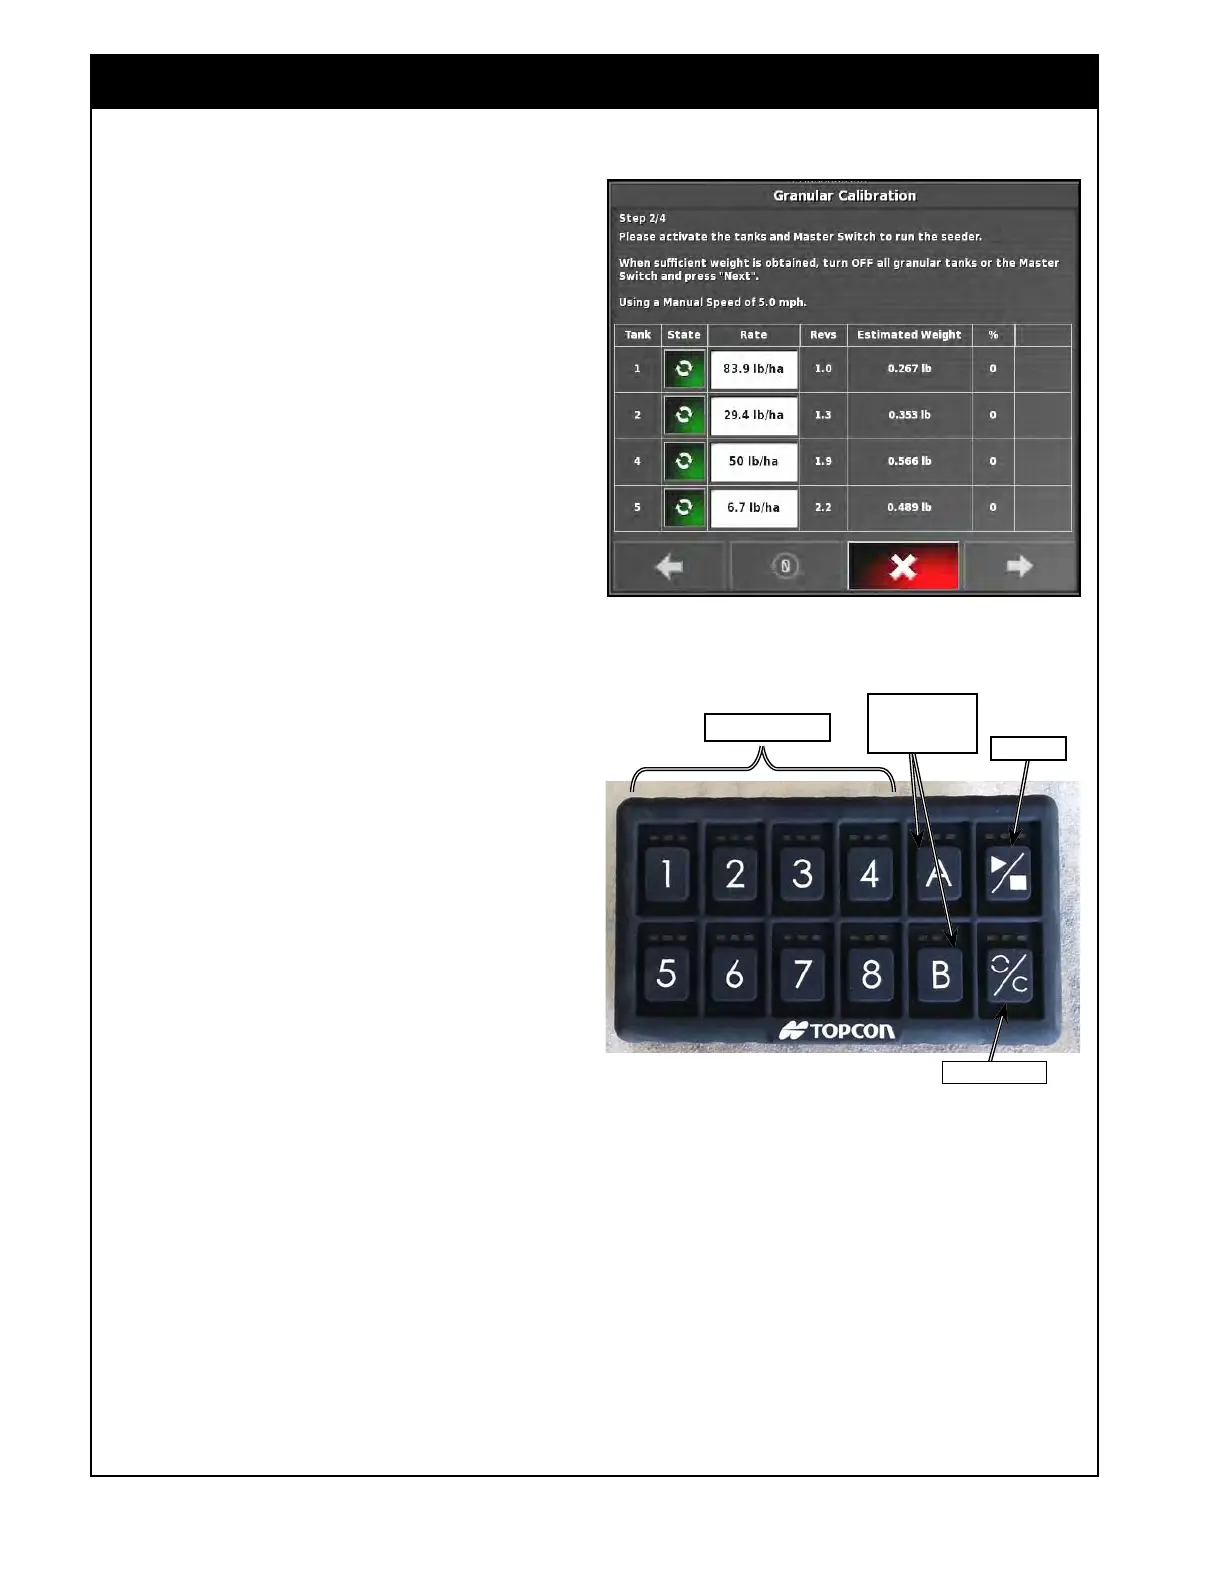
i. Locate the tank mounted remote
calibration keypad.
ii. If the calibration keypad is disabled,
the buttons on the screen can be
used.
b. Press the tank button on the in-cab
keypad to turn on the tanks that are to be
calibrated.
i.
This will also activate the
corresponding tanks on the
calibration screen (the state button
will turn green, refer to Figure 8.28).
c.
Set the calibration pails under each
metering auger, that is being calibrated.
d.
Turn on the Master Switch, to run the
meters until all are primed/filled.
i. While
priming, the shaft revolutions
and weight will be accumulated.
Refer to Figure 8.28.
e. Turn the Master Switch OFF.
f.
Hold the PRIME/RESET button until the
green lights flashes.
i. This will reset the pulses,
accumulated auger shafts revolutions
and expected weight to "0" in the
X35 console, preparing for actual
calibration.
Important
It is very important to get a complete reset of
the calibration screen before continuing the
calibration. Always hold PRIME/RESET button
until the green lights flashes. The LED on the
Reset button will be amber when there are pulses
on the calibration screen and will turn red once
they are reset to zero.
g.
Empty the buckets and set back in place.
The system is now ready to start calibration.
Figure 8.28 - Revolutions/Weight Accumulated
Figure 8.29 - Keypad - Buttons
Tank Buttons
Customizable
Buttons
Master
prime/reset
Note
Buttons for the disabled tanks will have no lights.