19B-15
EXHAUST
Catalytic converter: Removal - Refitting
K4M, and 4X2 TRANSMISSION
19B
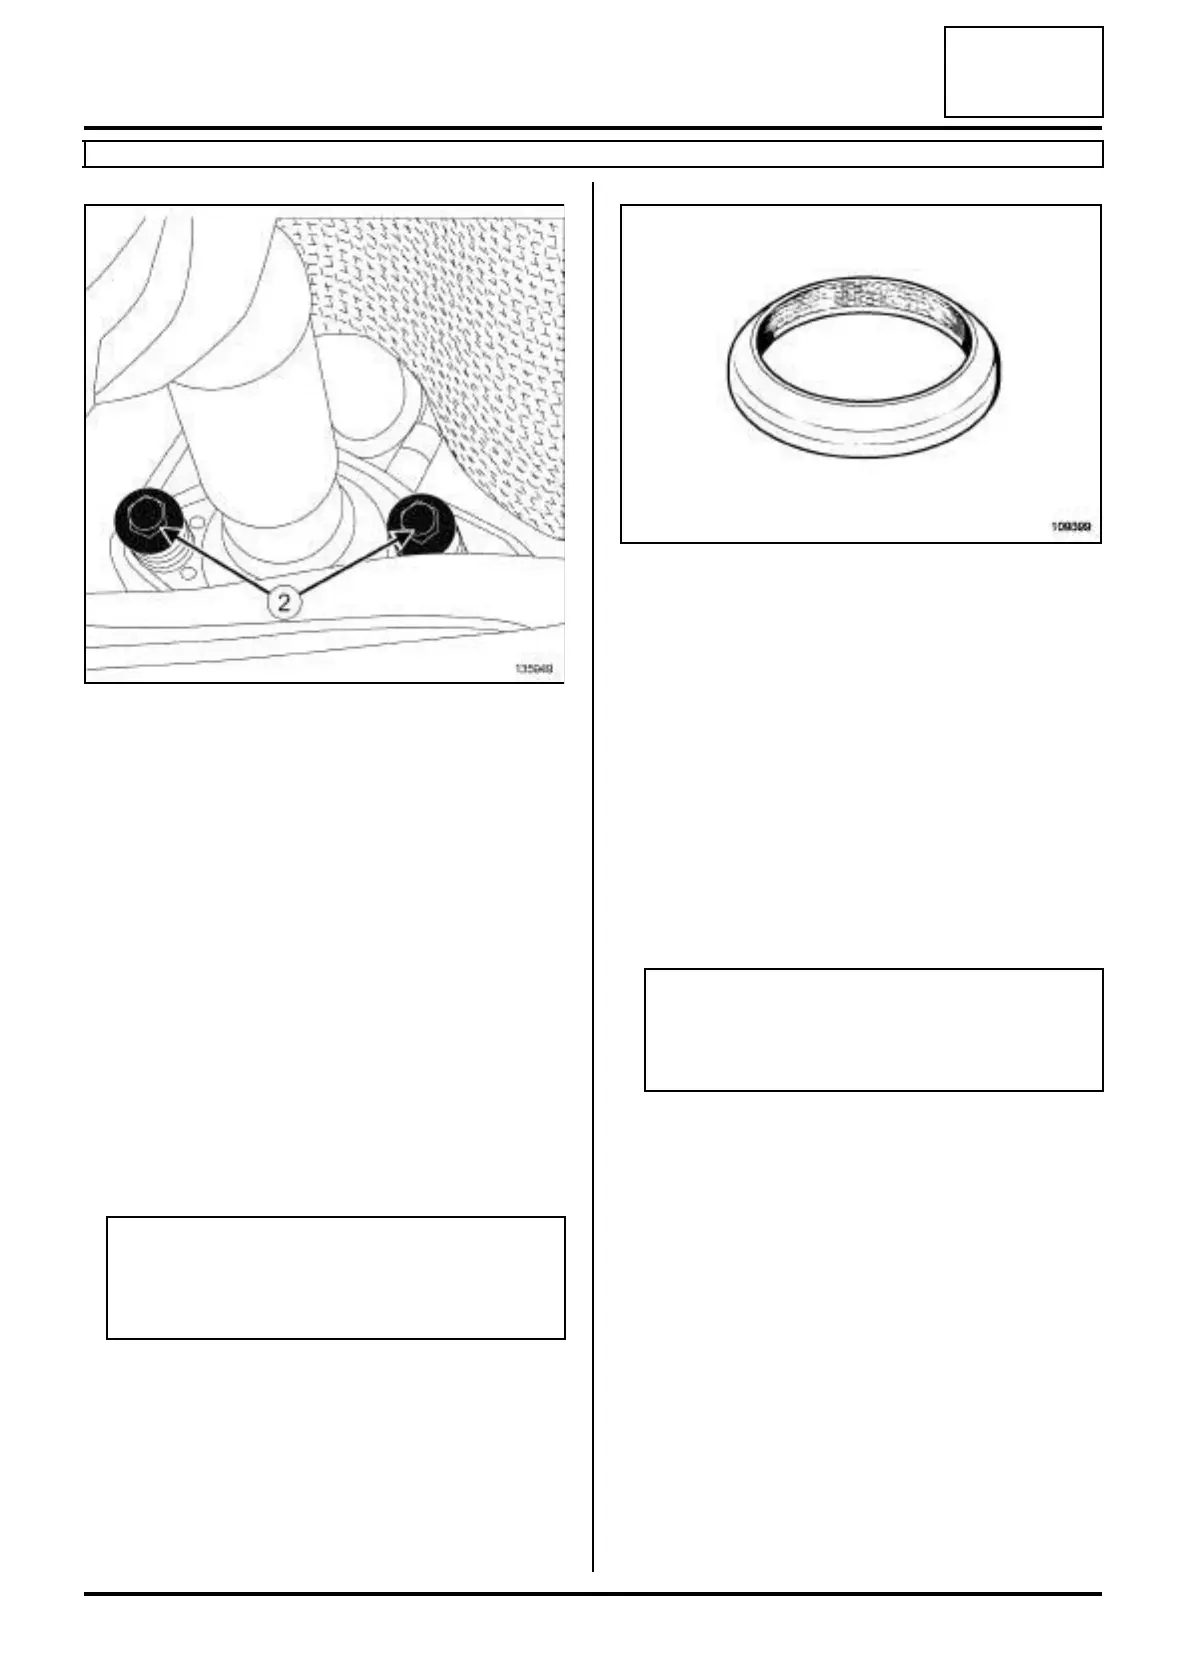
a Remove:
-the exhaust flange bolts (2) ,
-the catalytic converter,
-the exhaust flange ring.
IF REPLACING THE CATALYTIC CONVERTER
a Remove the downstream oxygen sensor on the cat-
alytic converter (see ) .
REFITTING
I - REFITTING PREPARATION OPERATION
a
a Clean the bearing faces of the catalytic converter us-
ing ABRASIVE PADS (see Vehicle: Parts and
consumables for the repair) (04B, Consumables -
Products).
a Degrease the bearing faces of the catalytic convert-
er using SURFACE CLEANER and clean cloths
(see Vehicle: Parts and consumables for the re-
pair) (04B, Consumables - Products).
a parts always to be replaced: ring between ex-
haust manifold and catalytic converter
II - REFITTING OPERATION
a Refit:
- the downstream oxygen sensor (if replacing the
catalytic converter),
- the catalytic converter.
a Fit a new After-Sales sleeve between the catalytic
converter and the expansion chamber (see 19B, Ex-
haust, Exhaust: Precautions for the repair, page
19B-6) .
a Tighten the sleeve bolt while guiding the exhaust
pipe to ensure correct alignment.
a Torque tighten:
- the bolt of the exhaust flange (21 N.m),
- the oxygen sensor (45 N.m).
III - FINAL OPERATION
a Connect the battery (see Battery: Removal - Refit-
ting) (80A, Battery).
a Check:
- that all the exhaust pipe heat shields are in place
and properly attached,
- that there is no contact with the underbody.
a Start the vehicle.
135949
WARNING
To ensure proper sealing, the gasket surfaces
must be clean, dry and not greasy (avoid any fin-
ger marks).
109399
IMPORTANT
Position the « nut and bolt securing the sleeve »
assembly so that the assembly cannot come into
contact with the underbody.