X35 Console General Operations
8.21
i. Empty the buckets and set back in place.
j. The system is now ready for calibration.
5. Calibrate the metering augers:
a.
Make sure that the respective tank buttons
are ON as previously selected for priming
the meters, for all tanks to be calibrated.
b. Turn the Master Switch ON to start the
calibration.
c.
As the calibration pails get full, use the
tank buttons to turn OFF those meters,
allowing others to keep filling, You can
also switch off all tanks using the master
switch.
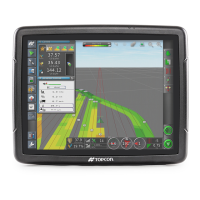
i.
During the calibration, the auger
shaft revolutions and expected
weight will be accumulated on the
X35 console for each meter, refer to
Figure 8.39.
Important
Collect a minimum 20 lb (9 kg) sample for each
metering auger being calibrated. The larger the
sample the more accurate the calibration.
Note
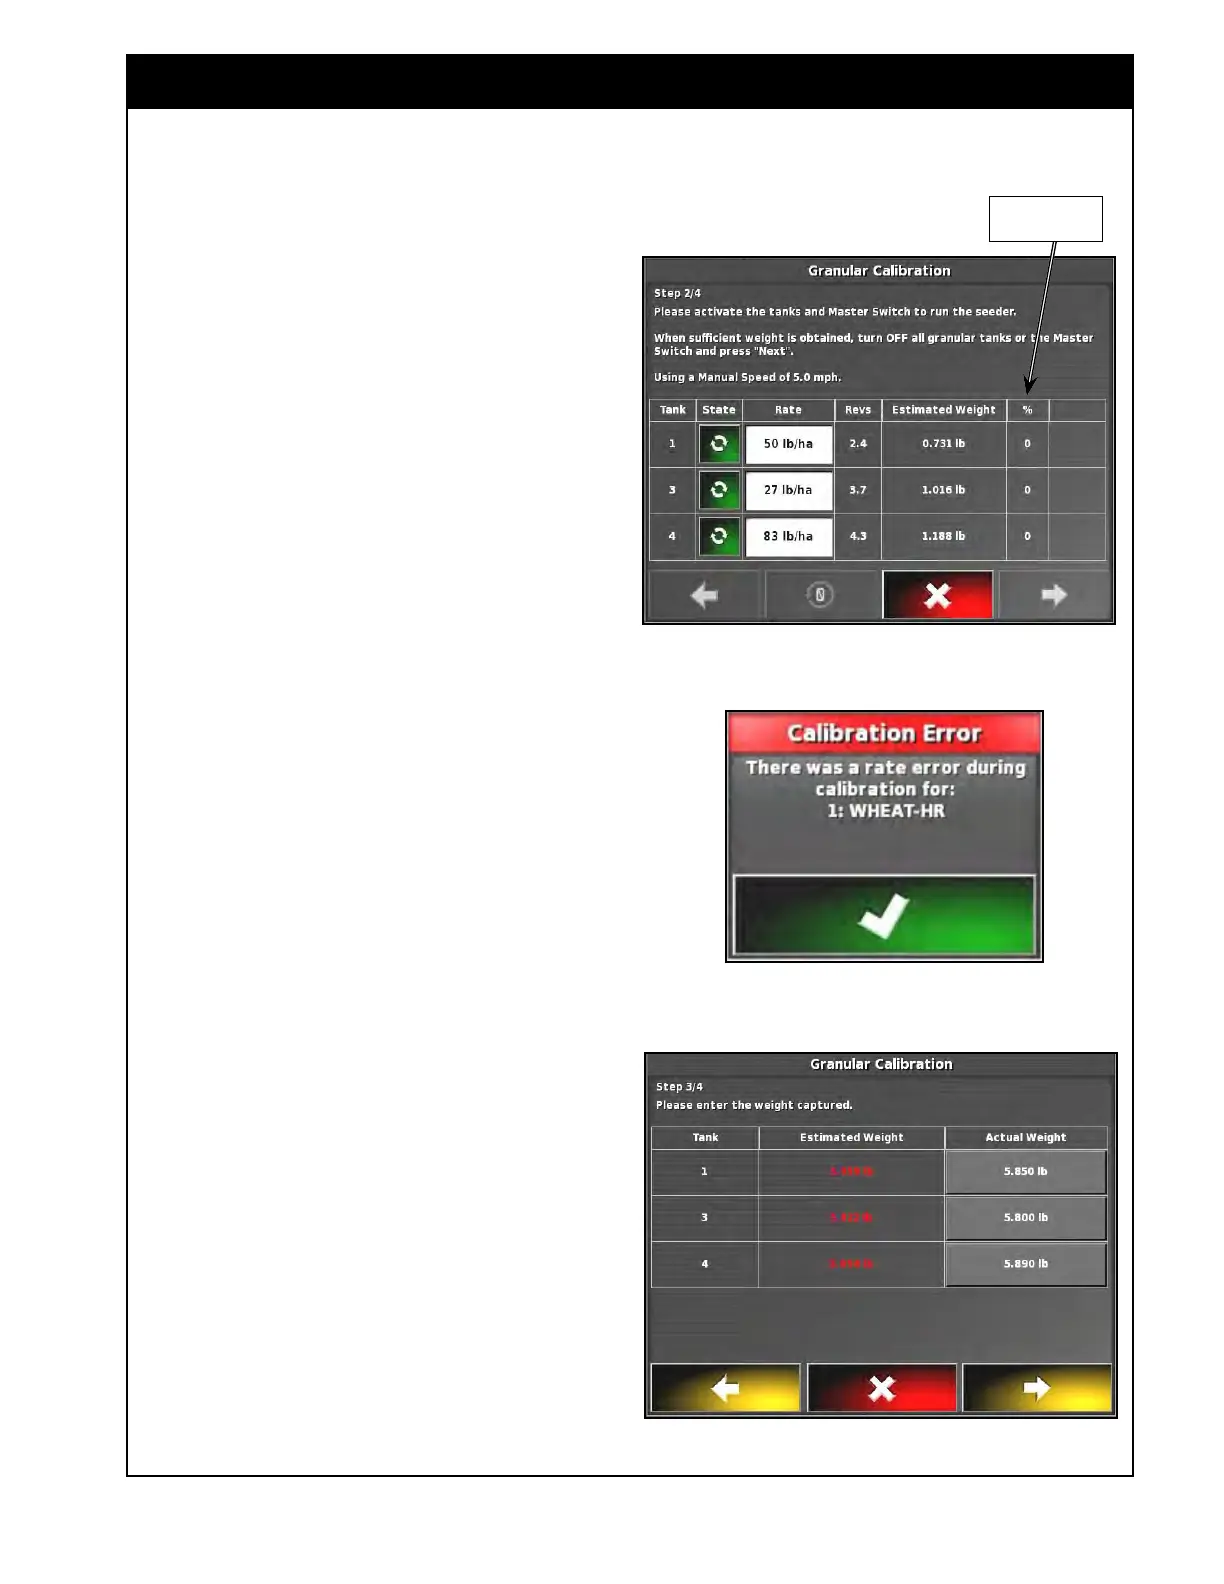
If during calibration any of the activated actuators
are in a position setting less than 5 or greater
than 95 (refer to Figure 8.39) the Calibration Error
alarm will pop up, refer to Figure 8.40. You will not
be able to achieve your requested rate.
Select a metering drive range that allows the
actuator position to be in the 5-95 transmission
setting range and recalibrate. The Calibration
Error alarm will also appear if the requested rate
was not maintained during calibration or if you
stop and restart a meter during calibration. If you
ignore the alarm, the estimated weight will be
highlighted red for tanks that had an error.
6. Turn the Master Switch OFF.
Actuator Position
Figure 8.39 - Calibrating
Figure 8.41 - Entering Weights
Figure 8.40 - Calibration Error