10. Installing user software in a Windows 2000 environment
Xerox Phaser 790
10–14
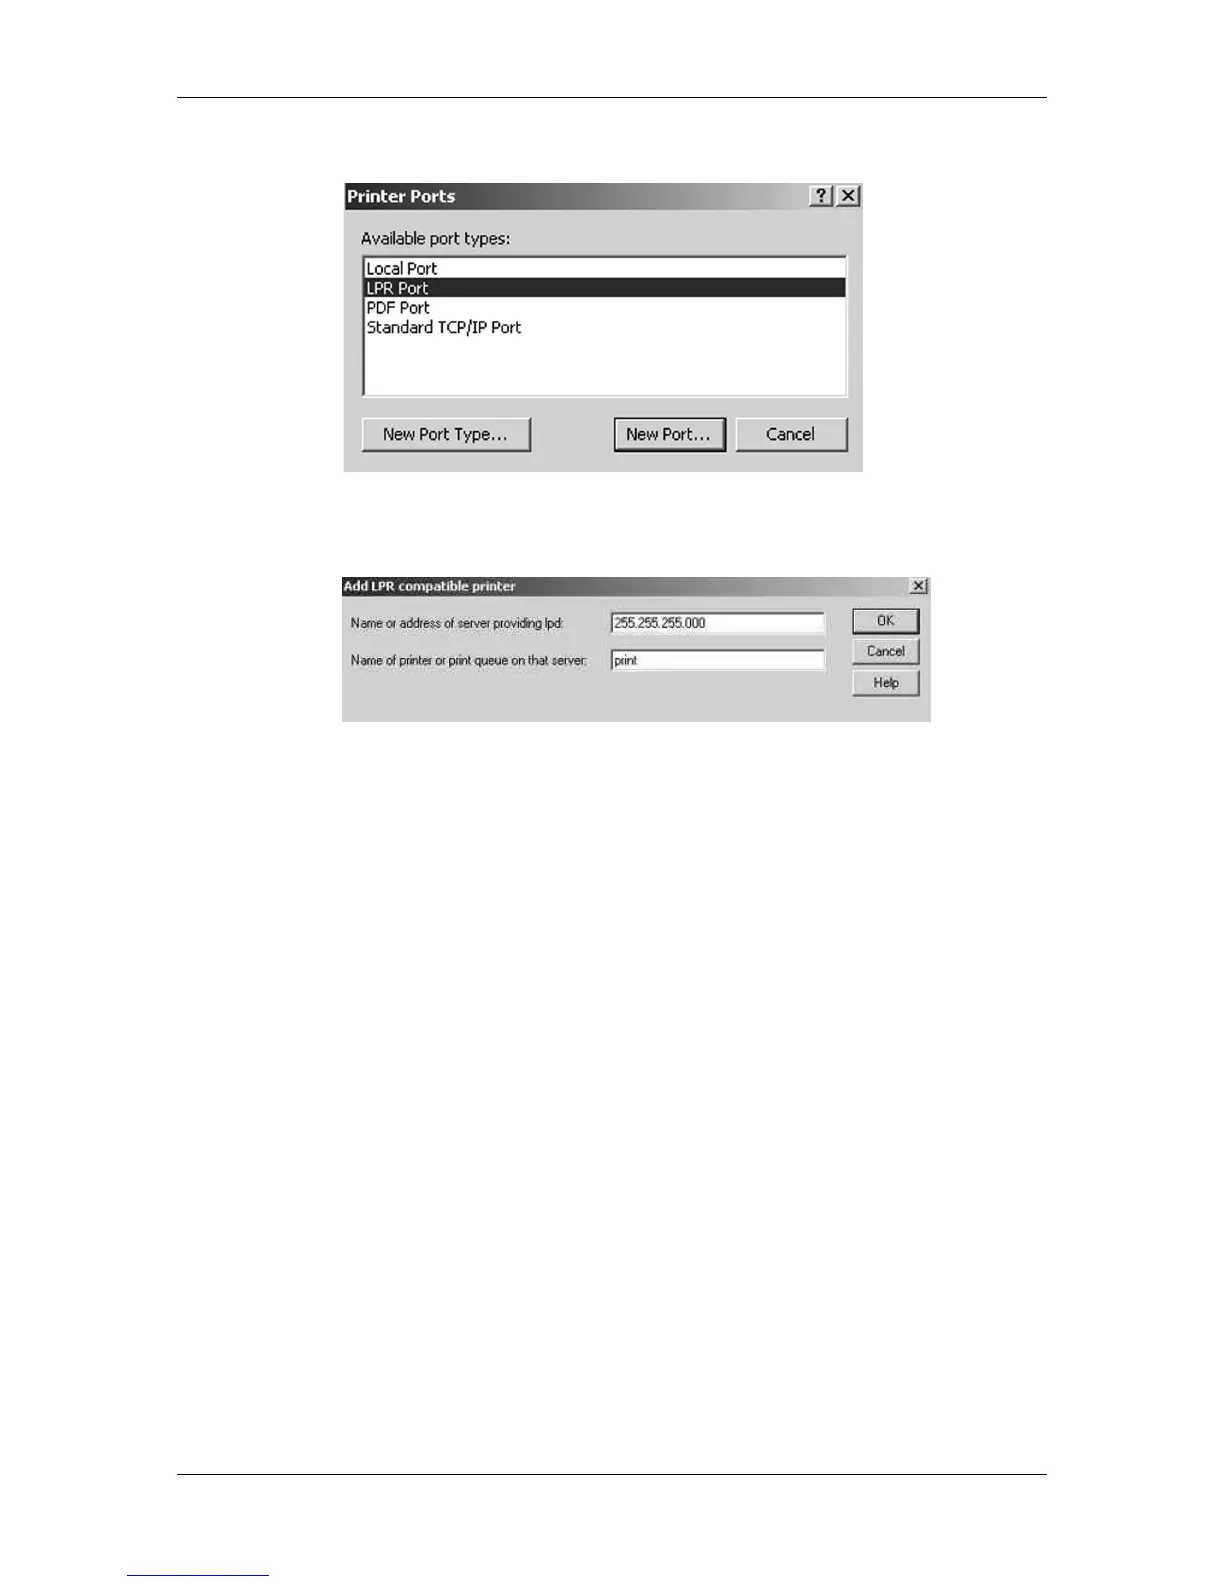
4. Select the LPR Port option and select the New Port button.
5. In the Name or address of server providing lpd field, enter the
Ethernet TCP/IP IP address or Domain Name Services (DNS)
name assigned to the Phaser 790 printer.
6. In the Name of Printer or print queue on that server field, enter
one of the names listed below in lowercase letters:
• print (generally used)
• hold
• direct
7. Select OK. The workstation checks the address or DNS name
that you entered and notifies you if it cannot resolve the address.
8. Select Close in the Printer Ports dialog box. The Ports property
tab show the new port configuration.
9. To confirm the connection, print a test page. Select the General
tab and select the Print Test Page button.
When you print, your files are transmitted over the LPR Port
connection to the printer. With setup complete, you are ready to
print your jobs.
10. Select Close to exit the Printer Properties dialog box.