16. Introduction to the Command WorkStation
Xerox Phaser 790
16–6
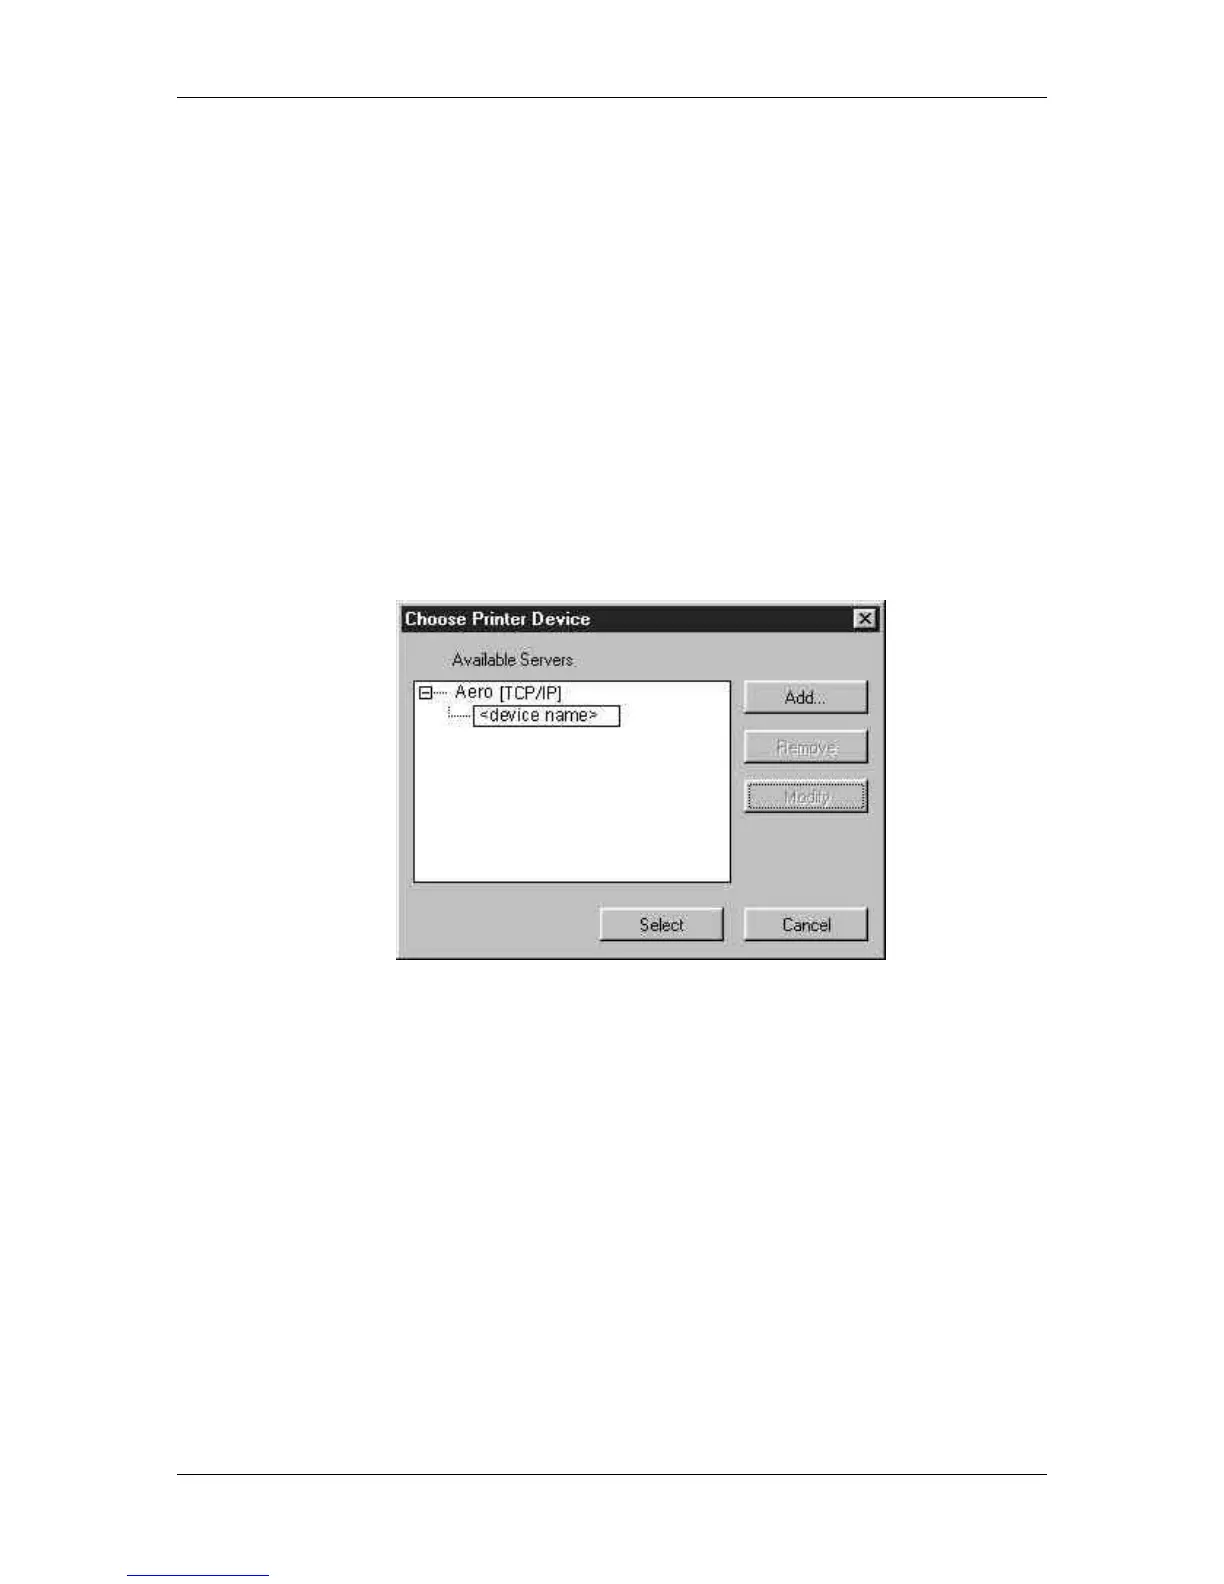
a. Select Add.
b. Enter the printer name in the Nickname field.
c. Select the communication type (TCP/IP, IPX, PIPE)
from the Protocol drop-down menu.
d. Enter the IP address for the printer in the Server Name
field.
e. Select the Add button.
f. Ensure that Phaser 790 is displayed in the New Device
field.
g. Select OK.
• If the Command WorkStation was previously connected to a
server, you are prompted to select a Phaser 790 from the list
of servers.
2. With the printer name (Phaser 790) highlighted, select OK. If the
device name is not displayed, select the plus sign (+) to expand
the printer entry.
The Command WorkStation connects to the server and you are
prompted to select a login level and enter a password to log in
(see the next section). If you have any difficulties connecting to
the server, refer to the Problem solving chapter for error
messages and troubleshooting information.