genesys ensemble/genesys grand ensemble
Page 144
Pressing PART again will return you to the settings for the
other eight channels. At the bottom of this screen you can
see part 8. This is the main sound on the keyboard in FULL
mode or the main right-hand sound when the keyboard is
in any of the split modes. Parts 7-3 are supplementary
sounds which may be added to part 8. Only those parts not
showing the mute icon are in use at this time.
Select any part by pressing the button to the left of its
name. After the name of the sound you will see, on the
left, the MIDI IN port, (A or B) and channel and, on the
right, the MIDI OUT port and channel for this part.
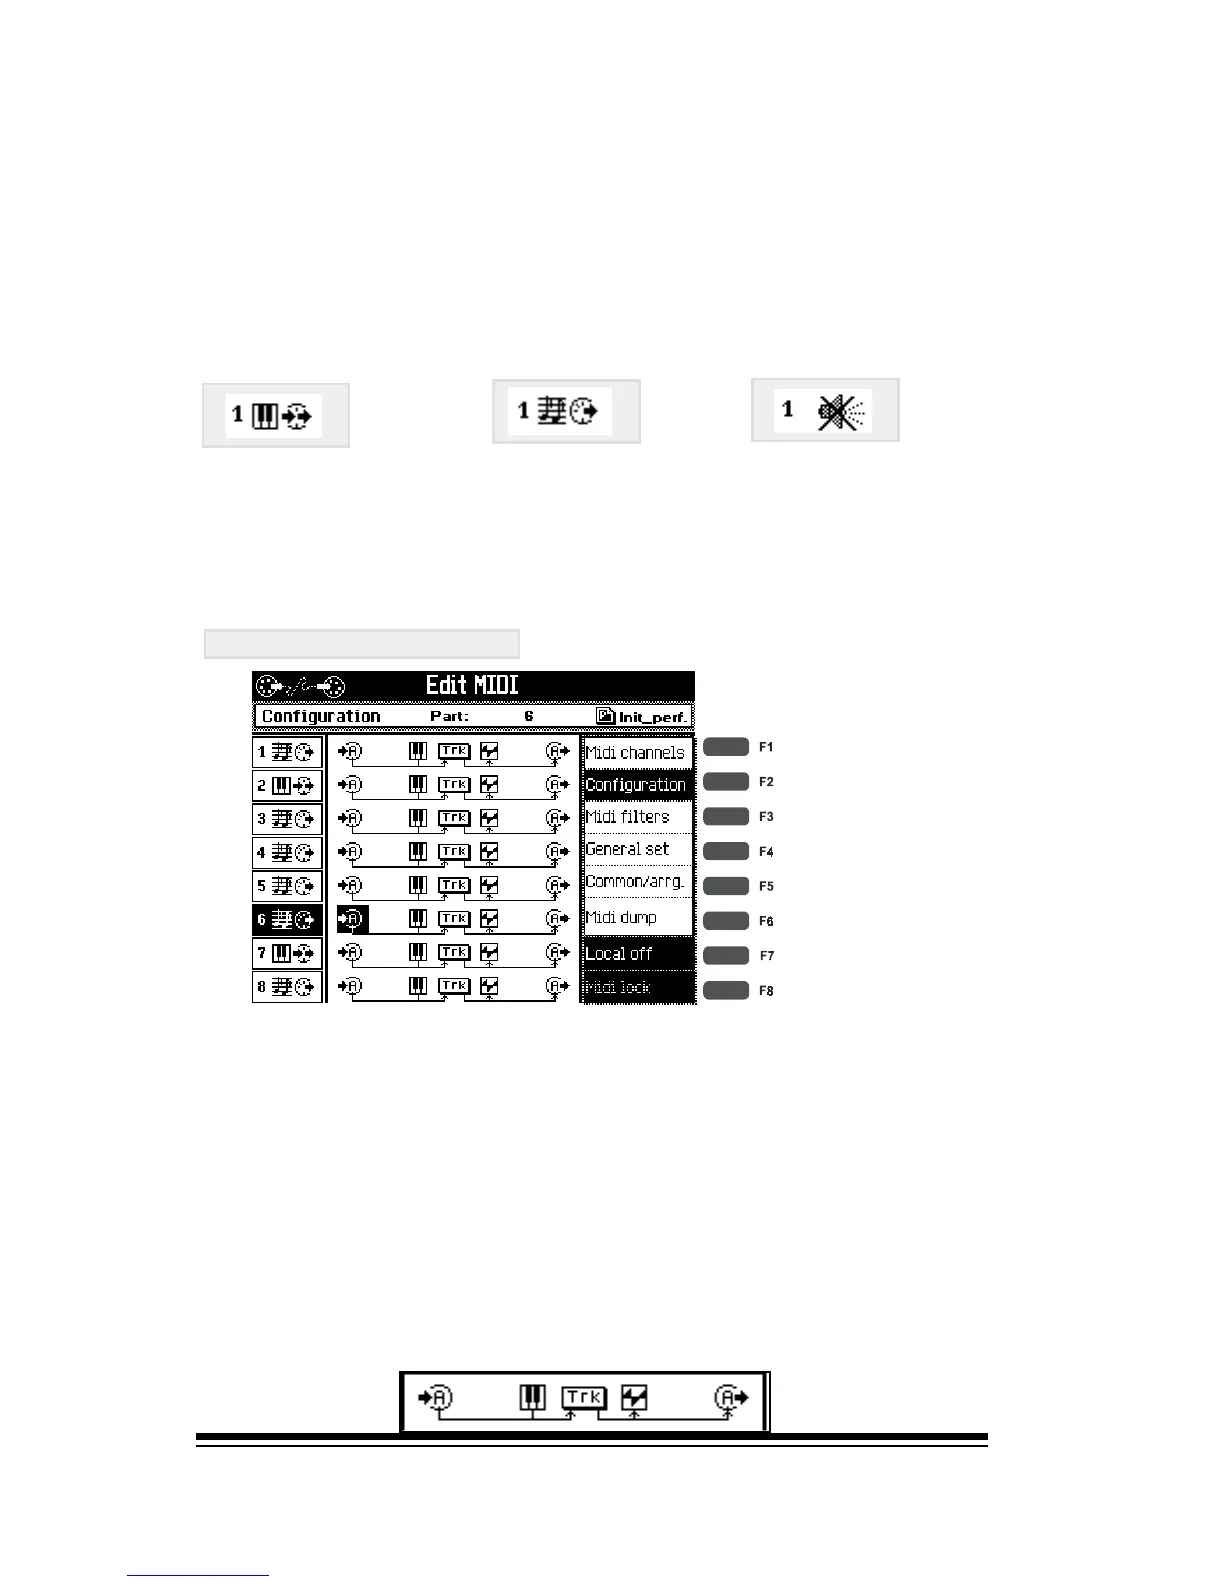
CONFIGURATION
The configuration screen lets you easily control whether or
not a part send or receives midi data, whether or not it can
be played by the internal keyboard and whether or not it is
connected to the internal sounds. If you take a little time to
learn the system of icons used in this screen you will be
able to easily configure the instrument for even the most
complex MIDI system.
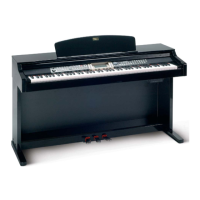
Each line of the display shows four icons which can be
switched on or off as you wish.
From left to right the icons represent:
YES
YES
NO
J