Creating and Editing Sound Presets
Page 9
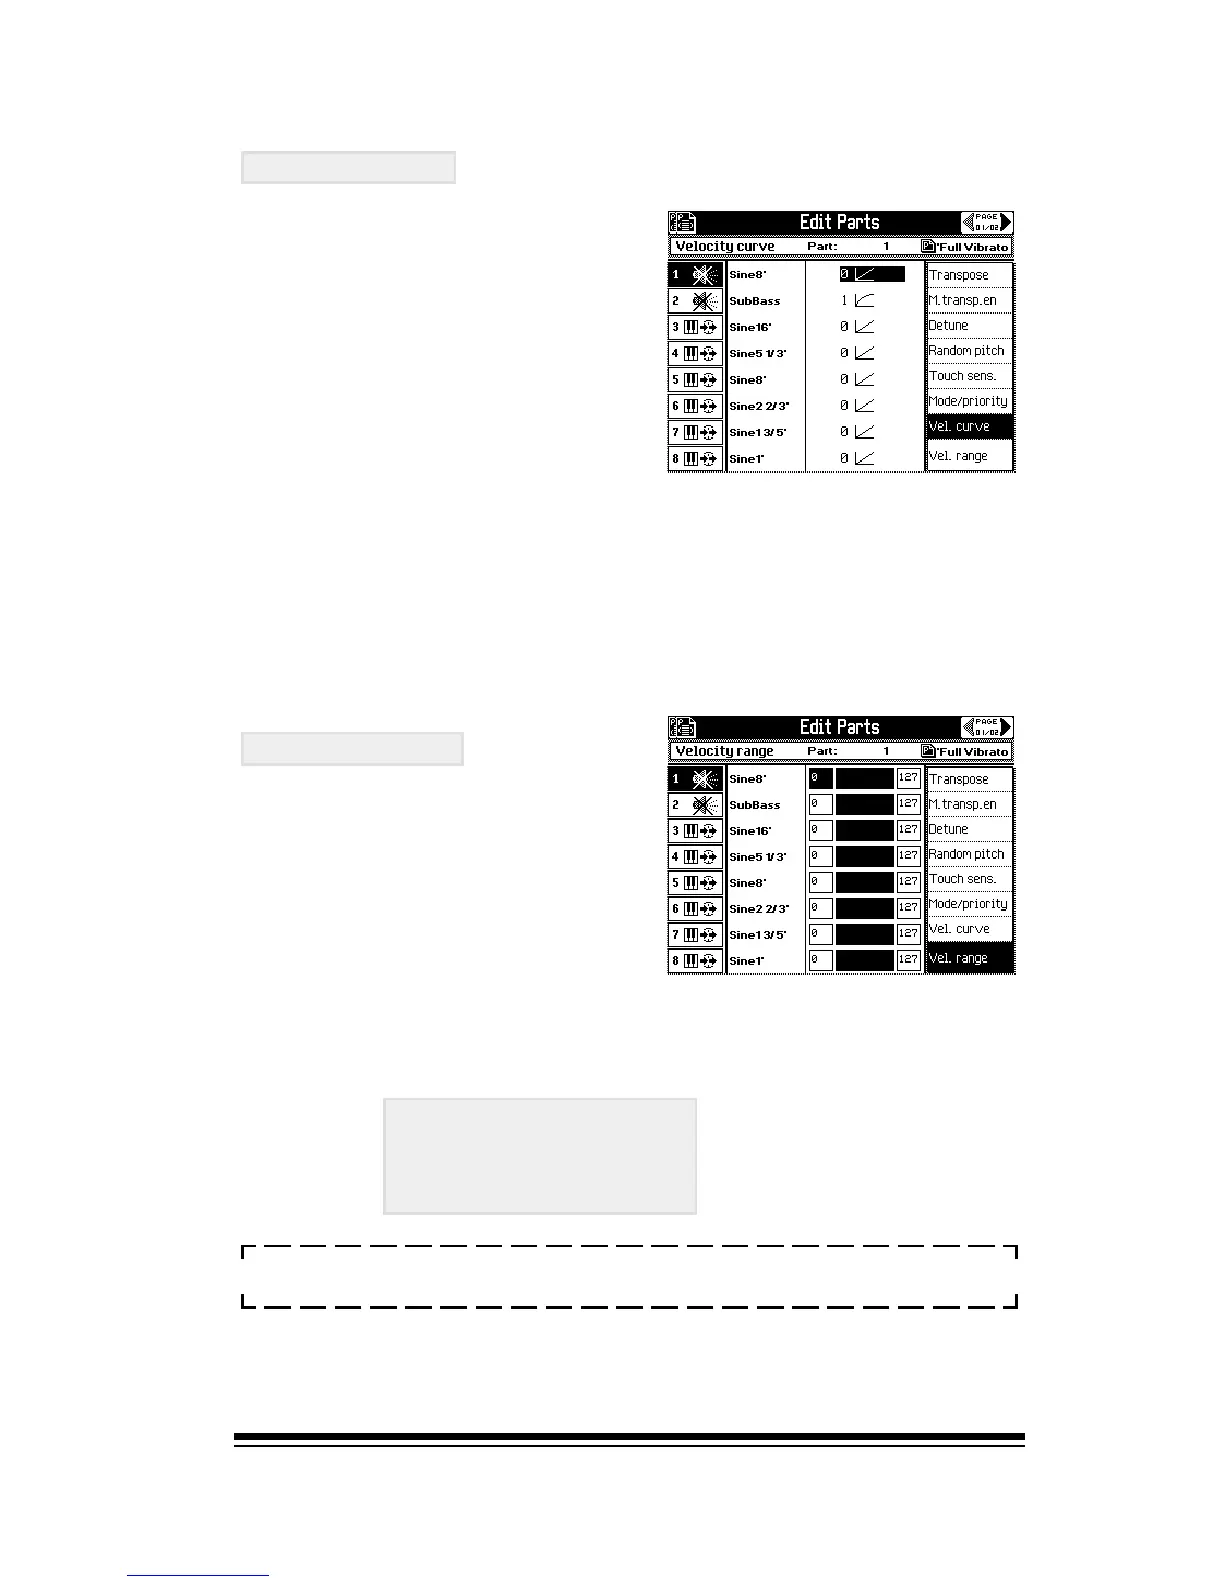
VEL. CURVE
Here you may choose a different
velocity response curve for each
part. Each curve is described by
a small graphic. Settings 0 3
are normal curves while 4 8
are inverse curves, (the
harder you play the quieter the
sound will become.
A good example of using velocity curves would be to layer
two sounds together with the first sound using a normal curve
and the second using an inverse curve. When you play softly,
the second sound will be at maximum volume. As you play
harder, the volume of the second sound will be reduced as
the volume of the first sound is increased. This is called a
velocity crossfade.
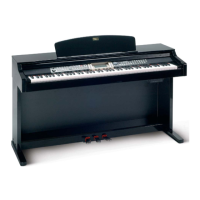
VEL. RANGE
This function enables you to
place a particular sound within
a specified range of velocities.
For example, to make a three part velocity switch, activate
parts 6, 7 and 8. Then assign the VELOCITY range as follows;
PART 6: 0 to 40
PART 7: 40 - 80
PART 8: 80 127
NOTE: On any velocity sensitive keyboard, the lightest
possible key velocity is 0 and the hardest velocity is 127.
This will give you the effect of having just one sound across the
whole keyboard. Depending on how hard you play, you will actually
switch between the three different sounds in parts 6, 7 and 8.