Make a copy and add a strip
Introduction
You can use a strip to file a drawing. Use [Add strip] to copy an original without a strip and add a
strip to the copy. Use [Remove strip] to copy an original with a strip and remove the strip from
the copy. You can adjust a strip at the leading or trailing side of a copy.
Procedure
1.
Place the original face down and right aligned.
The scanner takes the original.
2.
Define the job settings.
• Select [Copy] with the upper left soft key.
The copy job templates appear.
• Open a copy job template with a left soft key.
The top 5 settings display.
• Scroll to [Add strip] and open this setting with the left soft key.
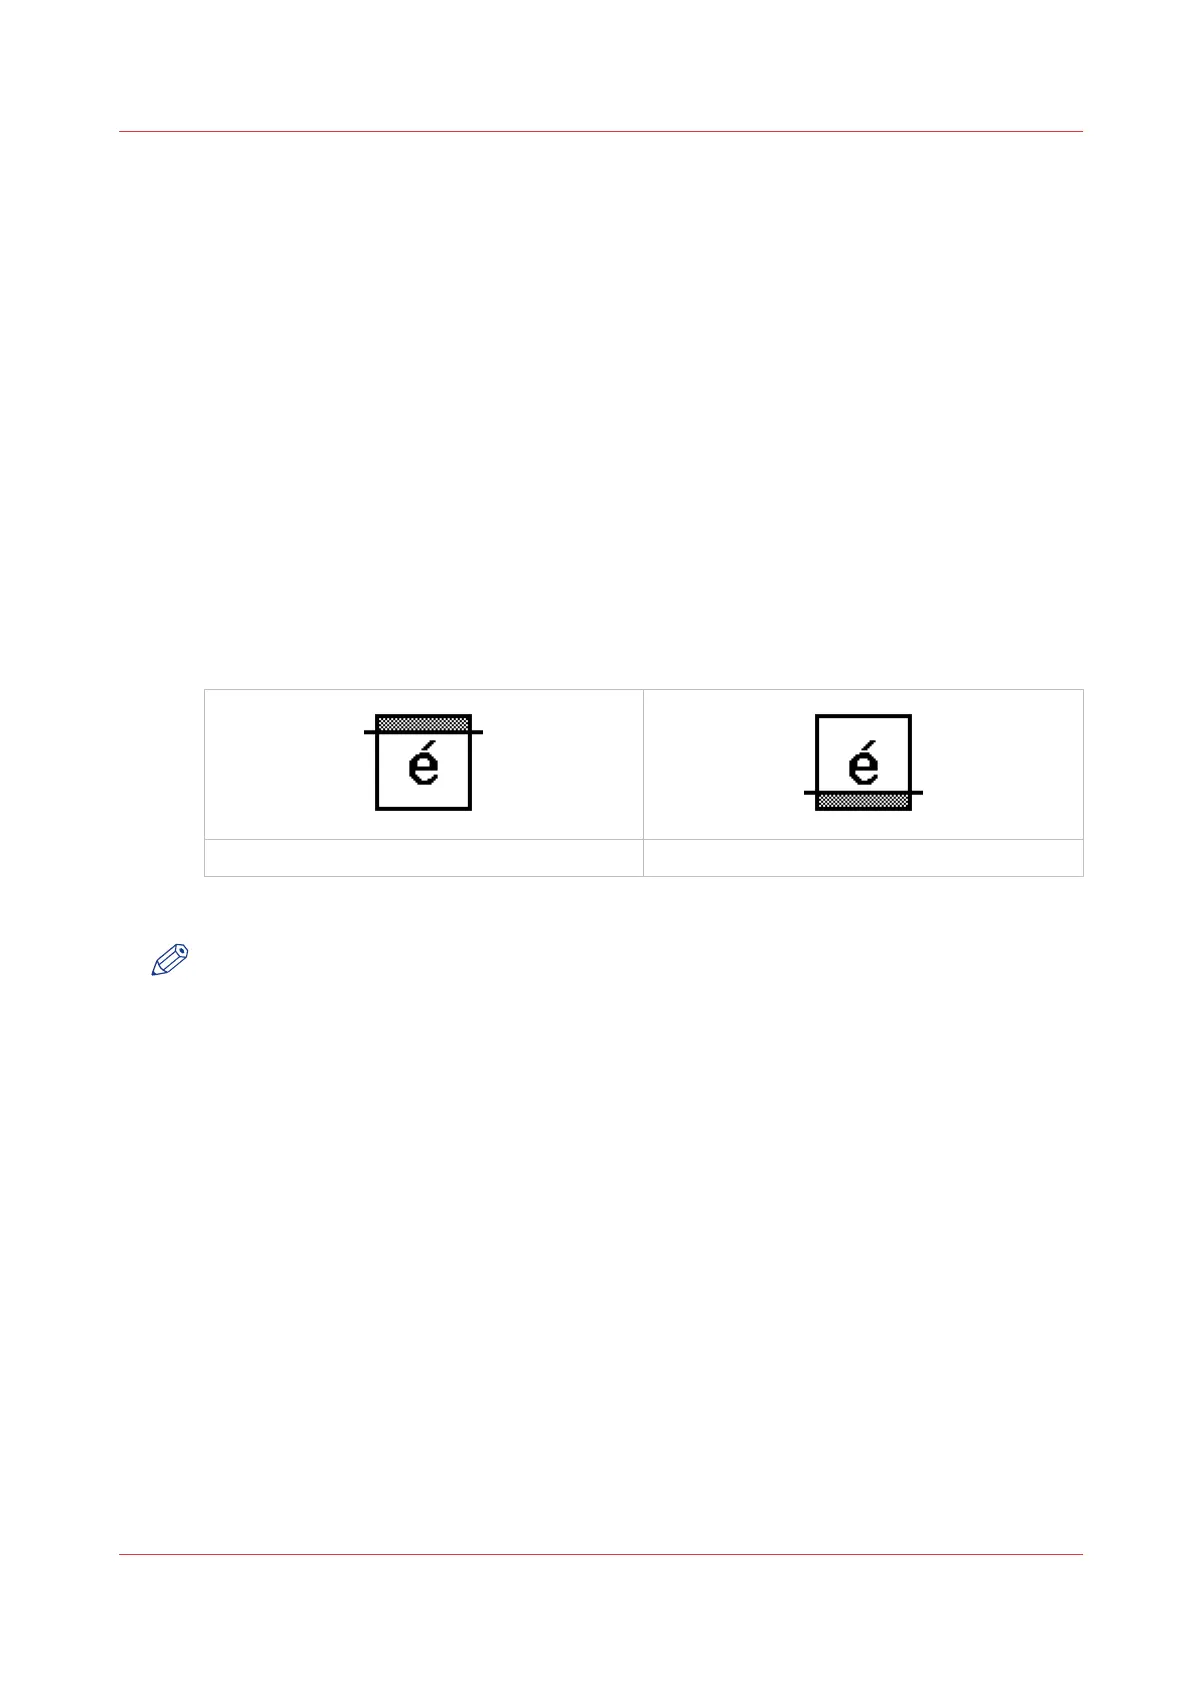
• Select [Leading] or [Trailing] with the left softkey and define the value with the scroll wheel or
numeric keys.
The [Leading] strip
The [Trailing] strip
3.
Define the number of copies if necessary and press the green Start key.
NOTE
To measure the size of a strip you can use the ruler available at the scanner (metric).
Result
The Océ PlotWave 750 adds a trailing or leading strip from the copy.
Make a copy and add a strip
Chapter 5 - Use the Océ TC4 scanner for copy and scan-to-file jobs
203