Calibrate the scanner
Introduction
You can calibrate the scanner when you are not satisfied with the scan quality. Use the calibration
wizard to calibrate the scanner.
Before you begin
Make sure the glass plate is clean before you start the calibration procedure
Clean the scan area
on page 330. A dirty glass plate causes a decreased copy and scan quality. Clean the glass plate
when you have lines on the image that are not on the original.
Procedure
1.
Select [System] with the lower-right soft key.
The [System settings] screen opens.
2.
Select [Scanner calibration] with a left soft key to start the calibration wizard.
The message [Insert calibration sheet] and the following icon appears.
[147] The [Insert calibration sheet] icon
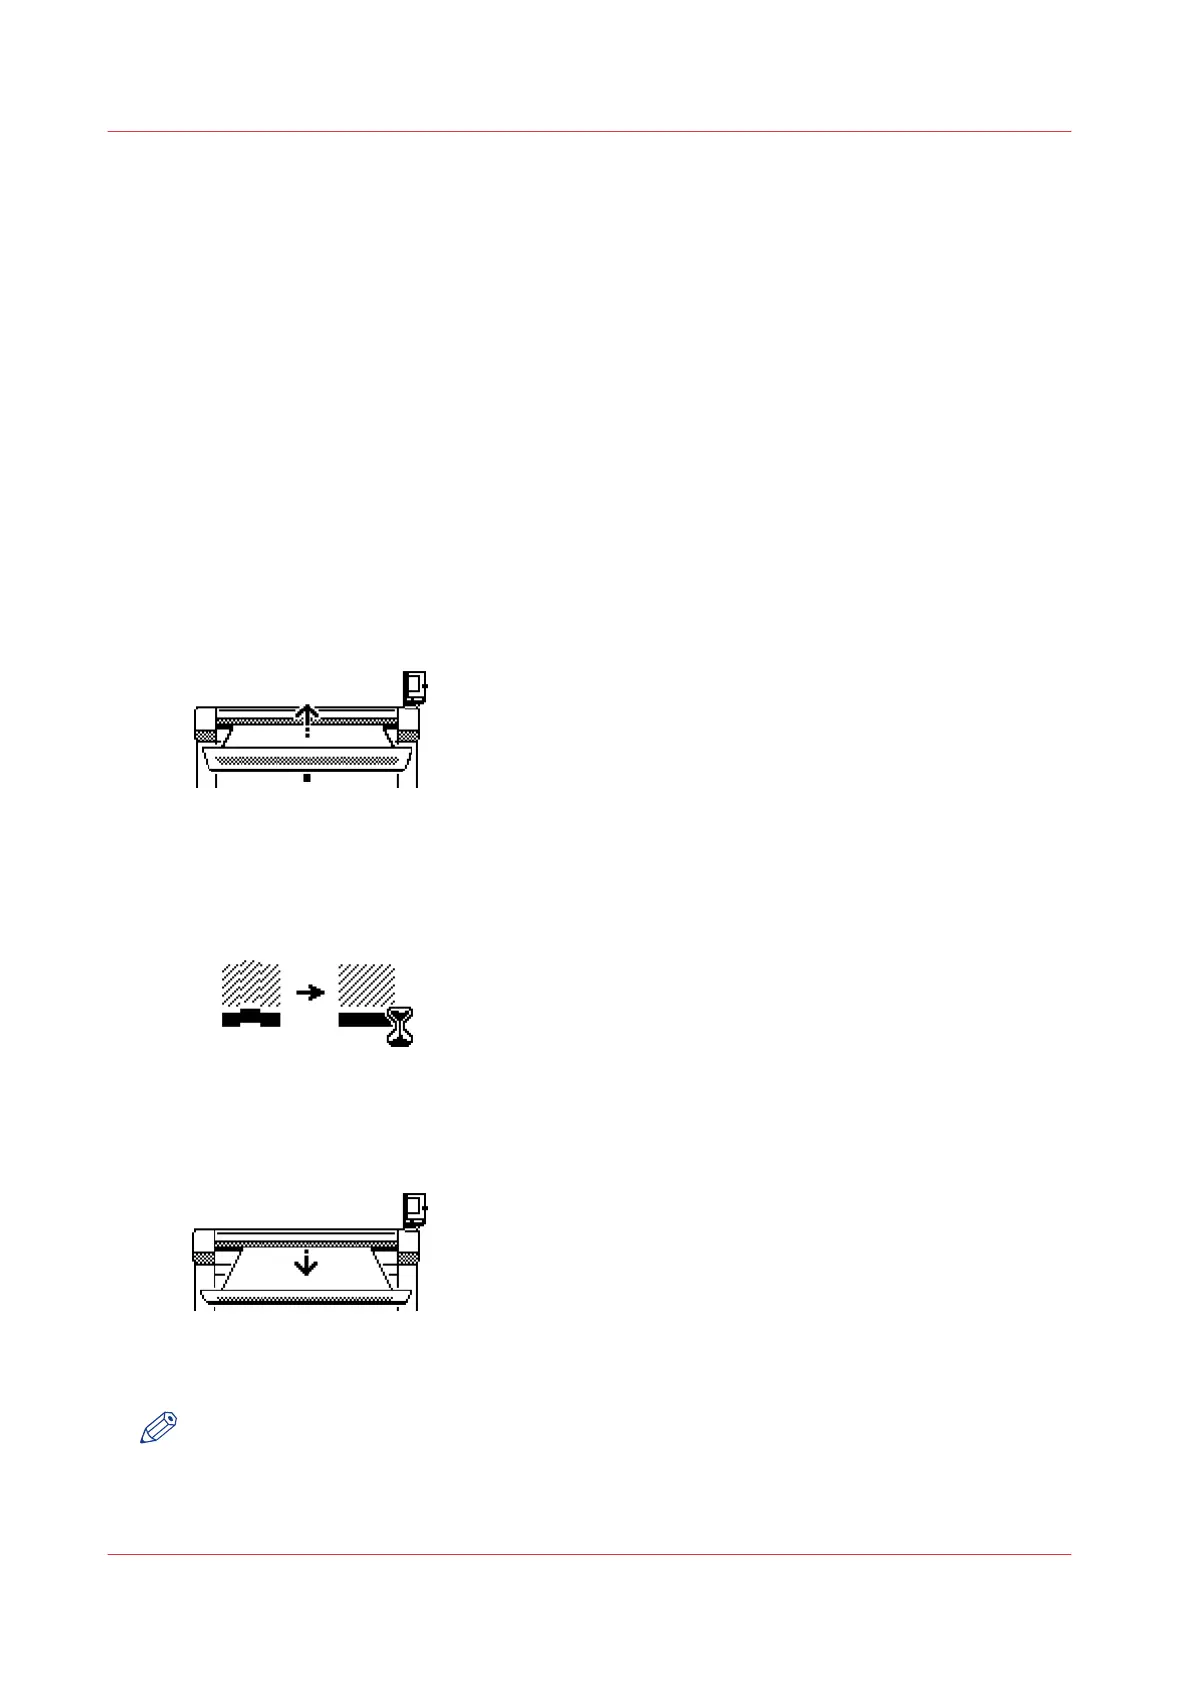
3.
Insert the calibration sheet and press the green start key to start the calibration process.
The message [Scanner is calibrating...] and the following icon appears.
[148] The [Scanner is calibrating...] icon
When the calibration process is ready, the message 'Press OK to continue' and the following icon
appears.
[149] The remove the calibration sheet icon
4.
Select [OK] with the lower-right soft key.
NOTE
When the calibration process stops or fails, follow the instructions on the scanner operator panel
carefully.
Calibrate the scanner
332
Chapter 8 - Maintain and troubleshoot the Océ PlotWave 750 system