Do an extended scan-to-file job
Introduction
This section describes a general workflow for an extended scan-to-file job.
Before you begin
If you must enter the same value for a setting very often, you can set this value as the default
value in a scan template, in the Océ Express WebTools.
After you press the start key, the scanner operator panel always shows the job number and status
of the job. In Océ Express WebTools, a scan-to-file job appears in the Smart Inbox for scans,
(except when you disable the [Smart Inbox capability]).
Procedure
1.
Place the original face down and right aligned.
The scanner takes the original.
2.
Select [Scan] with the upper left soft key.
The scan-to-file job templates appear.
3.
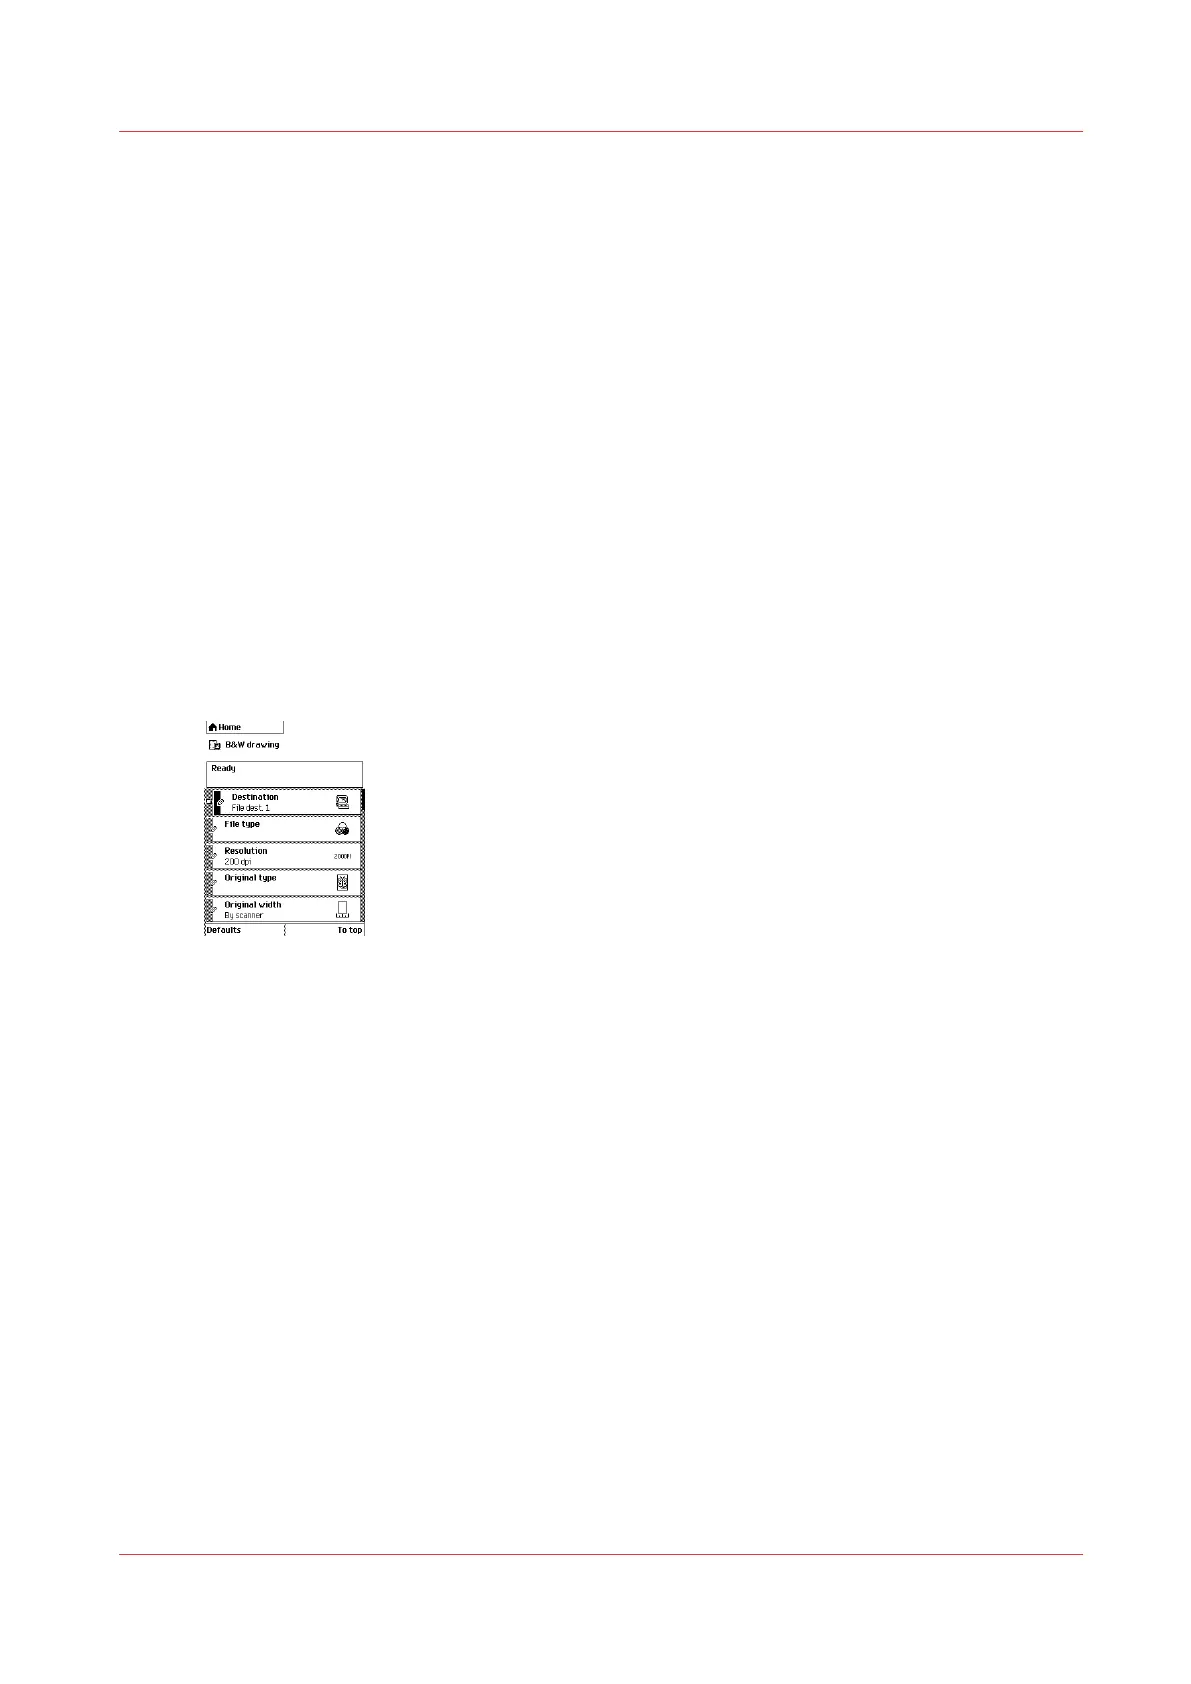
Define the job settings.
[66] The top 5 settings of a scan job template
Available settings for scan-to-file jobs
on page 212
• Open a scan-to-file job template with a left soft key.
The top 5 settings appear.
• Scroll to a setting.
• Select a setting with the left soft key.
• Scroll to the required value.
• Select the next setting with the left soft key.
• Scroll to the required value.
• Select [Close] to close the setting.
• Repeat the selection of settings from bullet 3 if you need to define more settings.
4.
Press the green 'Start' key.
Result
The scanner scans the original and sends the scanned file to the defined scan-to-file destination.
Do an extended scan-to-file job
Chapter 5 - Use the Océ TC4 scanner for copy and scan-to-file jobs
209