Editing functions
Auto align
Introduction
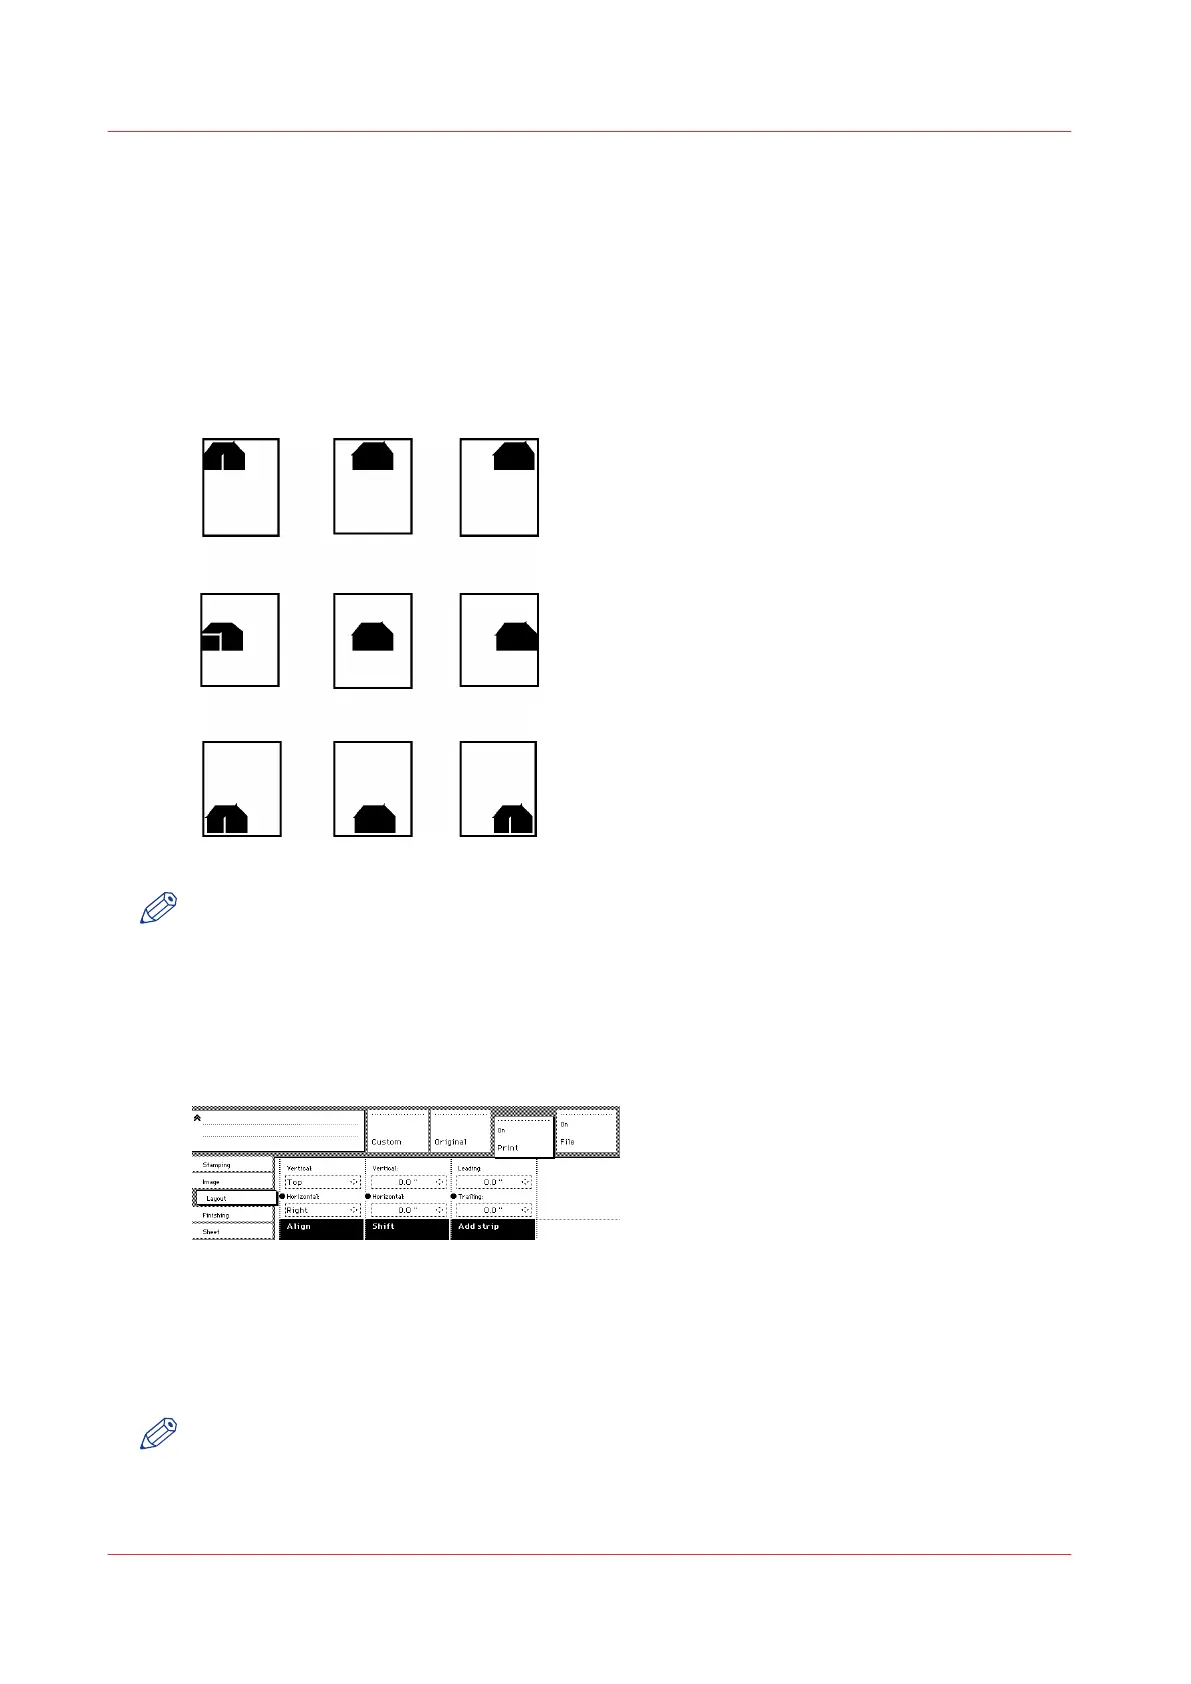
You can use the alignment functions of the scanner to align the image automatically to a side of
the print. Alignment is possible in the following ways:
NOTE
You must enable standard cut length to get output like the one in the example of illustration
above. With ‘Standard cut’ the print length corresponds to a standard format, depending on the
media width. Information loss may occur when 'Standard cut' is used.
Procedure
1.
Open the 'Layout' card in the 'Print' section.
[102] Automatic shift with the 'Align' function
2.
Press the 'Align' function key and select a horizontal alignment value (Left, Middle or Right) with
the arrow keys.
• Press the 'Align' function key again and select a vertical alignment value (Top, Middle, or
Bottom) with the arrow keys.
NOTE
If you select 'Middle', make sure the original width is properly specified:
• 'Standard' if a standard sized original is used
Editing functions
272
Chapter 6 - Use the Océ TDS600 scanner for copy and scan-to-file jobs