Shift the image
Introduction
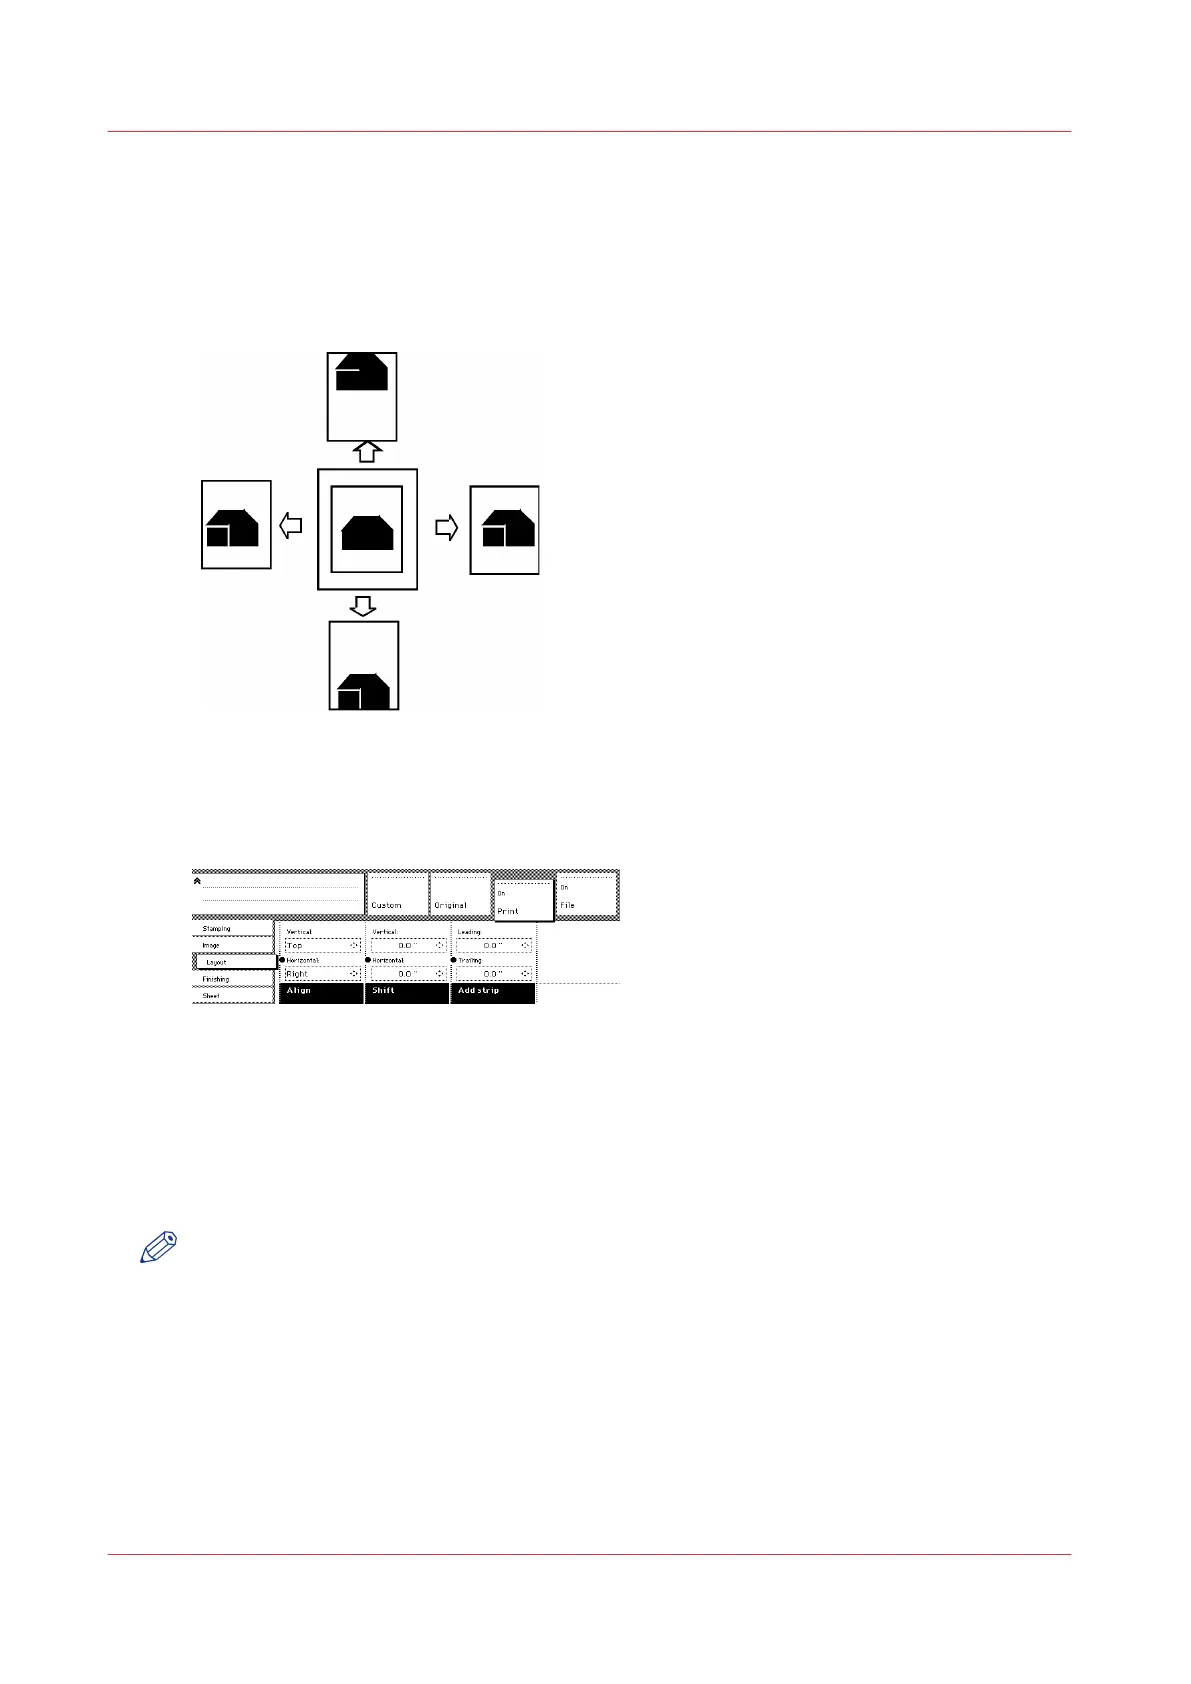
In some cases, the margin may be too narrow to accommodate filing strips without loss of
information. To avoid this, you can shift the image horizontally or vertically, as shown below.
Procedure
1.
Open the ‘Layout’ card in the ‘Print’ section.
[104] Image shift
2.
Press the ‘Shift’ function key and select a horizontal shift value by pressing the numeric or arrow
keys until the required distance is set to shift the image to the left or to the right.
3.
Press the ‘Shift’ function key again and select a vertical shift value by pressing the numeric or
arrow keys until the required distance is set to shift the image upwards or downwards.
4.
Make other settings as required.
5.
Feed the original.
NOTE
You can use horizontal and vertical shift at the same time.
Shift the image
274
Chapter 6 - Use the Océ TDS600 scanner for copy and scan-to-file jobs