4.23
Date Code 20171006 Instruction Manual SEL-400 Series Relays
Front-Panel Operations
Front-Panel Menus and Screens
To enable a local bit, enter the local bit settings in Table 4.7. The format for
entering the local bit data is the comma-delimited string:
local bit,control function name,alias for the set state,alias for the clear
state,pulse enable
Names or aliases can contain any printable ASCII character except double quota-
tion marks. Use double quotation marks to enclose the name or alias. See
Example 4.4 for particular information on enabling a local control bit.
The pulse state enable setting at the end of the setting string is optional. If your
application requires a pulsed or momentary output, you can activate an output
pulse by setting the option at the end of the local bit command string to Y (for
Yes). The default for the pulse state is N (for No); if you do not specify Y, the
local bit defaults at N and gives a continuous set or clear switch level.
If you enter an invalid setting, the relay displays an error message prompting you
to correct your input. If you do not enter a valid local bit number, the relay dis-
plays A local bit element must be entered. If you enter a local bit number and that
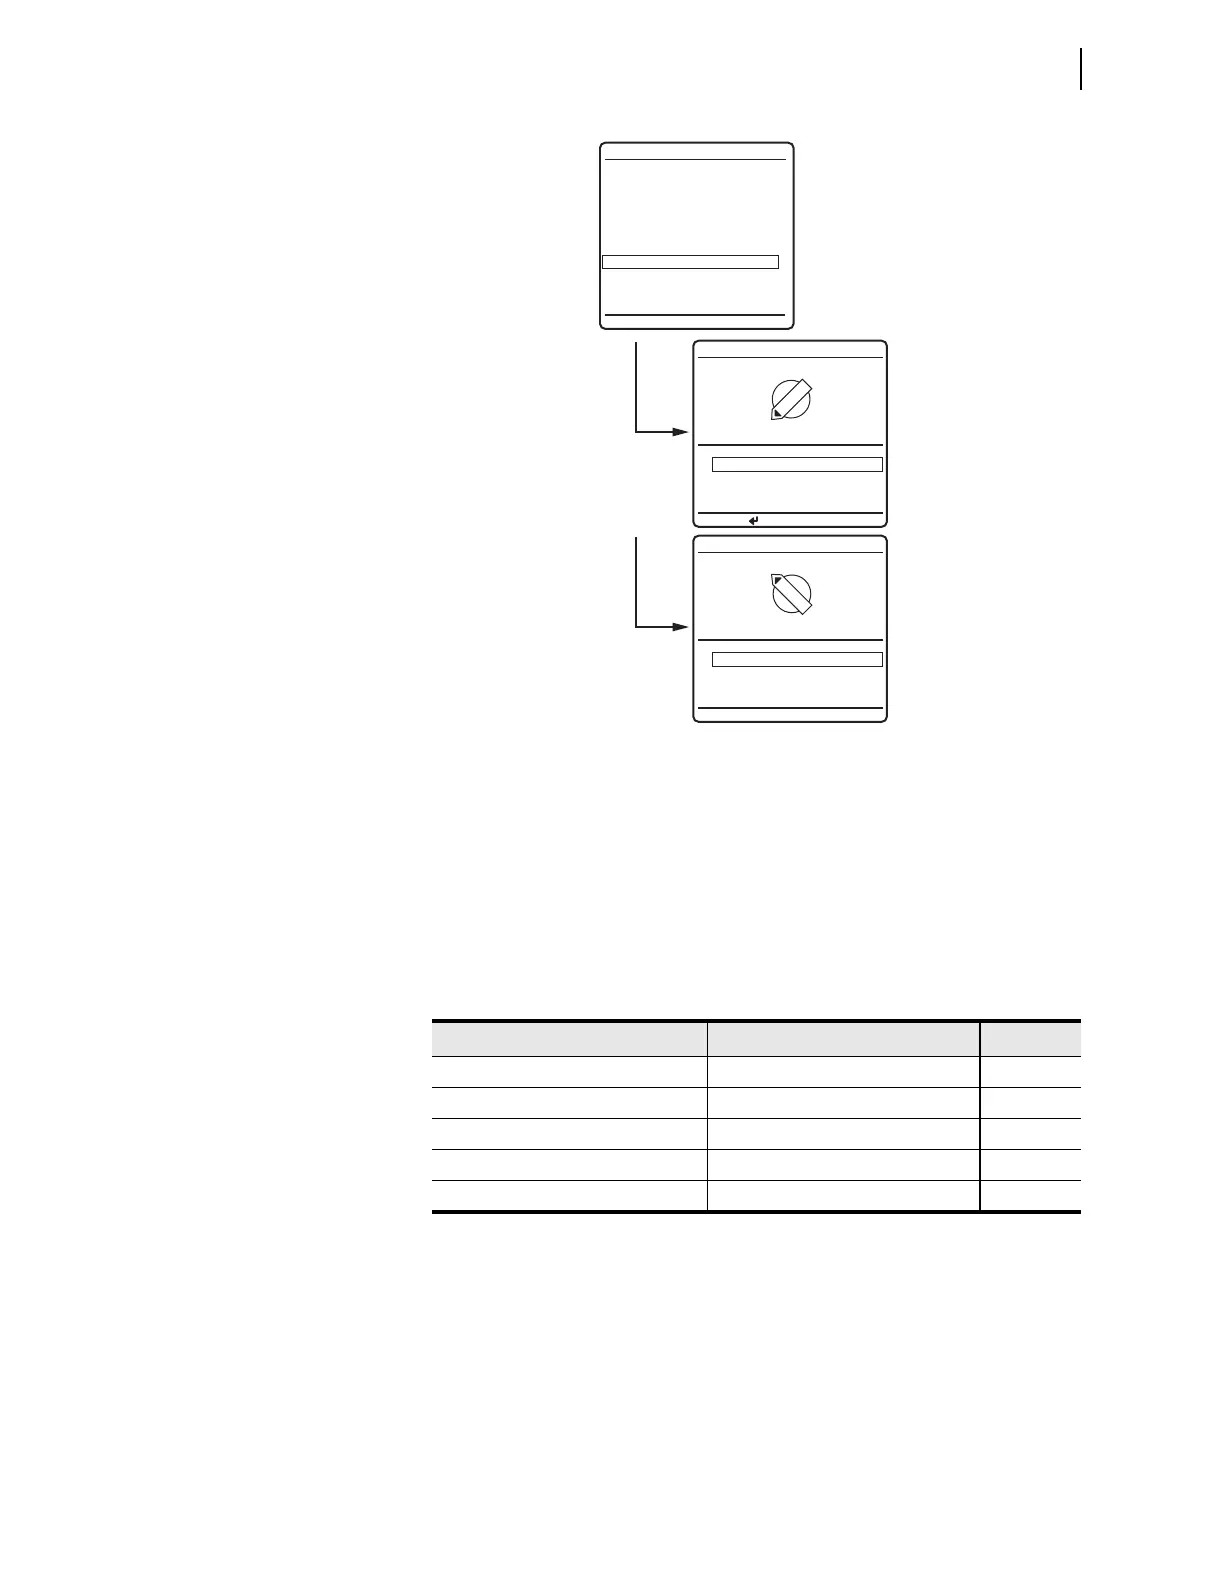
Figure 4.26 LOCAL CONTROL Example Menus
Table 4.7 Local Bit Control Settings
a
a
n
= 1–32.
Description Range Default
Local Bit n 1–32 1
Local Bit n Name 20-character maximum ASCII string (blank)
Local Bit n Set Alias (1 state) 20-character maximum ASCII string (blank)
Local Bit n Clear Alias (0 state) 20-character maximum ASCII string (blank)
Pulse Local Bit n Y, N N
--BREAKER CONTROL--
--OUTPUT TESTING--
LOCAL CONTROL
Enable Bus Switching
North Bus MOD
South Bus MOD
Bus Tie Interlock
Alternate Settings 3
1 Closed (OK to TIE)
0 Open (No TIE)
BUS TIE INTERLOCK
PRESS TO ACTIVATE
1
0
1 Closed (OK to TIE)
0 Open (No TIE)
BUS TIE INTERLOCK
1
0