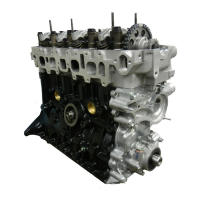
(b) Using a belt tension gauge, check the drive belt
tension .
Belt tension gauge:
Nippondenso BTG–20 (95506–00020) or
Borroughs No. BT–33–73F
Drive belt tension:
22R–E New belt 125
± 25 lbf
Used belt 80
± 20 lbf
3VZ–E New belt 160
± 20 lbf
Used belt 100
± 20 lbf ,
If necessary, adjust the drive belt tension.
HINT:
• ”New belt” refers to a belt which has been used less
than 5 minutes on a running engine.
• ”Used belt” refers to a belt which has been used on a
running engine for 5 minutes or more.
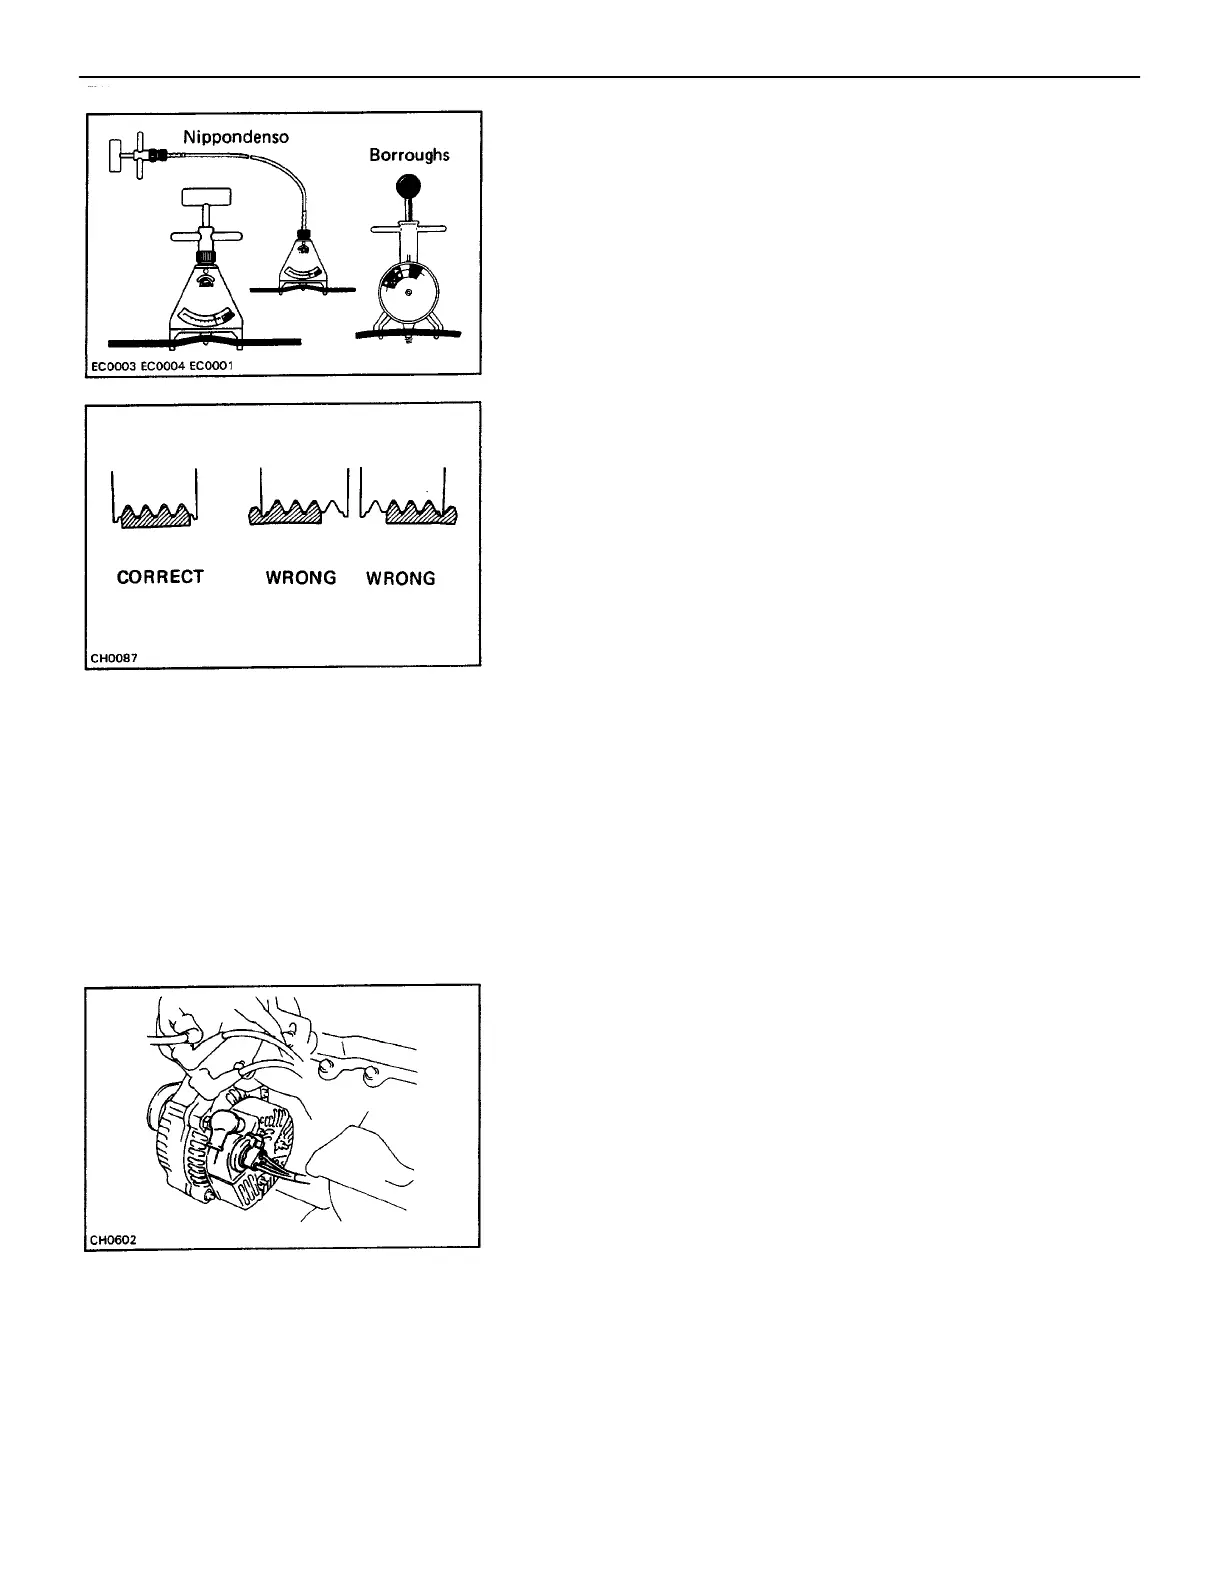
• After installing the drive belt, check that it fits properly
in the ribbed grooves. Check with your hand to confirm
that the belt has not slipped out of the groove on the
bottom of the crank pulley.
• After installing a new belt, run the engine for approx.
5 minutes and then recheck the tension.
4. INSPECT FUSES FOR CONTINUITY
• ENGINE 10A
• CHARGE 7–5A
• IGN 7.5A
6. INSPECT DISCHARGE WARNING LIGHT CIRCUIT
(a) Turn the ignition switch ON. Check that the discharge
warning light is lit.
(b) Start the engine. Check that the light goes off.
If the light does not operate as specified, troubleshoot the
warning light circuit.
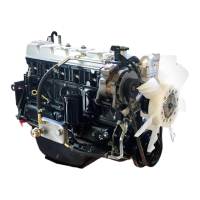
5. VISUALLY CHECK GENERATOR WIRING AND LISTEN FOR
ABNORMAL NOISES
(a) Check that the wiring is in good condition.
(b) Check that there is no abnormal noise from the gener–
ator while the engine is running.
–CHARGING SYSTEM On–Vehicle Inspection
CH–3