3.14
SEL-400 Series Relays Instruction Manual Date Code 20171006
Basic Relay Operations
Checking Relay Status
Checking Relay Status From the Front Panel
Use the front-panel display and navigation pushbuttons to check relay status. See
Section 4: Front-Panel Operations for information on using the relay front panel.
Step 1. Apply power to the relay, and note that the LCD shows a sequence of
screens called the
ROTATING DISPLAY.
(If you do not operate the front panel for a certain period, the relay
will enter front-panel time-out mode and you will see the sequential
screens of the
ROTATING DISPLAY.)
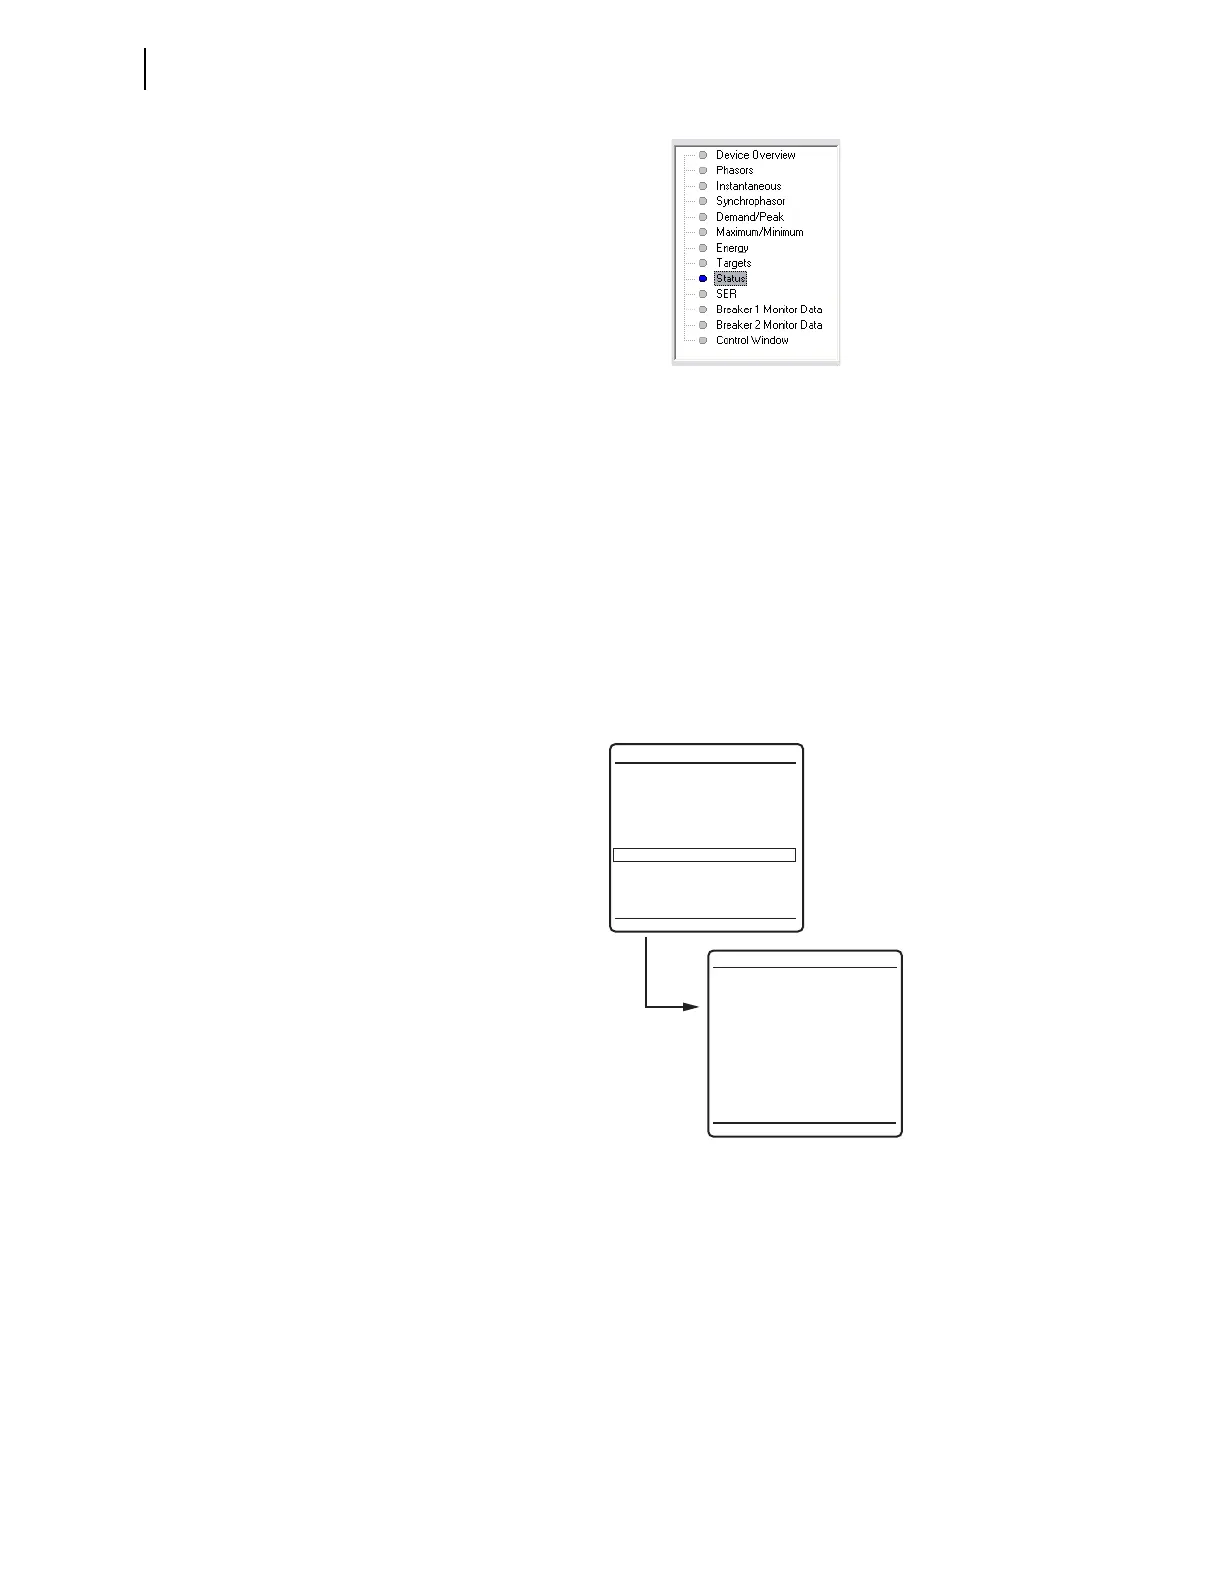
Step 2. Press the ENT pushbutton to display the
MAIN MENU as shown in
Figure 3.10.
Step 3. View the relay status.
a. Press the Up Arrow and Down Arrow navigation pushbuttons to
highlight the
RELAY STATUS action item (see Figure 3.10).
b. Press the ENT pushbutton.
You will see the
RELAY STATUS screen (the second screen of
Figure 3.10).
Step 4. Press the ESC pushbutton to return to the
MAIN MENU.
Step 5. Press ESC pushbutton again to return to the
ROTATING DISPLAY.
Figure 3.9 Retrieving Relay Status in QuickSet
Figure 3.10 Checking Relay Status From the Front-Panel LCD
(a)
(b)
METER
EVENTS
BREAKER MONITOR
RELAY ELEMENTS
LOCAL CONTROL
SET/SHOW
RELAY STATUS
VIEW CONFIGURATION
DISPLAY TEST
RESET ACCESS LEVEL
MAIN MENU
RELAY STATUS
SEL-451-5-Rxxx-V0-
Zxxxxxx-Dyyyymmdd
S/N=0000000000
RELAY ENABLED
NO FAILURES OR
WARNINGS