3.
Select the Ethernet interface for which DHCP is to be disabled, such as eth0.
4.
Select DHCP from the next menu. The display will show State=Enabled and
Action=Disabled.
(The State is the current DHCP setting and the Action is the action to take. You can
only change the Action setting.)
5.
Press the key once to select the action, then again to apply it.
B.
Enter IP Address and Subnet Mask:
1.
Still on the Home > Netv4 > eth[0-3] menu, select IP Address, and
change "N=010.010.201.001/16” to the value of the static IP address and
subnet mask/network bits to be assigned (for a list of subnet mask values refer to
the table "Subnet mask values" on page53).
2.
Press the key once to enter the setting, then again to apply the new setting.
C.
Enter the Gateway Address (if required)
1.
Still on the Home > Netv4 menu, select the Gateway option (Home >
Netv4 > eth0 > Gateway).
2.
Press the key once to enter the setting, then again to apply the new setting.
3.
The display will change, allowing you to input an address at
N=000.000.000.001. Enter the gateway address here. The address entered must
correspond to the same network IP address assigned to SecureSync.
D.
Enable/disable the Port (if required)
1.
Still on the Home > Netv4 menu, select the eth[X]port that you want to
enable or disable.
Note: By default, eth0 is enabled, while all other ports are dis-
abled.
2.
Navigate to the Port option (Home > Netv4 > eth0 > Port).
3.
Press the ˄ ˅ arrow keys once to change between Enable and Disable.
After all applicable settings have been updated, press the key three times to return to the
main display. It should now resemble the following example:
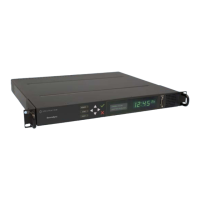
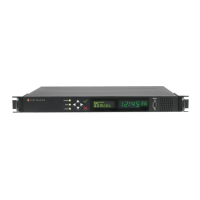
2.11 Setting up an IP Address
CHAPTER 2 • SecureSync User Reference Guide Rev. 26
49