3. Press ▲ or ▼ to select Roll1(Uppr) Type or Roll2 (Lwr) Type, and then press the ▶ button.
4. Press ▲ or ▼ to select the type of paper loaded in the printer, and then press the OK button.
Note
• For
details on types of paper, see the Paper Reference Guide. (See "Types of Paper.")
→P.578
By default, Plain Paper is selected.
• If you move the Release Lever, the setting automatically reverts to the previously selected paper.
• Be
sure to select the correct paper type. If this setting does not match the loaded paper, it may
cause feed errors and affect printing quality.
• If automatic monitoring of the remaining roll is deactivated ( Off is selected) and you have selec-
ted a type of paper for which width detection is deactivated ( Off is selected), you must advance
the paper manually to the position for printing. (See "Manually Loading Paper to the Position
for Printing.")
→P.619
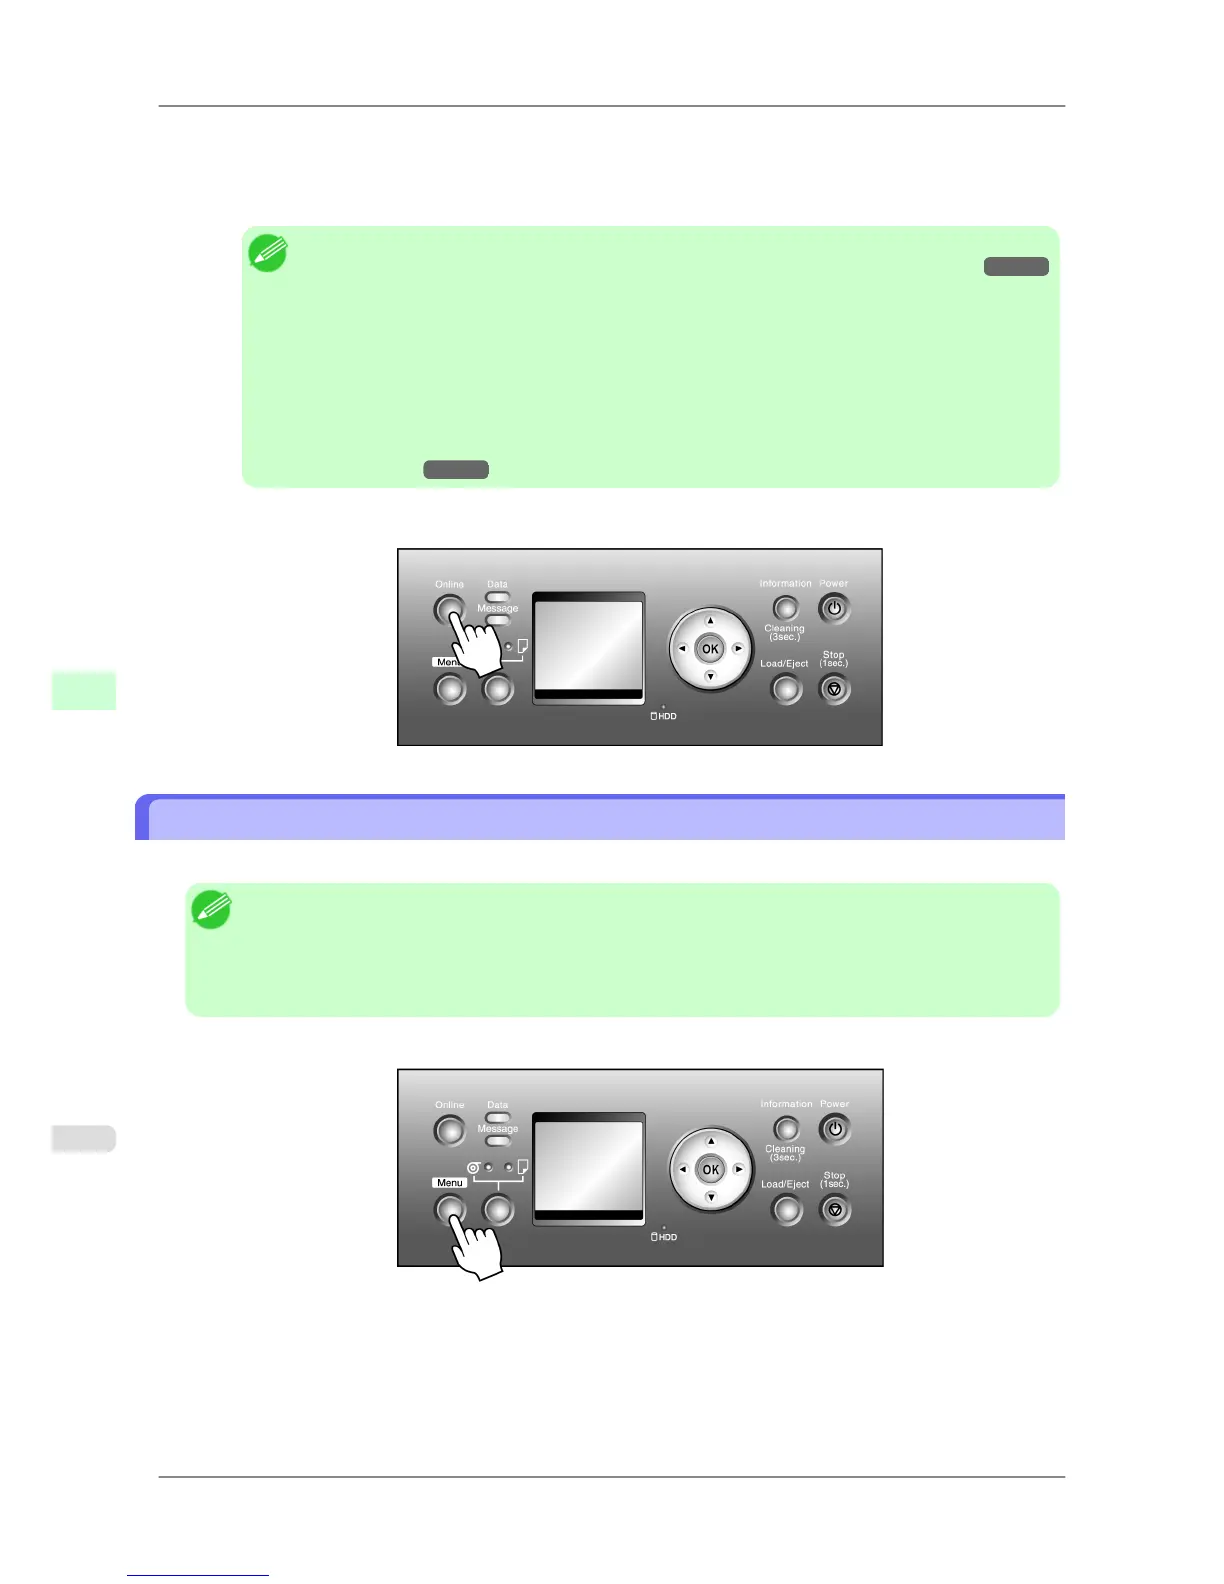
5. Press the Online button to bring the printer online.
Specifying the Paper Length (Roll)
When changing the length of paper after the paper has been advanced, specify the length as follows.
Note
• When you specify the roll length in the printer menu, ManageRemainRoll must be set to On.
• After you select the type of roll, the printer automatically shows a menu for selection of the roll length on
the
Display Screen if no barcode has been printed on the roll and you have set ManageRemainRoll to
On. Select the roll length, and then press the OK button. The printer will automatically go online.
1. Press the Menu button to display MAIN MENU.
2. Press ▲ or ▼ to select Media Menu, and then press the ▶ button.
3. Press ▲ or ▼ to select Roll1(Uppr)Lngth or Roll2(Lwr) Lngth, and then press the ▶ button.
Handling Paper
>
Handling rolls
>
Specifying the Paper Length (Roll) iPF825
7
596