Erasing Data on the Printer's Hard Disk
You can erase data on the printer's hard disk from the Control Panel.
There are three ways to erase the data, as follows.
Erasure
Method
Details
High
Speed
Erases file management data for print job data stored on the printer's hard disk. Choose this method
for relatively fast erasure. Because only the file management data is erased, the print job data itself is
not erased. Note that it may be possible to read this data using commercial data recovery software.
Secure
High Spd.
Overwrites the entire hard disk with random data. No verification is performed to check if the data
was correctly written. Choose this method to erase highly confidential data. Note that it may be possi-
ble to read the overwritten data using specialized data recovery tools.
Secure Overwrites the entire hard disk with 00, FF, and random data (one time each). Verification is per-
formed to check if the data was correctly written. Choose this method to erase especially confidential
data. It is virtually impossible to recover the overwritten data. Conforms to the DoD5220.22-M stand-
ard of the U.S. Department of Defense.
Note
• For
a more secure method of preventing data recovery, we recommend physically or magnetically de-
stroying the hard disk. In this case, the hard disk can no longer be used.
• Erase HDD Data is not available if there is a job queue.
Also note that during execution of Erase HDD Data, print jobs cannot be processed.
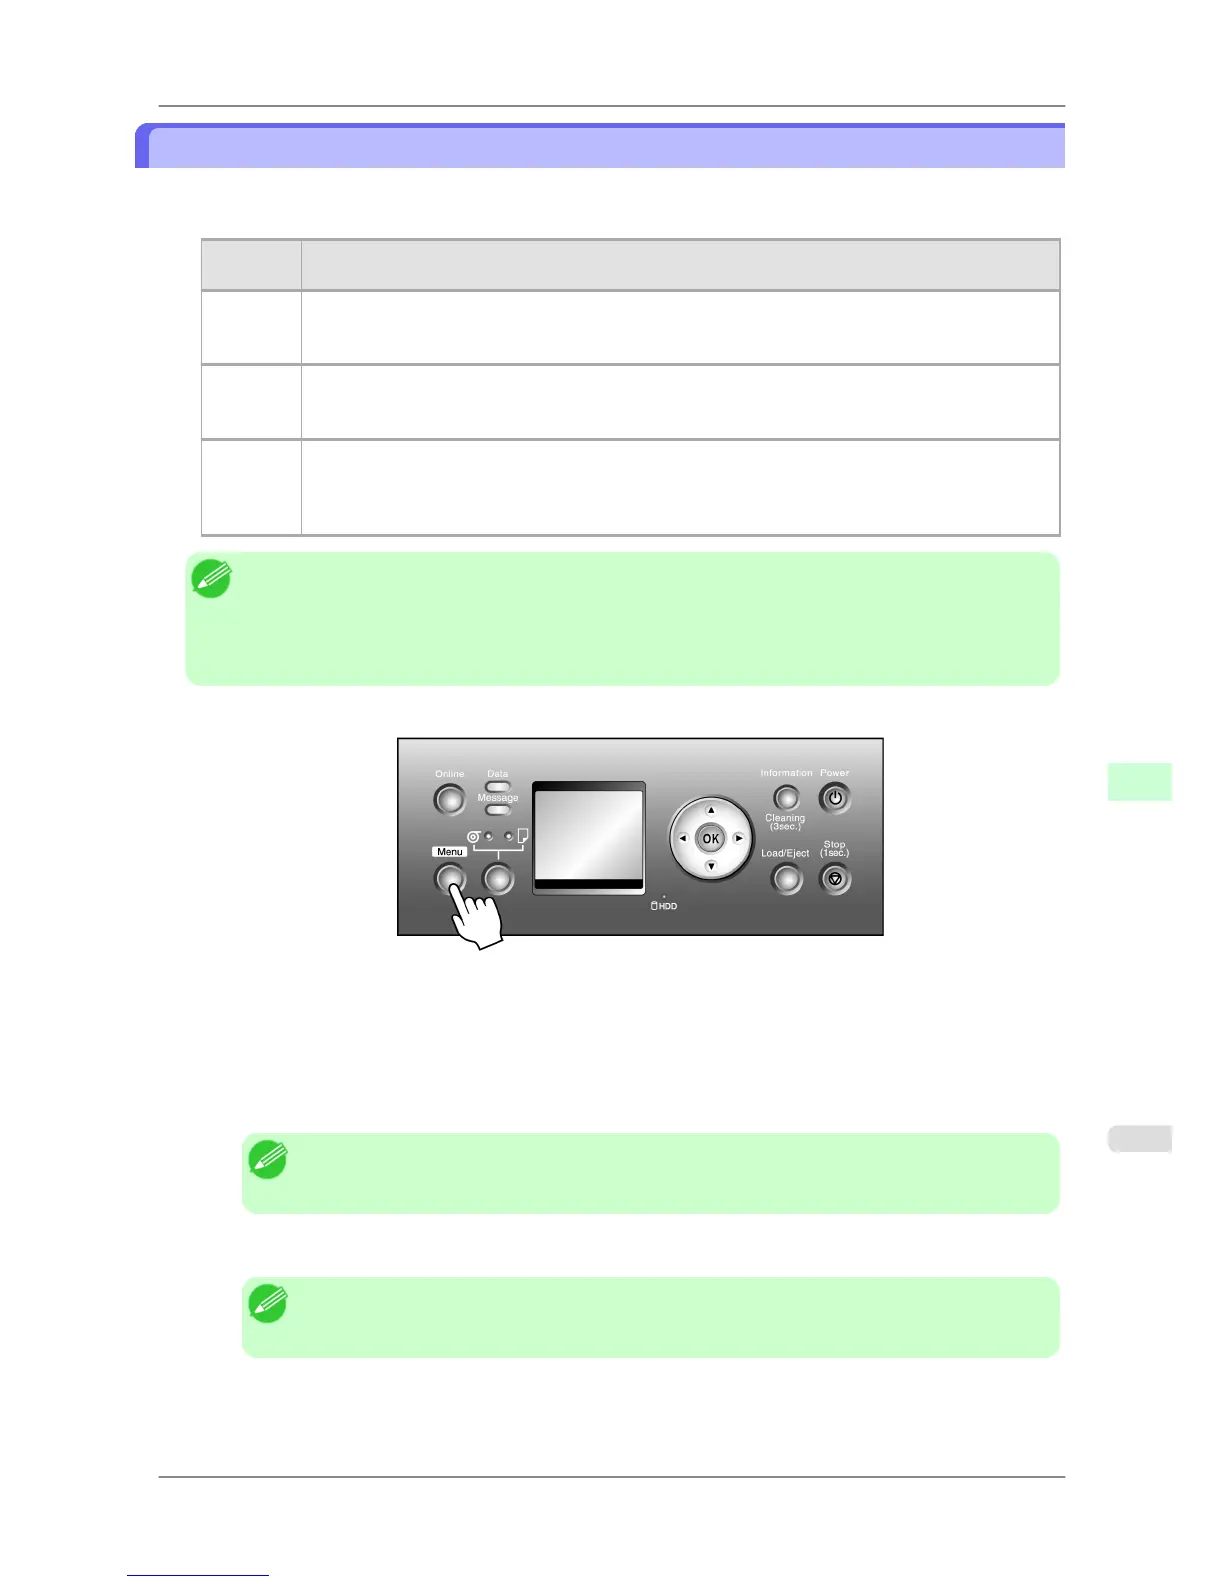
1. Press the Menu button to display MAIN MENU.
2. Press ▲ or ▼ to select System Setup, and then press the ▶ button.
3. Press ▲ or ▼ to select Erase HDD Data, and then press the ▶ button.
4. Press ▲ or ▼ to select the method of erasure, and then press the ▶ button.
Note
• If
a password has been set on the printer, the Admin.Pswd screen is displayed. In this case, enter
the password and press the OK button to go to the next step.
5. Press ▲ or ▼ to select Yes, and then press the OK button to display the confirmation screen.
Note
• As
for the time required for deletion, confirm it on the Control Panel. However, when High
Speed is selected, this finishes in several seconds.
6. Press ▲ or ▼ to select Yes, and then press the OK button to start erasure.
Printer Parts
>
Hard Disk
>
iPF825 Erasing Data on the Printer's Hard Disk
9
705