7. Click Set.
8. Click OK after the Confirmation message dialog box is displayed.
9. Exit imagePROGRAF Device Setup Utility.
Specifying the Frame Type Using the Printer Control Panel
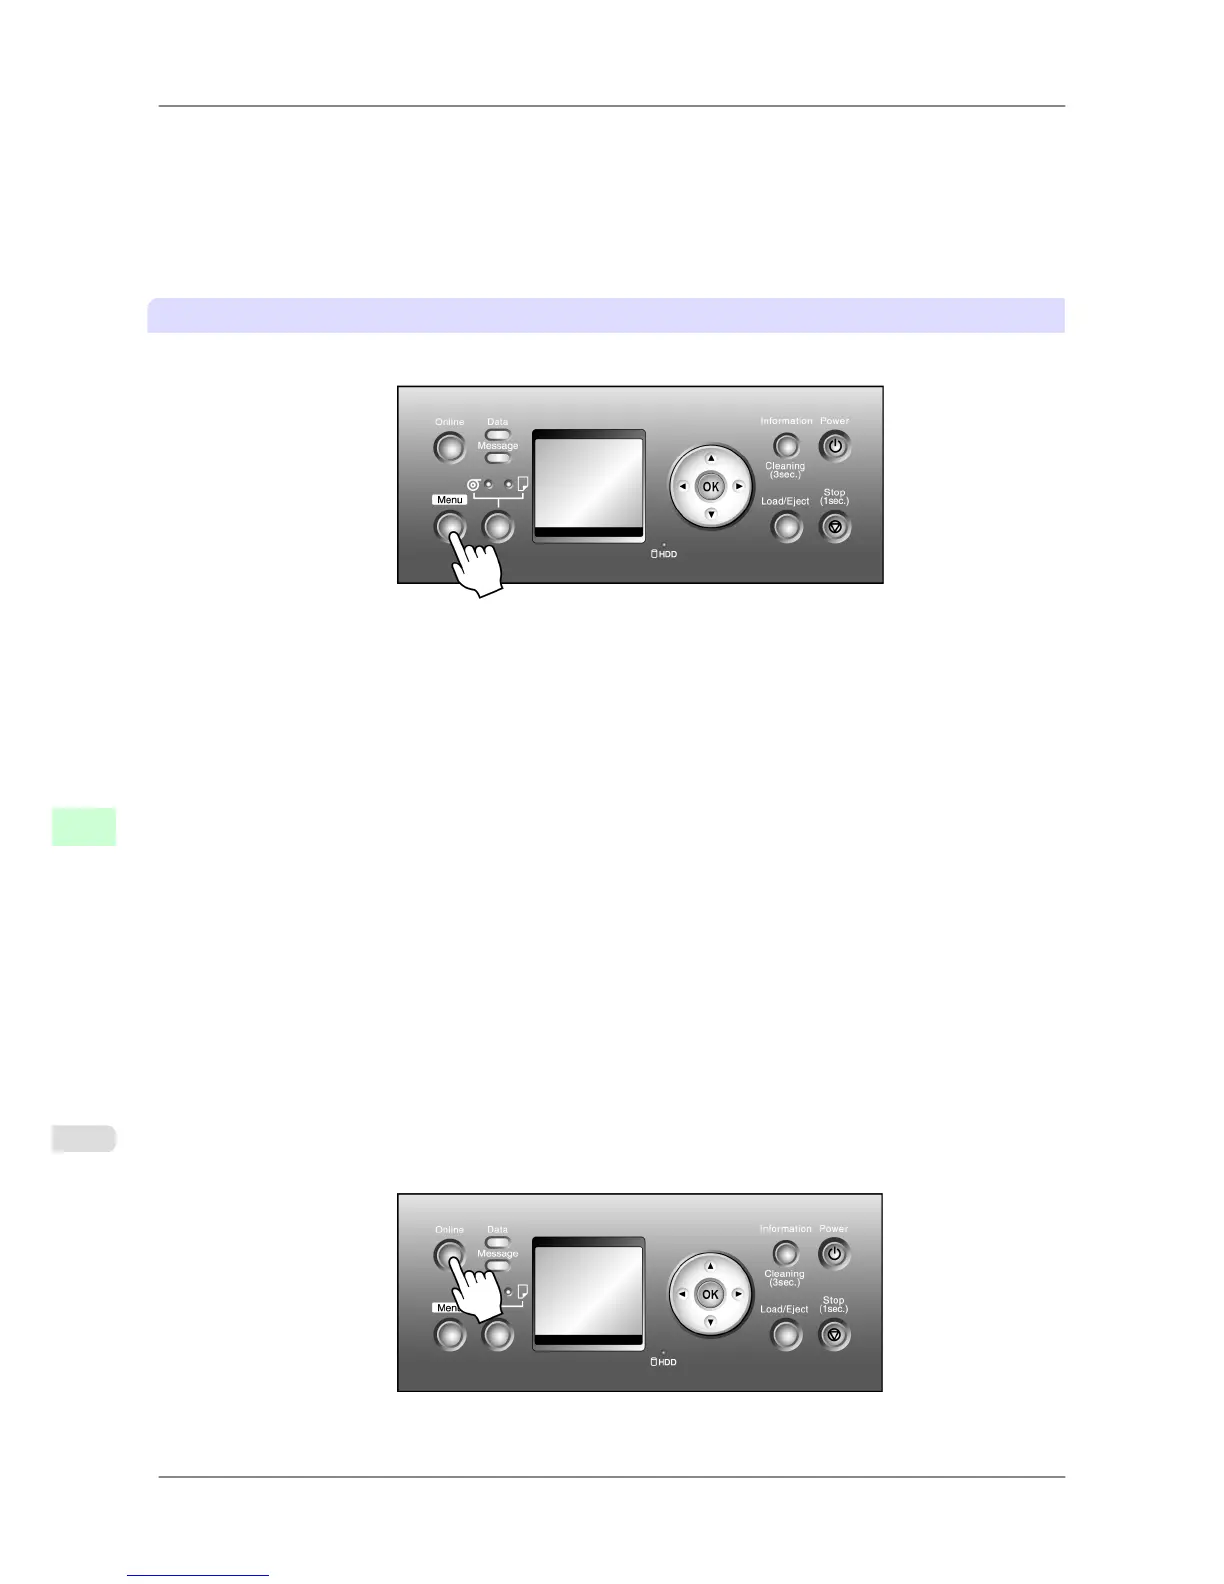
1. Press the Menu button to display MAIN MENU.
2. Press ▲ or ▼ to select Interface
Setup, and then press the ▶ button.
3. Press ▲ or ▼ to select NetWare, and then press the ▶ button.
4. Press ▲ or ▼ to select NetWare, and then press the ▶ button.
5. Press ▲ or ▼ to select On, and then press the OK button.
Return to the NetWare menu.
6. Press ▲ or ▼ to select Frame Type, and then press the ▶ button.
7. Press ▲ or ▼ to select the frame type to use, and then press the OK button.
Return to the NetWare menu.
8. Press ▲ or ▼ to select Print Service, and then press the ▶ button.
9. Press ▲ or ▼ to select the desired print service, and then press the OK button.
Return to the NetWare menu.
10. Press the Online button to bring the printer online.
If any of the settings is changed, a message for confirmation is displayed. In this case, press the OK button.
Network Setting
>
Network Setting (Windows)
>
Specifying the Printer's Frame Type iPF825
10
726