EPSON EPL-N3000/AcuLaser M4000N Revision C
Disassembly and Assembly 150 Paper Cassette 189
Confidential
Installation
1. Fit the SPRING STOPPER GEAR to the STOPPER GEAR, and install the
STOPPER GEAR to the HOUSING BASE 150 with the two screws (gold,
tapping, 6mm).
2. Install the GEAR LEVER LOCK to the HOUSING BASE 150.
3. Fit the SPRING BTM LOCK to the projection of the RACK BTM LOCK 150, and
install the RACK BTM LOCK 150 to the HOUSING BASE 150.
4. Install the GEAR BTM LOCK PINION to the HOUSING BASE 150, and engage
the teeth.
5. Install the COVER BTM UP to the HOUSING BASE 150 with the one screw
(gold, tapping, 6mm).
6. Fit the GEAR PB R to the SHAFT PB, and secure it to the SHAFT PB with the
hook.
7. Install the PLATE GEAR LOCK 150 to the HOUSING BASE 150, and secure it
with the hook.
8. Secure the PLATE GEAR LOCK 150 with the one screw (gold, tapping, 8mm).
9. Push down the PLATE ASSY BTM to have it locked.
Figure 4- 21. GEAR LEVER LOCK, LEVER BTM LOCK Installation
C A U T I O N
Carry out installation with the PLATE ASSY BTM in the raised
position. An inclined PLATE ASSY BTM can cause a paper skew
or paper jam. After installation, make certain that the PLATE
ASSY BTM is not inclined.
C A U T I O N
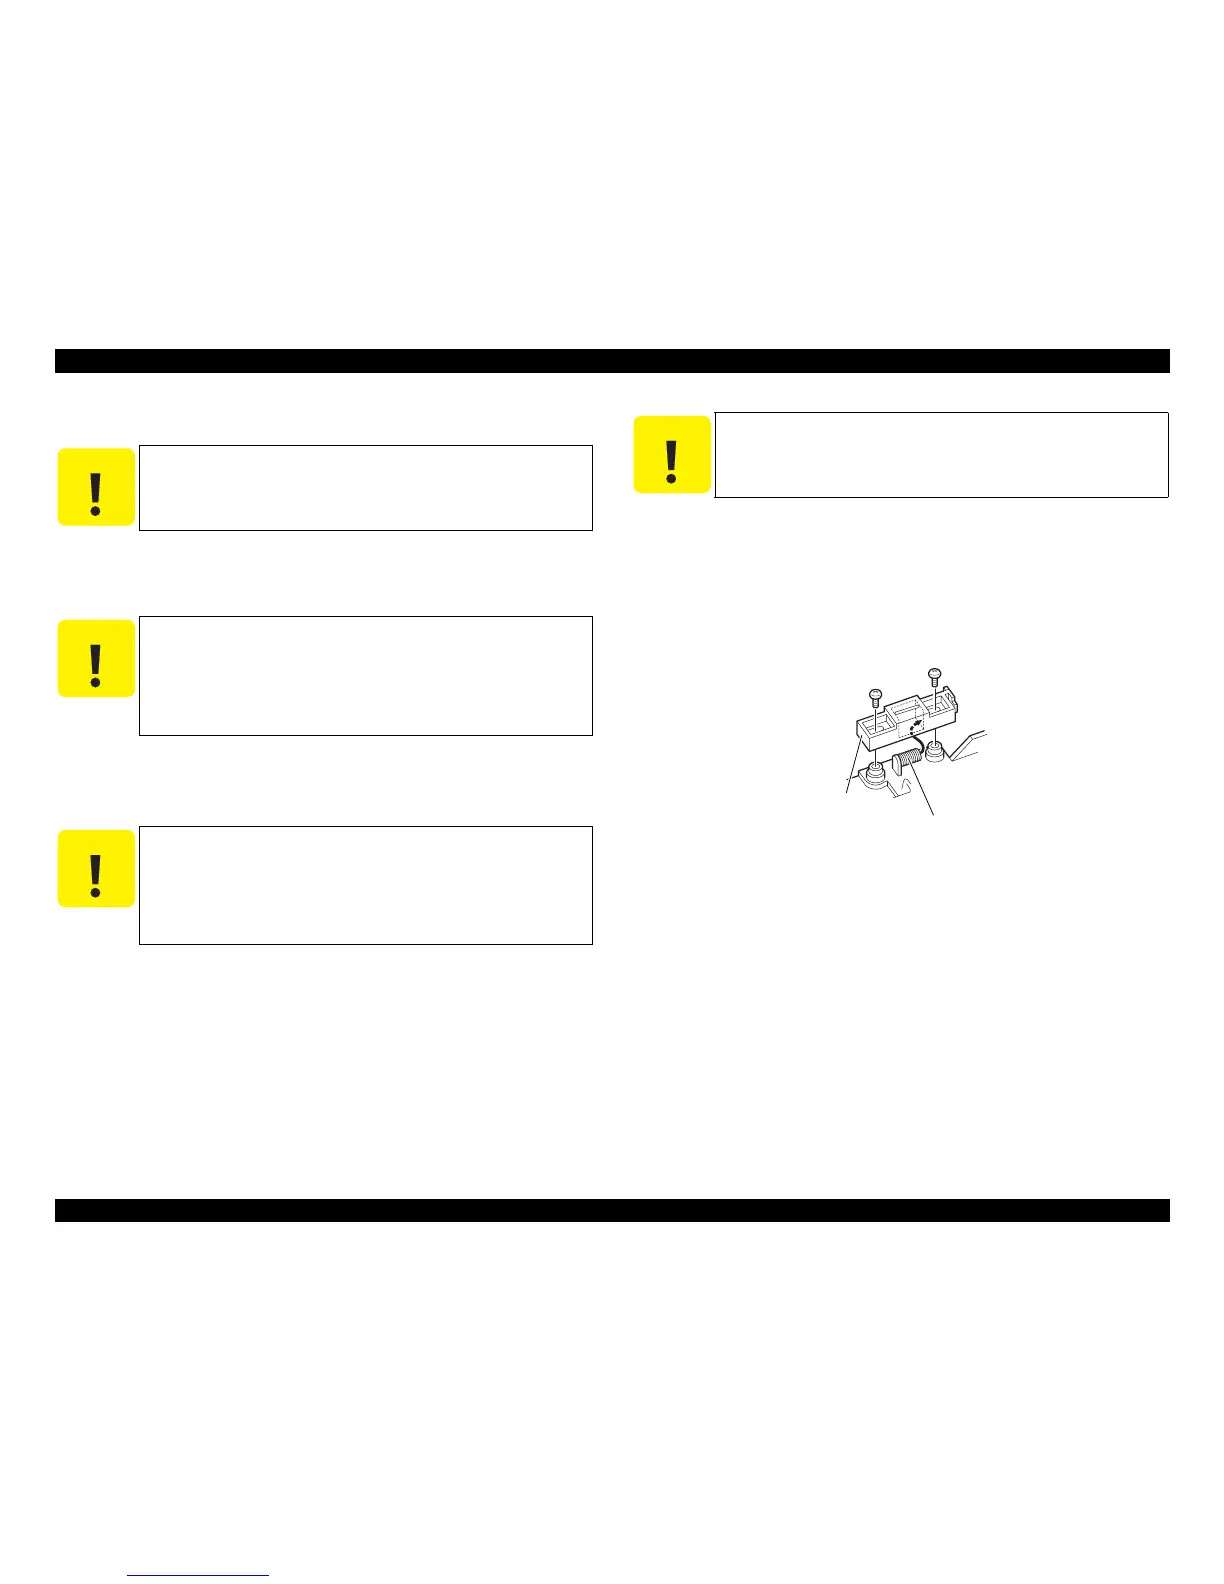
During removal of the STOPPER GEAR, take care not to lose
the SPRING STOPPER GEAR.
When installing the STOPPER GEAR, assemble so that the
end of the SPRING STOPPER GEAR makes contact with the
plate on the rear side of the HOUSING BASE 150 as shown in
the figure. (NOTE 2)
C A U T I O N
Install the RACK BTM LOCK150 with the LEVER BTM LOCK in
the raised position. After installation, push down the LEVER BTM
LOCK and release it. When it is released, check that the projection
of the LEVER BTM LOCK comes in contact with the stopper of the
HOUSING BASE 150 and
∇ mark is located above the stopper.
(NOTE1)
(p.188)
C A U T I O N
Engage the hooks of the GEAR PB R with the grooves in the
SHAFT PB properly.
STOPPER GEAR
SPRING STOPPER GEAR
NOTE2
(REAR VIEW)
WHEN ASSEMBLING