EPSON EPL-N3000/AcuLaser M4000N Revision C
Disassembly and Assembly AcuLaser M4000N Unique Disassembly Procedures 382
Confidential
4.14.3 150 FEEDER ASSY (AcuLaser M4000N)
Removal
1. Remove the COVER REAR 500. (p.270)
2. Remove the FUSER ASSY. (p.253)
3. Remove the COVER REAR (AcuLaser M4000N). (p.379)
4. With the BTR ASSY installed, remove the CHUTE TRANSFER. (p.258)
5. Disconnect the connector (P/J245) of the HARNESS ASSY TRAY1 from the
HARNESS ASSY CHUTE.
6. Disconnect the connector (P/J242) of the CLUTCH ASSY PH from the
HARNESS ASSY TRAY 1.
7. Disconnect the connector (P/J243) of the CLUTCH REGI from the HARNESS
ASSY TRAY 1.
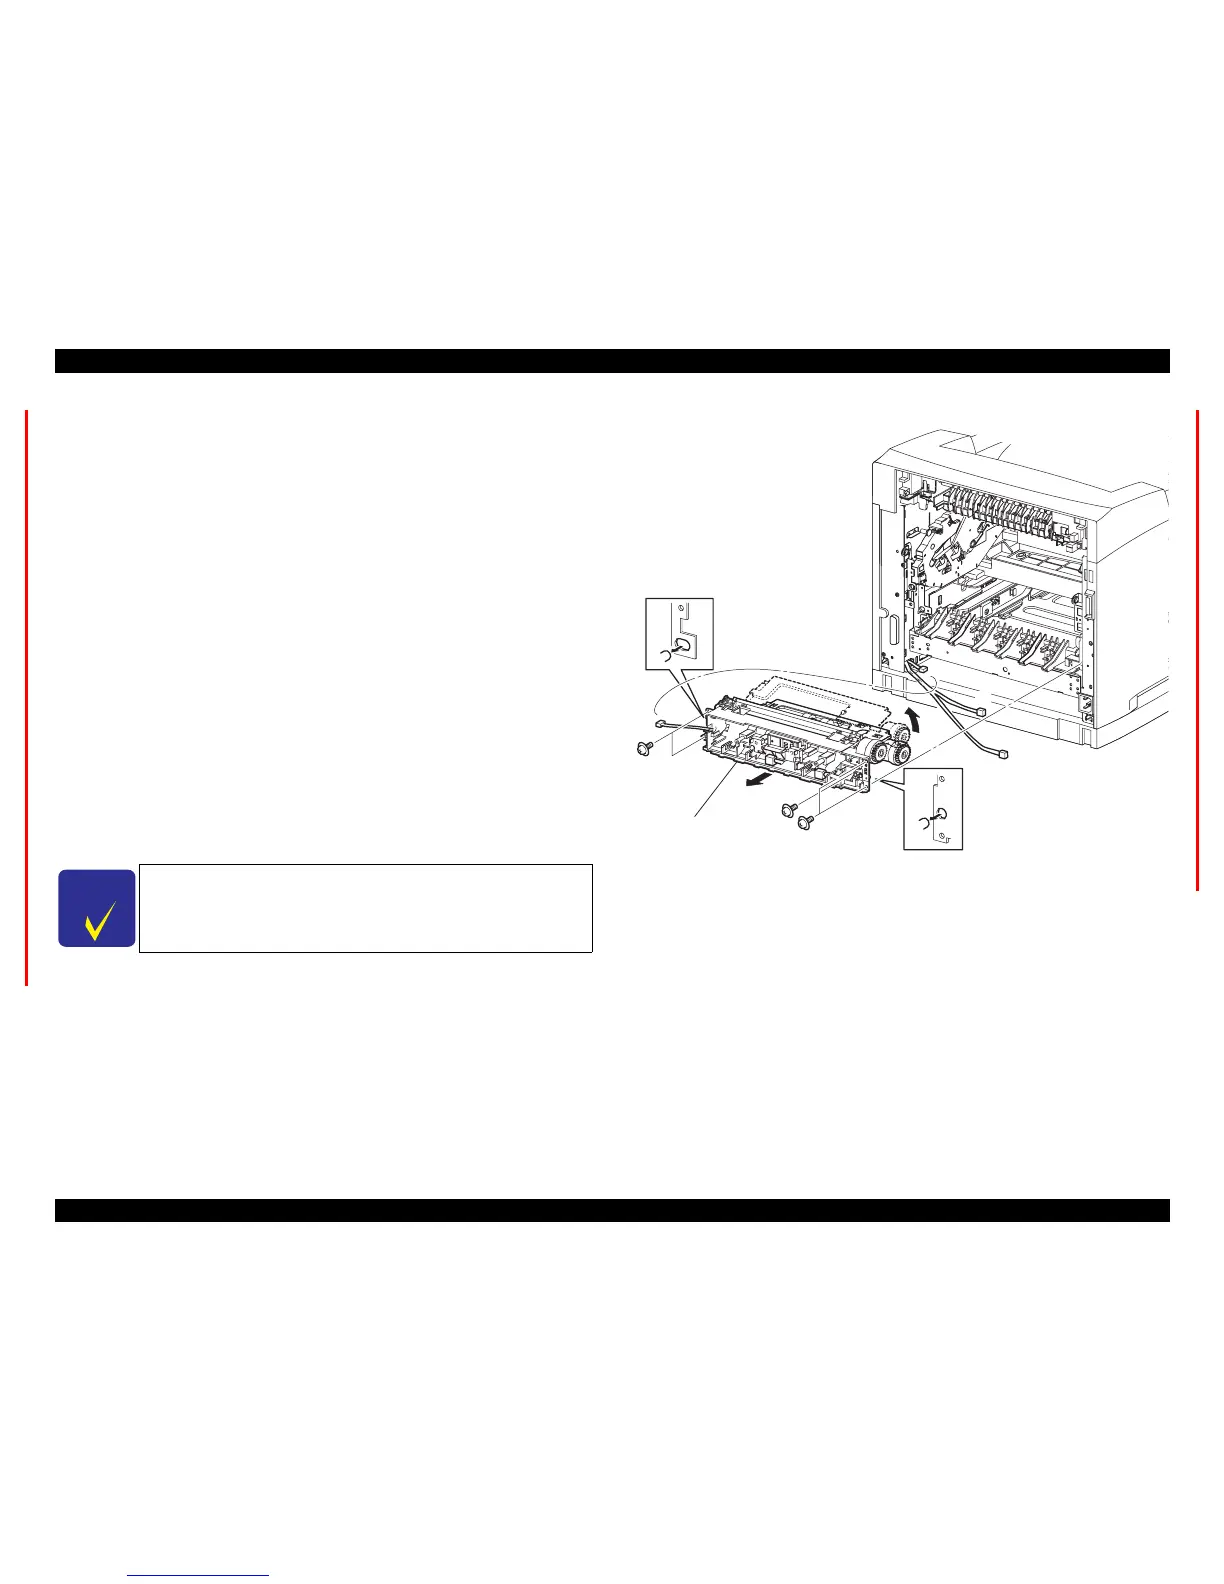
8. Remove the five screws (sliver, with collars, with spring washers, 8mm) securing
the 150 FEEDER ASSY to the printer body.
9. Shift the 150 FEEDER ASSY to the rear, and disengage the boss on the right side
of the 150 FEEDER ASSY from the frame.
10. Lift the 150 FEEDER ASSY in the direction of the arrow (A), and disengage the
boss on the left side of the 150 FEEDER ASSY.
11. Remove the 150 FEEDER ASSY from the printer body.
Figure 4- 176. 150 FEEDER ASSY Removal
C H E C K
P O I N T
The FEEDER ASSY clicks midway when lifted, but lift it by
application of slight force.
JG3148