EPSON EPL-N3000/AcuLaser M4000N Revision C
Disassembly and Assembly AcuLaser M4000N Unique Disassembly Procedures 395
Confidential
4.14.11 FAN DUPLEX (AcuLaser M4000N)
Removal
1. Remove the HSG UPPER ASSY. (p.343)
2. Remove the COVER LEFT. (p.353)
3. Remove the COVER RIGHT. (p.354)
4. Remove the COVER TOP (AcuLaser M4000N). (p.393)
5. Remove the COVER REAR DUP (AcuLaser M4000N). (p.394)
6. Remove the two screws (gold, tapping, 22mm) securing the FAN DUPLEX to the
COVER TOP.
7. Remove the FAN DUPLEX.
Installation
1. Install the FAN DUPLEX to the COVER TOP with the two screws (gold, tapping,
22mm).
2. Install the COVER REAR DUP (AcuLaser M4000N). (p.394)
3. Install the COVER TOP (AcuLaser M4000N). (p.393)
4. Install the COVER RIGHT. (p.354)
5. Install the COVER LEFT. (p.353)
6. Install the HSG UPPER ASSY. (p.343)
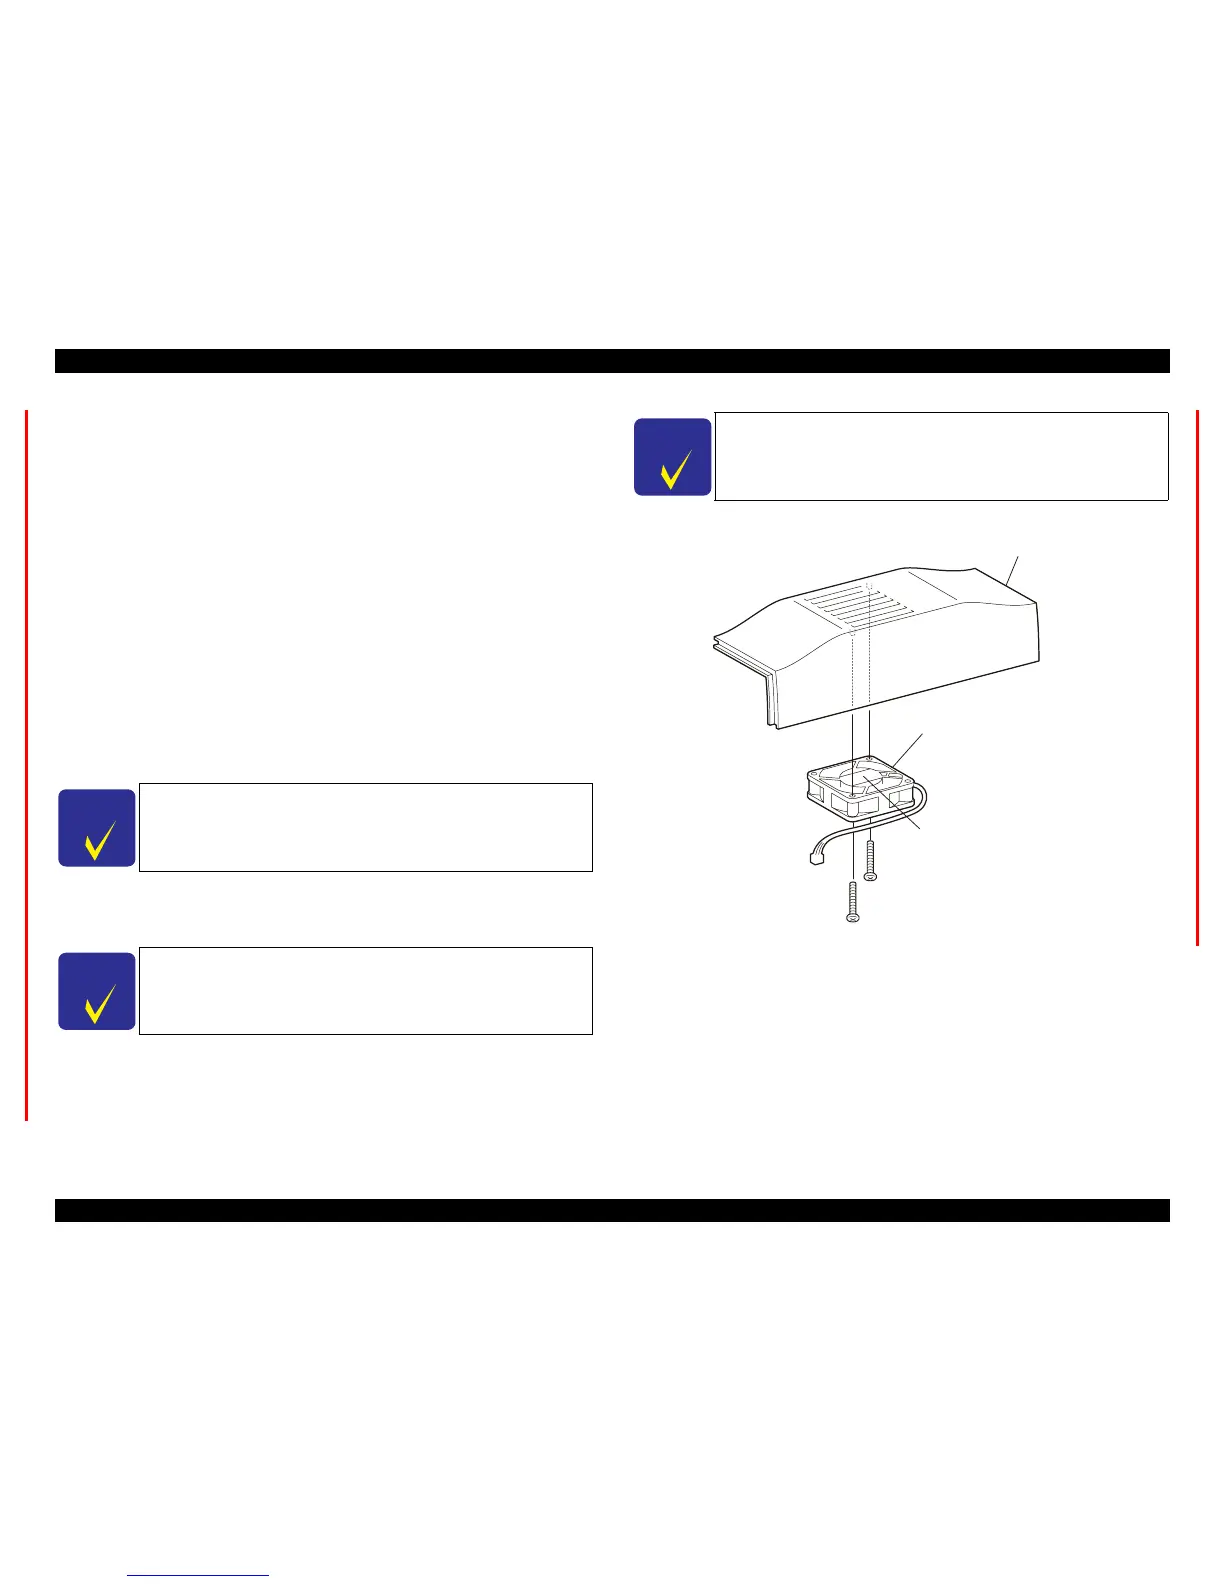
Figure 4- 184. FAN DUPLEX Removal
C H E C K
P O I N T
Install the FAN DUPLEX with its label surface outside.
C H E C K
P O I N T
When installing the COVER TOP, match its positioning holes with
the bosses of the COVER HSG DUP.
C H E C K
P O I N T
When installing the COVER RIGHT, match its positioning holes
with the bosses of the COVER HSG DUP.
FAN DUPLEX
LABEL
COVER REAR DUP
3)