5-32 Phaser 5500 Printer Service Manual
2
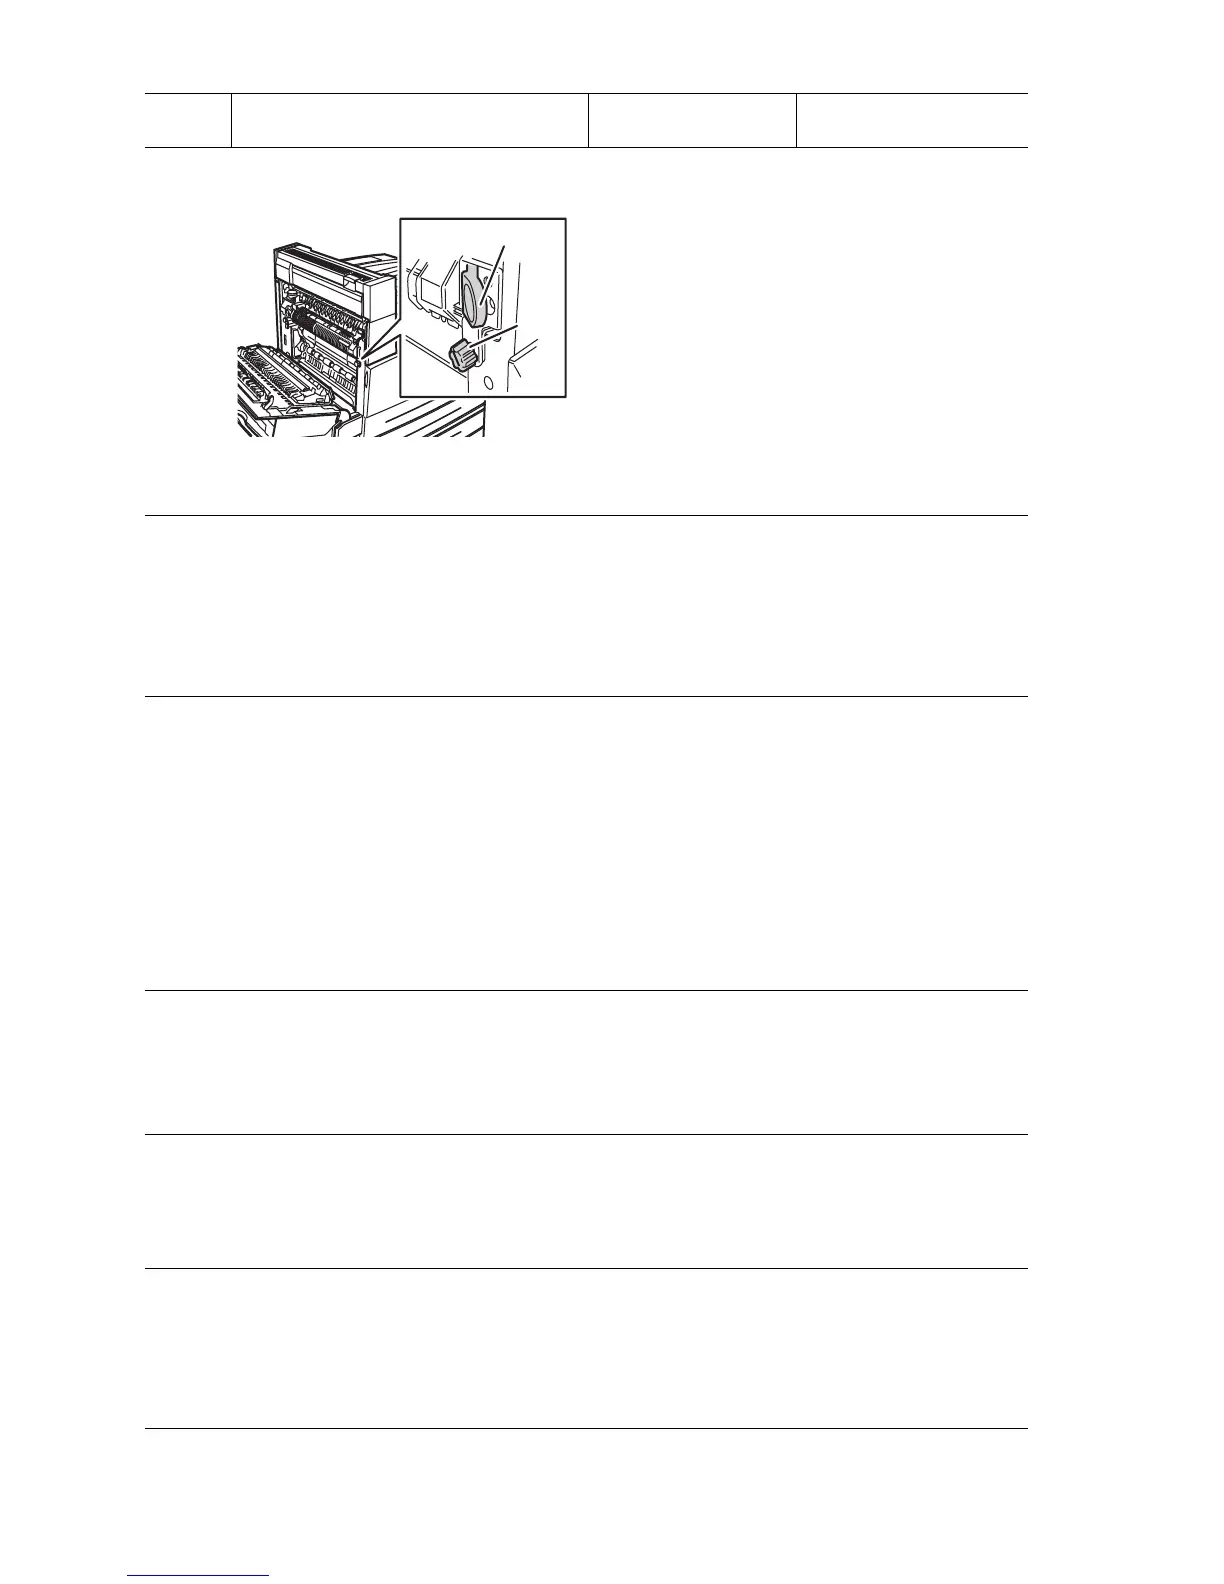
1. Check that the thumbscrews on
on the Fuser Assembly are tight.
2. Print a Test Print.
Is the Test Print Normal?
Problem solved. Go to Step 3.
3
Check the Heat and Pressure Roller.
WARNING: Allow the Fuser to cool
before removing it.
Remove the Fuser.
Is there contamination or cracks
on Heat or Pressure Roller?
Replace the Fuser
(
page 8-76).
Go to Step 4.
4
Check image development.
1. Print a Test Print.
2. Turn off the power while printing.
3. Carefully remove the Drum
Cartridge and check the image
formed on the drum right before
the Transfer Roller.
Is the image completely formed
on the drum? Is it clear, black, and
easy to read?
Go to Step 5. Go to Step 7.
5
Check image transfer.
Check the image formed on the
drum, right after the Transfer Roller.
Is the image completely
transferred on the paper?
Go to Step 6. Go to Step 7.
6
Check the HVPS.
1. Replace the HVPS (page 8-86).
2. Print a Test Print.
Is the Test Print normal?
Problem solved. Go to Step 7.
7
Check the Engine Logic Board.
1. Replace the Engine Logic Board
(page 8-89).
2. Print a Test Print.
Is the tTest print normal?
Problem solved. Replace the I/P Board
(
page 8-91).
Unfused Image Troubleshooting Procedure (Continued)
Step Actions and Questions Yes No
E
s5500-065
Handle
Knob

 Loading...


