FRU Disassembly 8-53
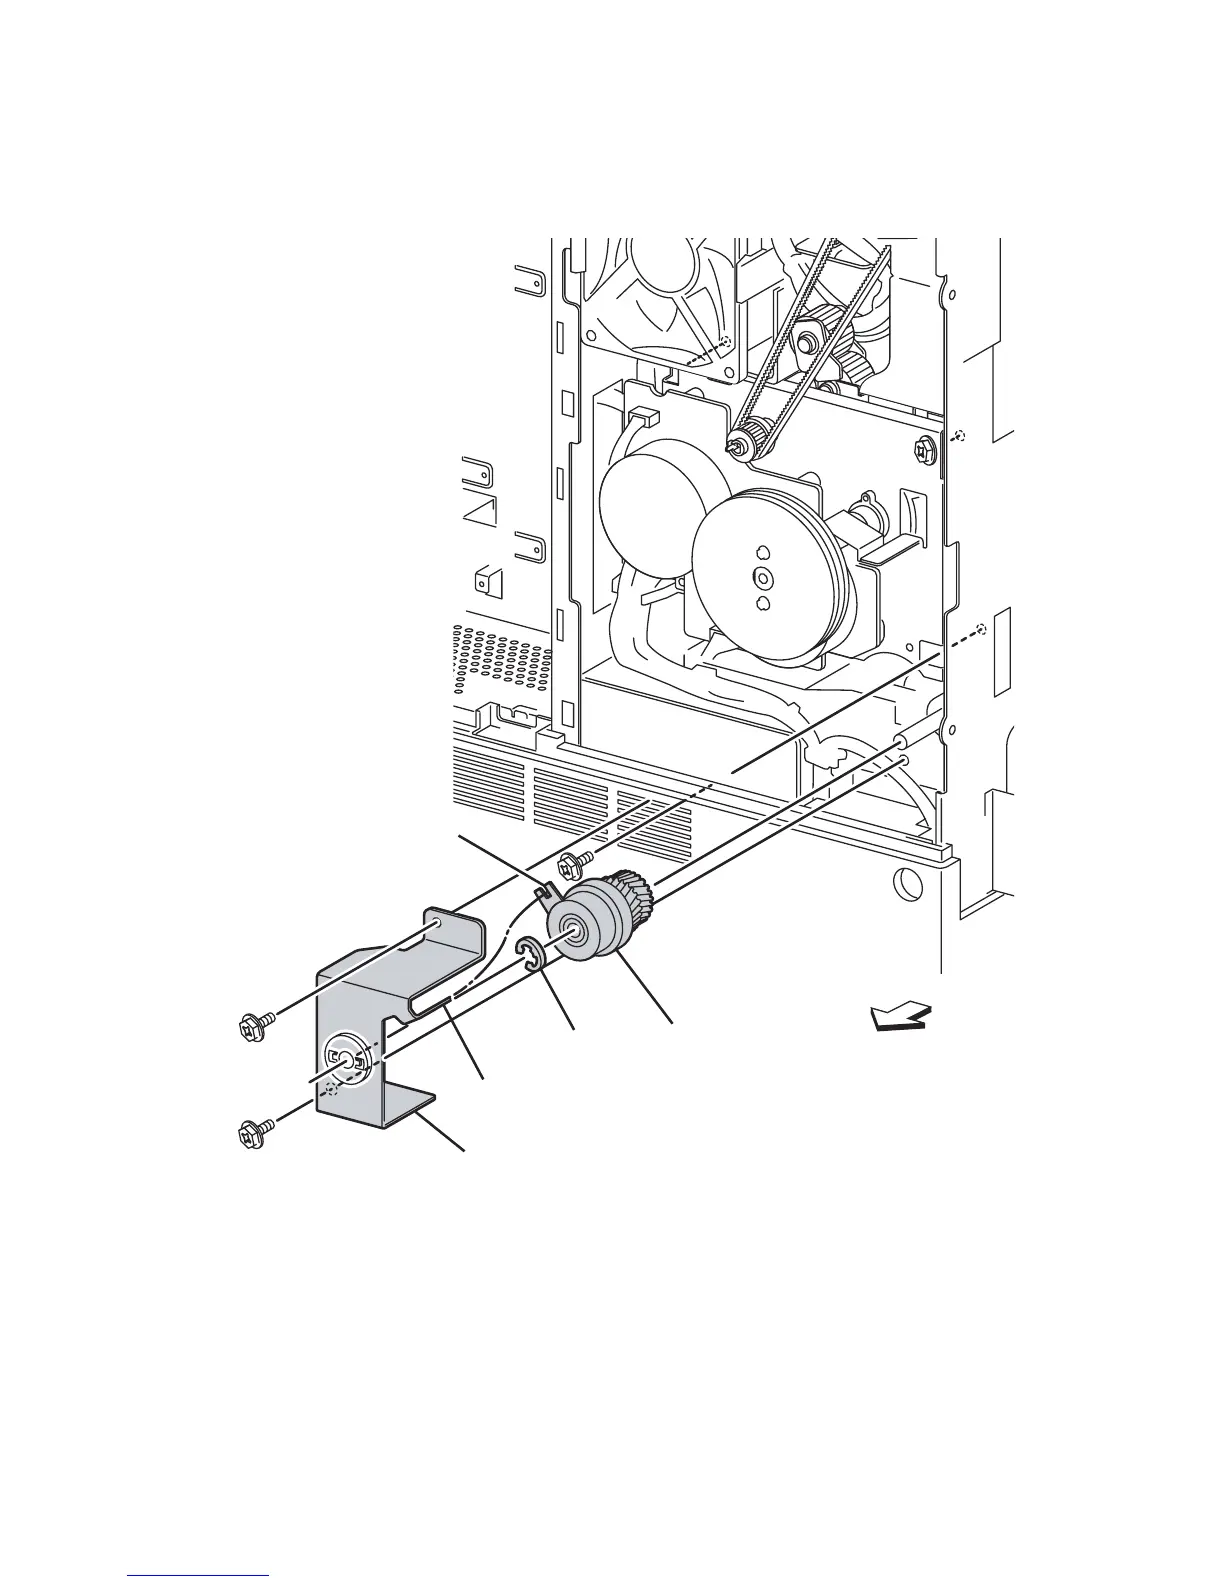
Take Away Clutch
1. Remove the I/P Board Cover (page 8-14).
2. Remove the Upper Rear Cover (page 8-15).
PL4.5.14
3. Remove the screws securing the Take Away Clutch Bracket to the frame and
Motor Assembly and remove the bracket.
4. Disconnect the Take Away Clutch connector from the harness.
5. Remove the E-clip securing the Take Away Clutch and remove the Clutch.
Replacement Note
Make sure the notch in the clutch fits over the protrusion.
Take Away Bracket
Take Away Clutch
E-Ring
Protrusion
Notch
Rear
s5500-599

 Loading...


