genesys ensemble/genesys grand ensemble
Page 32
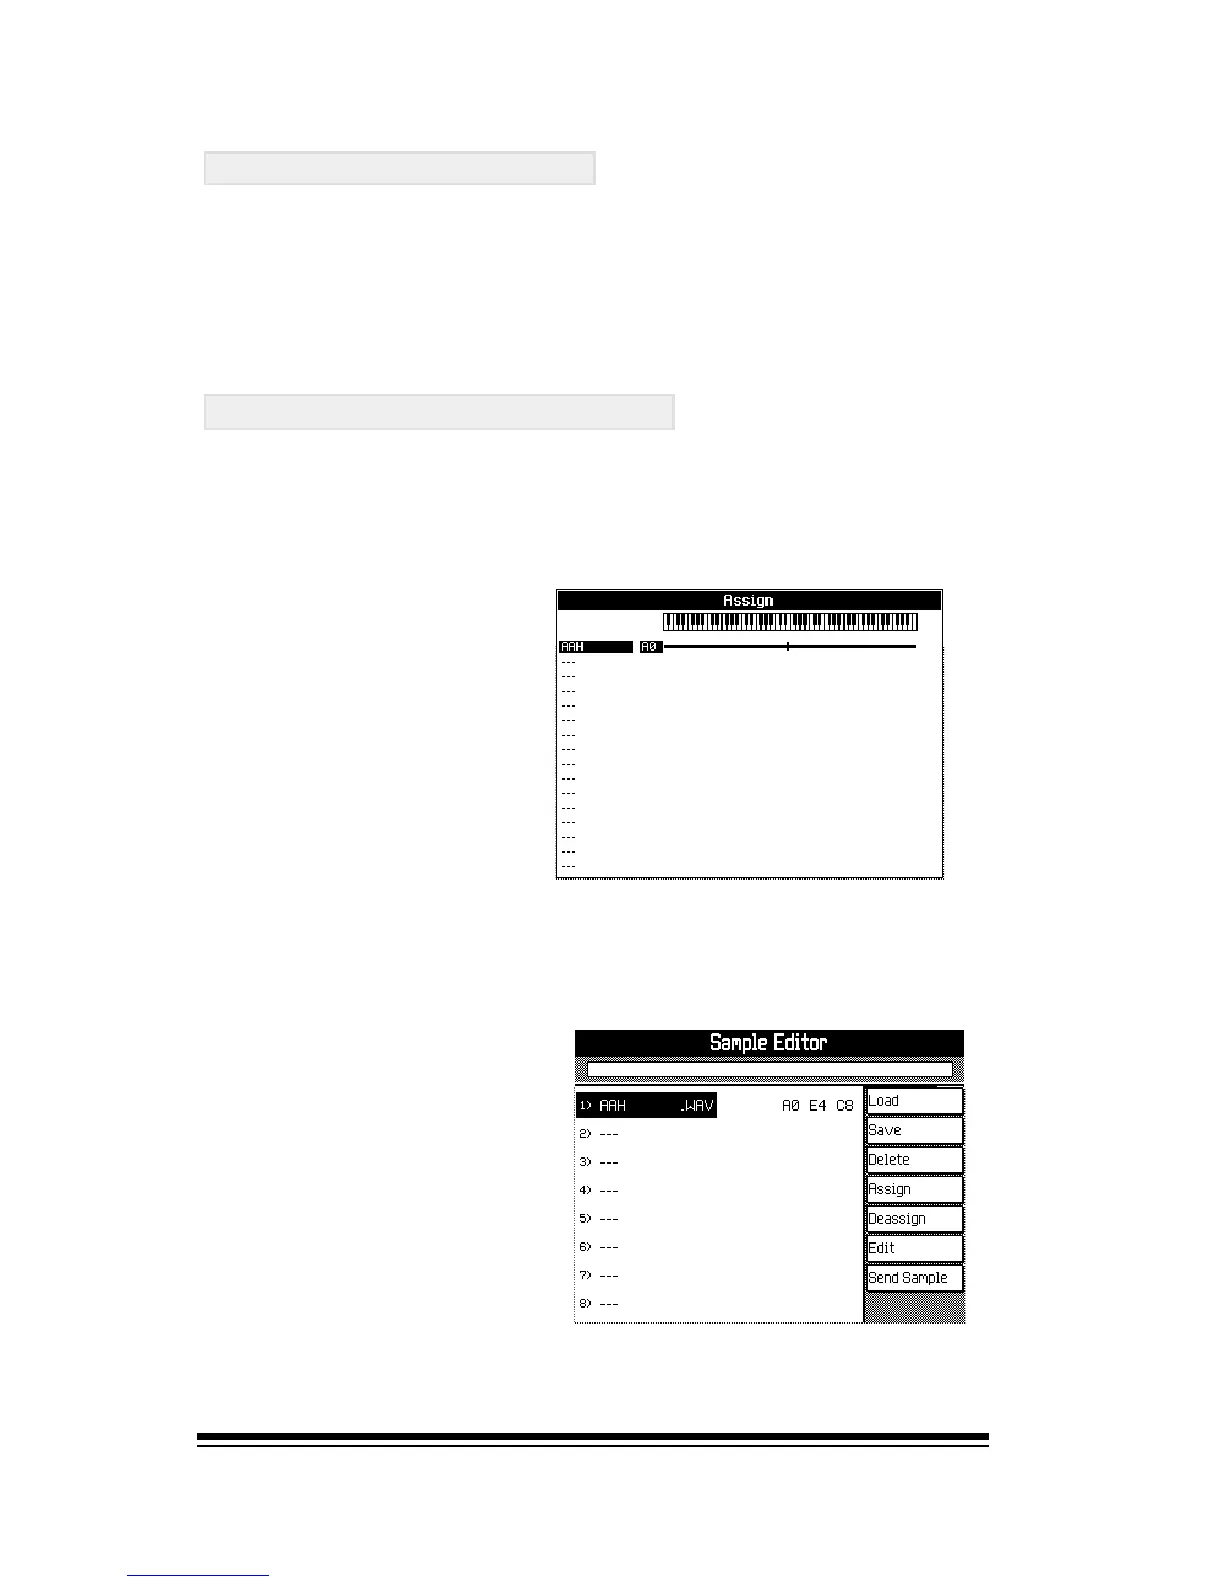
ASSIGNING SAMPLES
Once youve loaded in all the samples that you need, the
only essential step you need to take before you can save
them is to ASSIGN, (or map), your samples to a specific
range of keys. Press the ASSIGN button, (F4) to open the
ASSIGN window
Assigning a single sample
If youve only loaded a single sample then youll probably
just want to assign it to the full range of keys. If you have
loaded more that one sample, ignore this section and jump
to the Assigning Multiple Samples section.
When you enter the
ASSIGN window, you will
see the lowest and
highest note range
displayed to the right of
the sample name.
The default values are A0 to C8 - the full length of the
keyboard. To accept and confirm these settings, simply press
the ENTER button, then ESCAPE to return to the main
SAMPLE TRANSLATOR screen.
You can see that the
range of assigned notes
appears to the right of
the sample name.
You can now press SAVE (F2) and jump to the section
entitled Saving your new sound.