Commissioning
60
Pos: 42.15 /Übersc hriften/Überschri ften 2/A-E/Demontage Transport-Niederha lte-Spannvorric htung @ 169\mod_136964023163 9_78.docx @ 1465252 @ 2 @ 1
5.2 Removing the transport holding down tensioning device
Pos: 42.16 /Abkürzun gen /Abkürzungen sprac hneutral/Rundbal lenpressen/Compri ma CF 155 XC_fett @ 66\mod_1302006 789716_78.docx @ 593531 @ @ 1
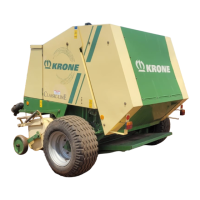
Comprima CF 155 XC
Pos: 42.17 /BA/Er stinbetriebnahme/Rundba llenpresse/Hin weis Spannarme herunter ziehen @ 66\mod_1302006118 603_78.docx @ 593450 @ @ 1
Note
If the clamping arms of the machine were pulled down and attached for transportation with the
tensioning system (not all truck types), the tensioning system must be removed before the
machine is started up.
Pos: 42.18 /BA/Er stinbetriebnahme/Rundba llenpresse/Demo ntage der Spannvorri chtung @ 209\mod_138728979 2806_78.docx @ 1723651 @ @ 1
Removing the tensioning device from the right and left sides of the machine:
DANGER! – The tensioning rocker and the attached tensioning device are under
pressure!
Effect: Injuries or damage to the machine.
• No one is permitted inside the danger zone.
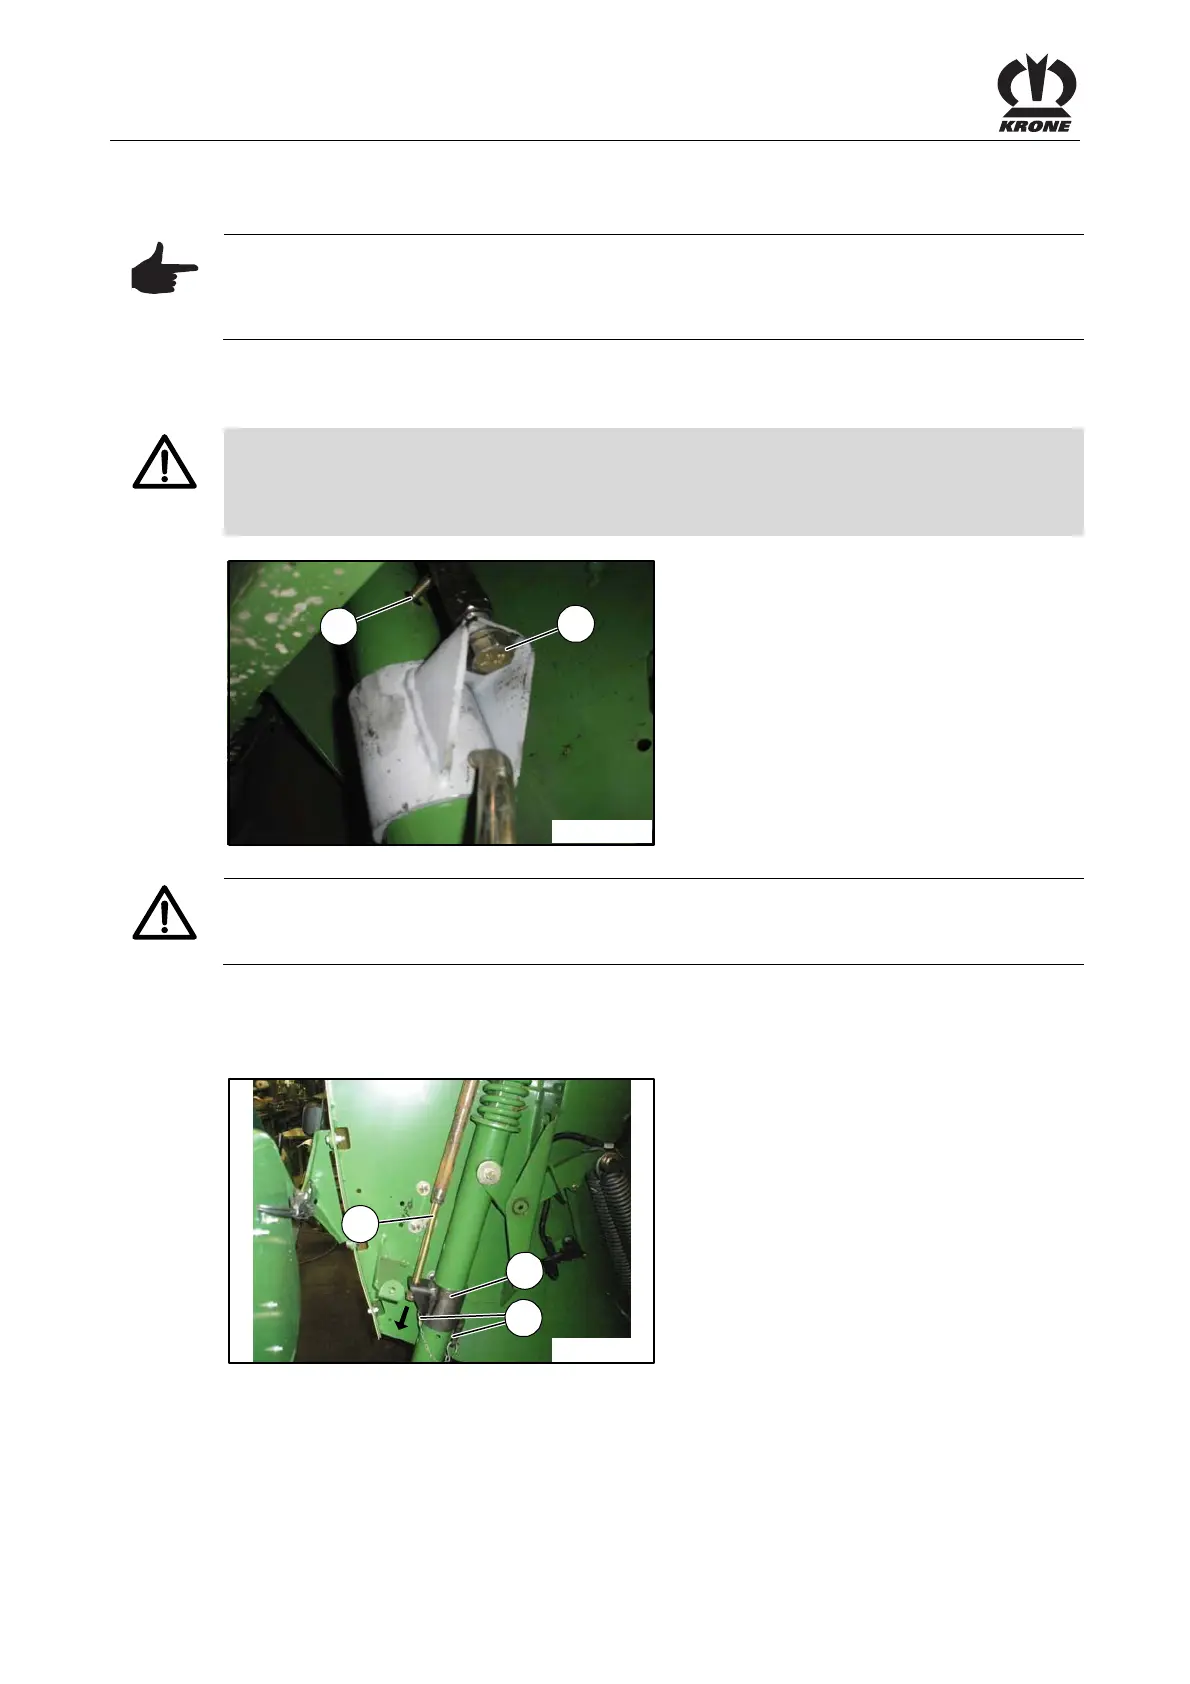
COM00309
1
2
Fig. 27
ATTENTION!
The floor conveyor is tensioned by loosening the screws (1).
• Keep out of the danger zone!
• Remove the screw (2) by slightly tightening or loosening the screw (1).
• Loosen the screws 1 (on left and right) equally on both sides and remove.
COM00310
1
3
4
Fig. 28
• Remove the cotter pin and bolt (4) and remove the slip-on bushing (3) downwards. Re-
attach the bolt (4) and secure with the cotter pin.