3.30
SEL-400 Series Relays Instruction Manual Date Code 20171006
Basic Relay Operations
Making Simple Settings Changes
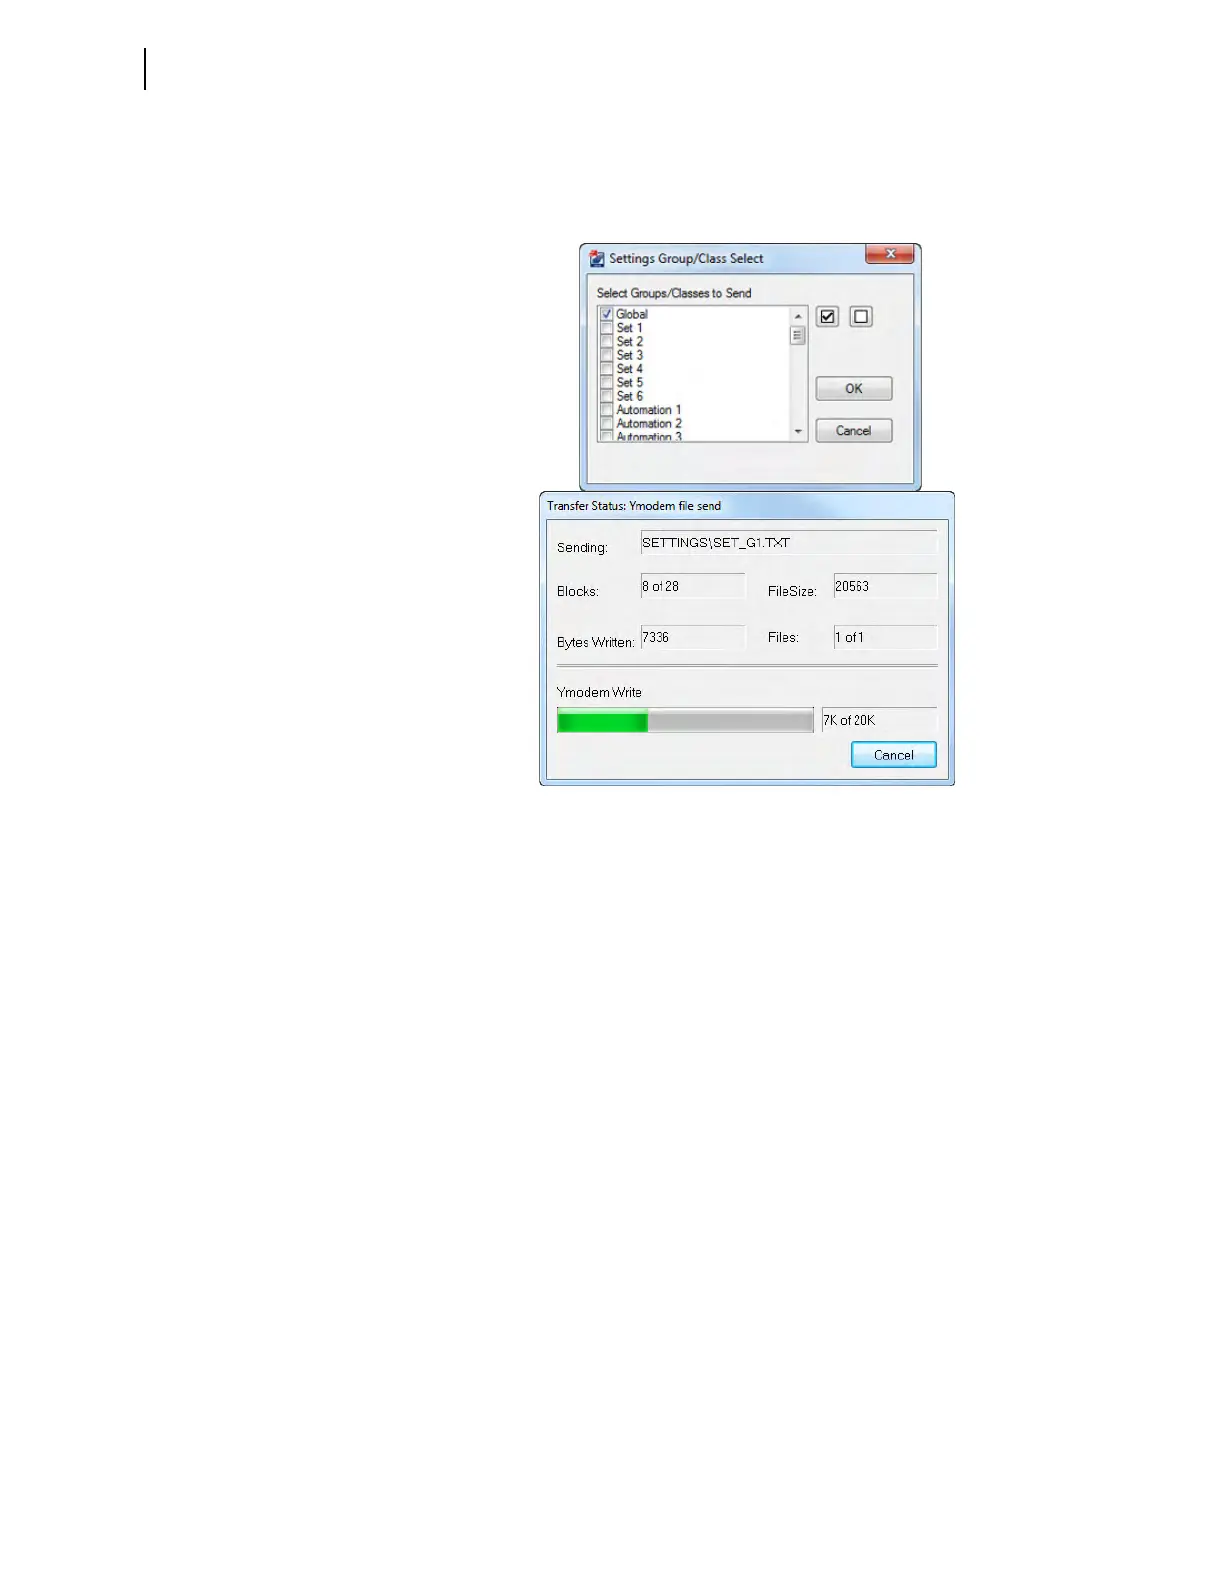
c. Click OK.
QuickSet responds with the second dialog box shown in Figure 3.22.
If you see no error message, the new settings are loaded in the relay.
Settings From the Front Panel
You can use the relay front panel to enter some of the relay settings. The relay
presents the settings in order from class to instance (if applicable) to category to
the particular setting, in a manner similar to setting the relay using a terminal.
Use the LCD and the adjacent navigation pushbuttons to enter each character of
the setting in sequence. This can be a laborious process for some settings (e.g.,
long SEL
OGIC control equations). However, if you need to make a quick correc-
tion or have no faster means to make settings, settings functions are available at
the front panel. For more information on making settings changes from the front
panel, see Set/Show on page 4.25.
Entering DATE and TIME From the Front Panel
The purpose of the procedure in the following steps is to familiarize you with
entering data from the relay front panel.
Step 1. Prepare to use the front panel by applying power to the relay.
Note that the relay front-panel display shows a sequence of LCD
screens called the
ROTATING DISPLAY. (If you do not operate the front
panel for a certain period, the relay will enter front-panel time-out
mode and you will see the sequential screens of the
ROTATING
DISPLAY
.)
Step 2. Press the ENT pushbutton to display the
MAIN MENU of Figure 3.23.
Figure 3.22 Uploading Global Settings to the Relay