Chapter 21: Fades and Crossfades 473
To create a fade-in:
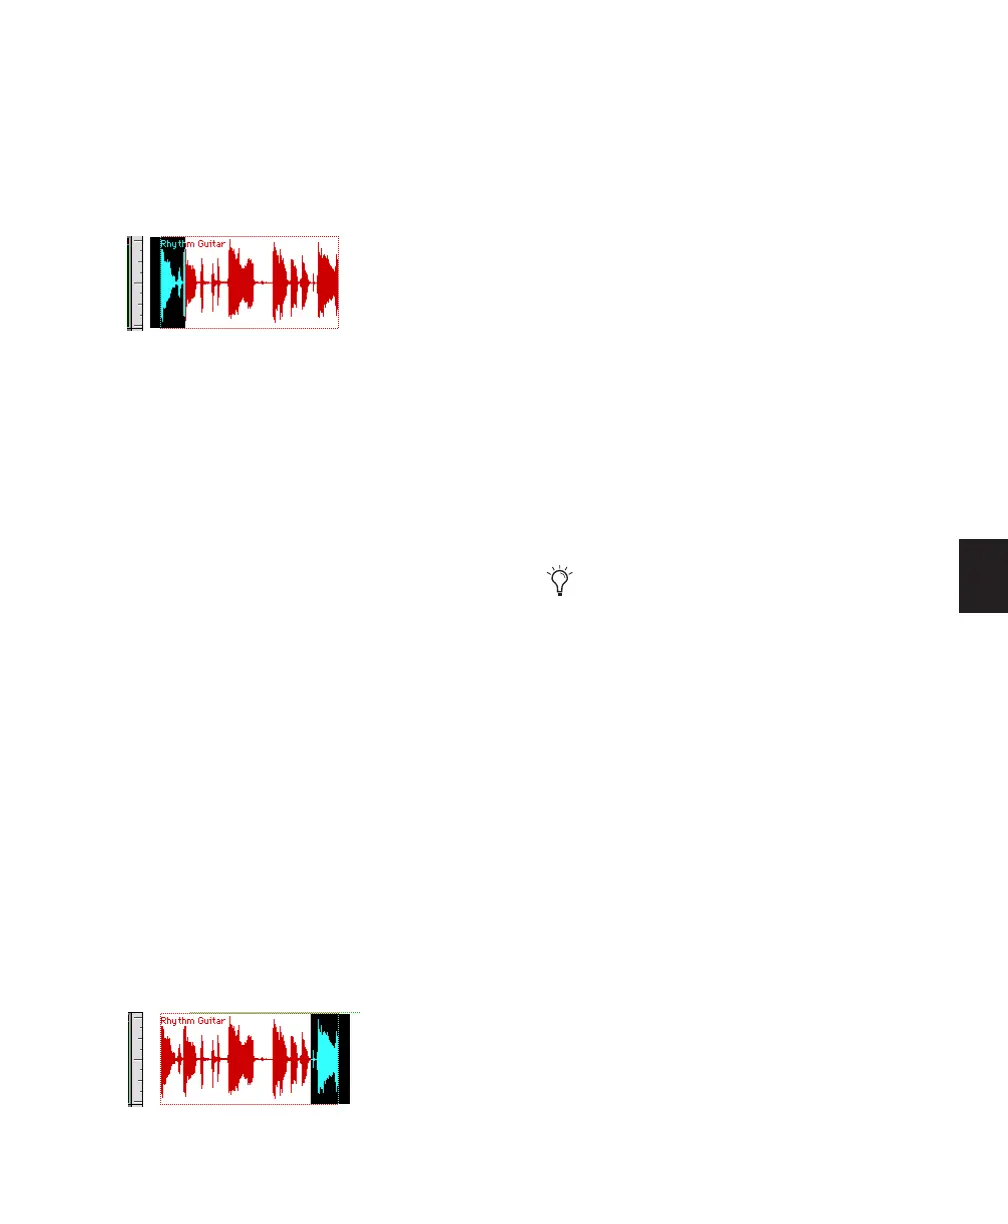
1 Select the beginning of the region that you
want to fade in. The selection must extend to
the exact beginning of the region or a blank area
prior to the region in the track.
2 Do one of the following:
• Choose Edit > Fades > Create.
– or –
• Press Control+F (Windows) or Com-
mand+F (Mac).
3 Select the fade-in curve and configure the
other Fade settings.
4 Click the Audition button to audition the
fade.
5 Adjust the curve by dragging it or by selecting
a different shape from the In Shape pop-up
menu.
6 Click OK.
Pro Tools calculates the fade and writes it to
disk. The selected fade curve appears in the re-
gion.
To create a fade-out:
1 Select the end of the region that you want to
fade out. The selection must extend to the exact
end of the region or a blank area after the region
in the track.
2 Do one of the following:
• Choose Edit > Fades > Create.
– or –
• Press Control+F (Windows) or Com-
mand+F (Mac).
3 Select the fade-out curve and configure the
other Fade settings.
4 Click the Audition button to audition the
fade.
5 Adjust the curve by dragging it or by selecting
a different shape from the Out Shape pop-up
menu.
6 Click OK.
Pro Tools calculates the fade and writes it to
disk. The chosen fade curve appears in the re-
gion.
To fade from the insertion point to a region start
point:
1 Place the cursor at a location in the region.
2 Do one of the following:
• Choose Edit > Fades > Fade To Start.
– or –
• Press Alt+D (Windows) or Control+D
(Mac).
The fade is applied based on the Fade In prefer-
ences (see “Fade and Crossfade Preferences” on
page 472).
Selecting the beginning of a region for a fade-in
Selecting the end of a region for a fade-out
Fade lengths can later be resized with any of
the Trim tools.