Chapter 36: Working with Video in Pro Tools 821
QuickTime Movie Time Code Burn-in Before re-
ceiving QuickTime movies, request the time
code display to be “burned in” (superimposed) if
possible. This ensures that Pro Tools places the
file at the correct time code location in the
Timeline.
Sufficient Space on Video Drives Ensure suffi-
cient space is available on dedicated video-only
drives. Video files take up significantly more
space than audio, and must be kept on separate
drives from audio files to prevent performance
problems.
Video Tracks
Video tracks let you add or import video to the
Timeline, as follows:
• Pro Tools LE lets you add or import one video
track per session, with a limit of one video
playlist and one QuickTime movie on that
track.
• Pro Tools HD and Pro Tools LE with
DV Toolkit 2 let you add multiple video tracks
to the Timeline, with multiple video playlists
and multiple QuickTime movies per track.
• Pro Tools HD with an Avid video peripheral
lets you mix QuickTime and Avid video in the
Timeline (but not together on the same video
track).
To create a new video track:
1 Choose Track > New.
2 In the New Tracks dialog, do the following:
• Select Video Track from the Track Type
pop-up menu.
– and –
• Enter the number of new video tracks.
3 Click Create.
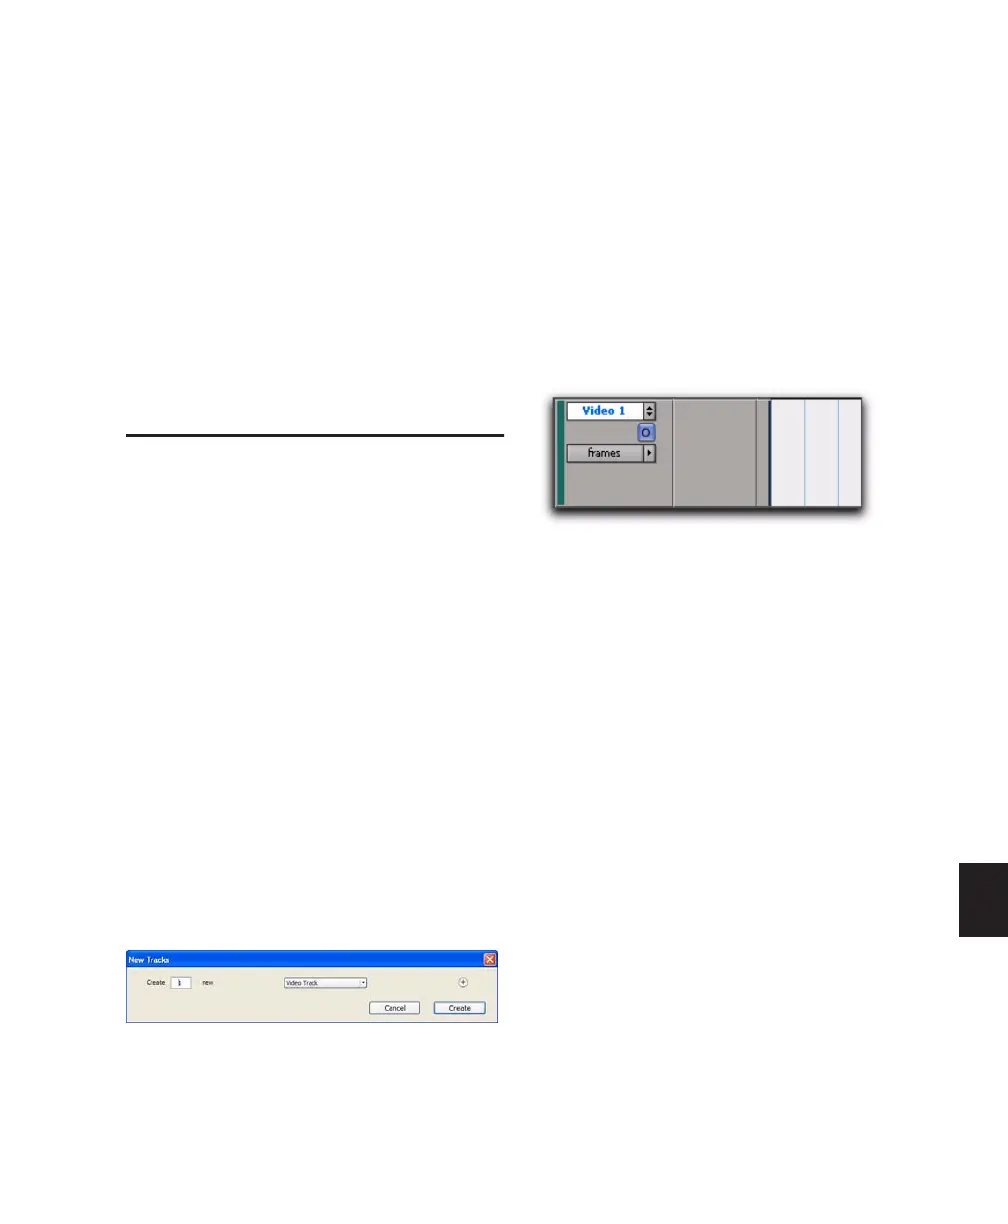
A new empty video track appears. Video tracks
may appear slightly different depending on
your system configuration or the type of video
added to a video track.
Main Video Track
The main video track is the video track that is
currently online, and will be played back with
any audio in the session.
When the main video track is offline, you can
play back the audio in your session without
playing back the video. When the video is off-
line, the Video Online button changes to grey so
you can tell at a glance whether your video is
offline or simply playing black fill.
If no video track is currently online, the main
video track is the video track that was last on-
line.
New Tracks dialog
Empty video track