Pro Tools Reference Guide540
5 Click Generate.
Bar|Beat Markers are automatically generated at
the beginning and end of the selection, indicat-
ing the material’s tempo and meter.
Generating Beat Triggers
Once you have accurately defined the selection
range, Beat Detective can generate beat triggers
based on detected MIDI notes or audio peak
transients. The range and type of transients
found can be adjusted with the Detection set-
tings, allowing you to zero in on the bars, beats,
and sub-beats in the material, while avoiding
the non-rhythmic content.
To generate beat triggers from an audio selection:
1 In the Edit window, make an audio selection.
2 Select Audio from the operation pop-up
menu.
3 In the Beat Detective window, select one of
the following modes:
• Bar|Beat Marker Generation
• Groove Template Extraction
• Region Separation (audio only)
4 Define or capture the selection as described in
“Defining a Beat Detective Selection” on
page 538.
5 From the Analysis pop-up menu, choose one
of the following detection algorithms:
• High Emphasis, works well with high fre-
quency, inharmonic material, such as cym-
bals and hi-hats, while avoiding low
frequency material.
• Low Emphasis, works well with low fre-
quency material, such as bass guitar and
kick drum, as well as with most harmonic
material, such as piano or rhythm guitar.
6 Click the Analyze button.
7 Depending on the rhythmic content of the se-
lection, set the Resolution to Bars, Beats, or Sub-
Beats.
8 Adjust the Sensitivity slider until beat triggers
appear on the beats and sub-beats in the selec-
tion.
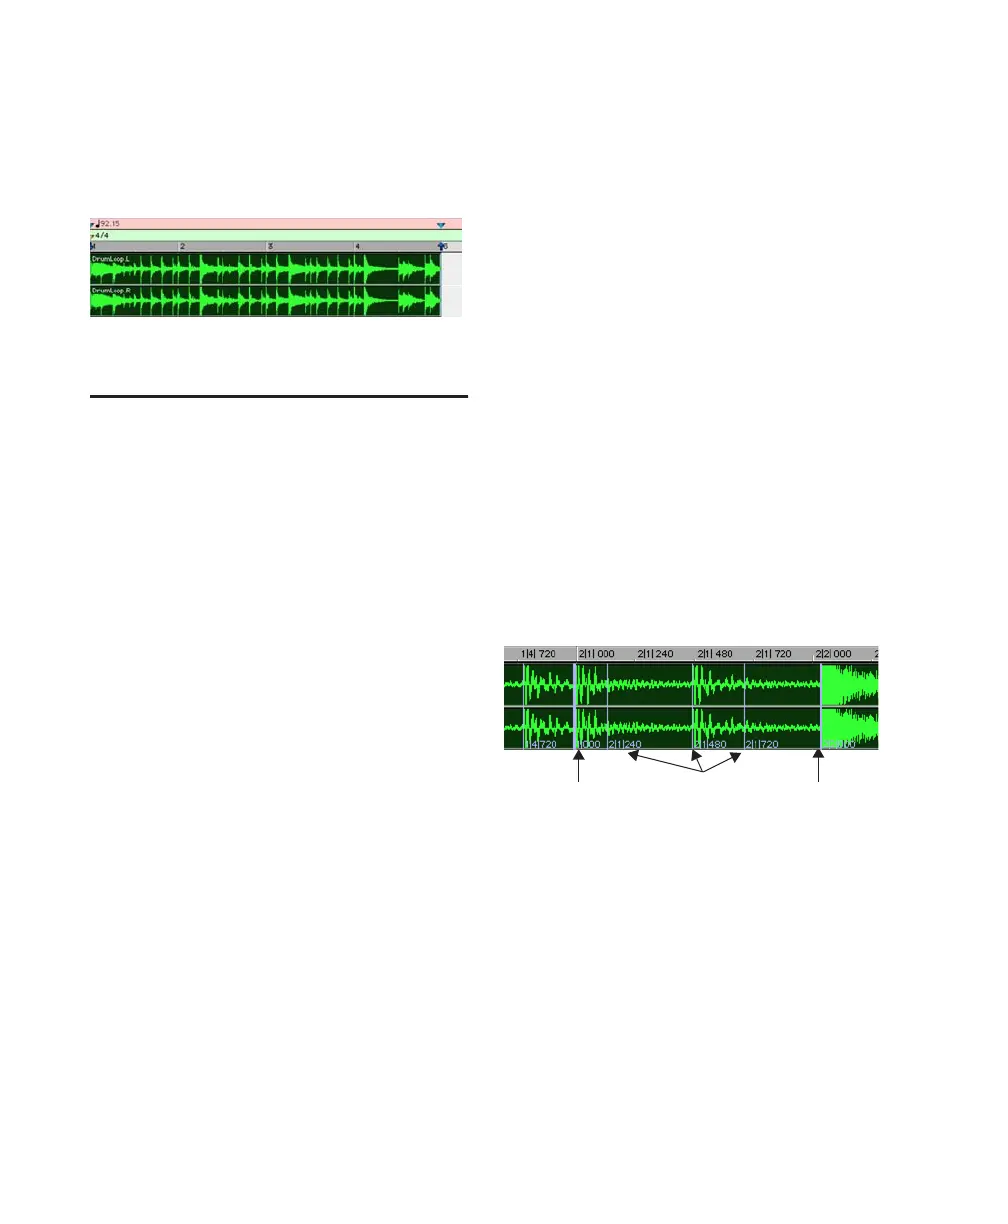
Bar triggers are indicated with thick lines, beat
triggers with medium lines, and sub-beat trig-
gers with thin lines.
9 You can zoom to the sample level and click
the Scroll Next button to scroll to the next trig-
ger within the selection. To scroll to the previ-
ous trigger, Alt-click (Windows) or Option-click
(Mac) the Scroll Next button (see “Navigating
Consecutive Beat Triggers” on page 545). This is
useful to confirm that the beat triggers are ap-
pearing in the appropriate locations. If false trig-
gers appear between the beats or sub-beats
(representing non-rhythmic material) delete
them (see “Deleting Beat Triggers” on page 543),
or reduce the Sensitivity value.
Beat Detective generated Bar|Beat Markers identifying
tempo and meter
Beat triggers
BarBeat
Sub-Beats