Pro Tools Reference Guide700
Writing Automation
You can write automation for all automatable
controls by moving those controls during play-
back.
To write automation on tracks:
1 Choose Window > Automation.
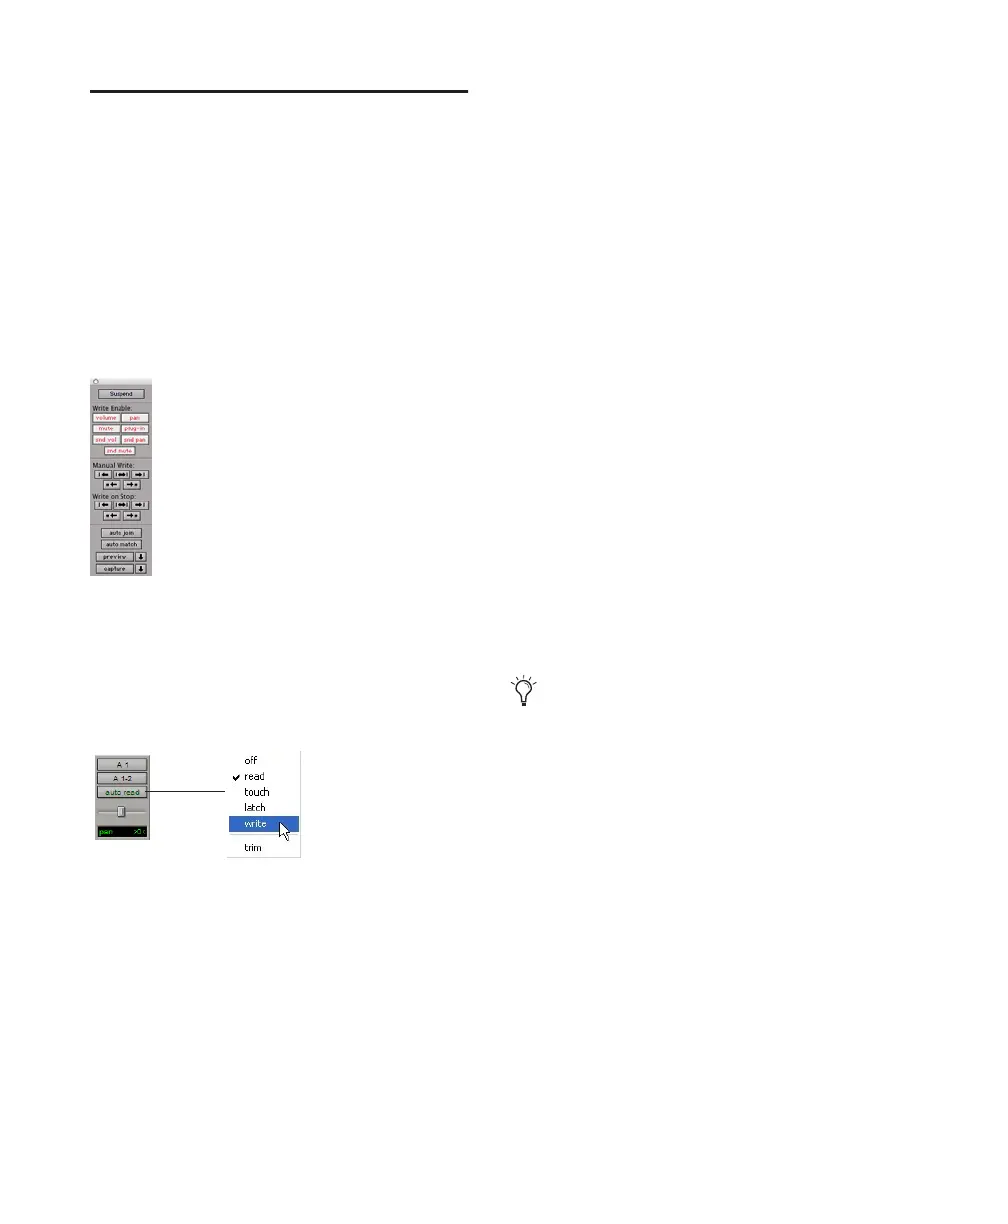
2 Make sure the automation type is write-en-
abled.
3 In the Mix or Edit window, click the Automa-
tion Mode selector on each of the tracks you
want to automate, and set the Automation
mode. For the initial automation pass, choose
Write mode.
4 Click Play to begin writing automation.
5 Move the controls you want to automate.
6 When you have finished, click Stop.
After the first automation pass, you can write
additional automation to the track without
completely erasing the previous pass by choos-
ing Touch mode or Latch mode. These modes
add new automation only when you actually
move a control. (See “Automation Modes” on
page 692.)
To write additional automation to a previous pass:
1 Enable Options > Link Timeline and Edit Se-
lection.
2 In the Edit window, make a selection or place
the cursor in the location where you want to
start writing automation.
3 In the Mix or Edit window, click the Automa-
tion Mode selector on each of the tracks you
want to automate, and set the Automation
mode to Touch or Latch mode.
4 Click Play to begin writing automation.
5 Move the controls you want to automate.
6 When you have finished, click Stop.
Automation window
Setting the Automation mode of a track
If you write automation in Touch mode
with Loop Playback enabled, writing of au-
tomation will automatically stop at the end
of the looped selection. At the beginning of
each successive loop, you can then touch or
move the control again to write new data.