Chapter 18: Editing Basics 343
Avoiding Clicks and Pops
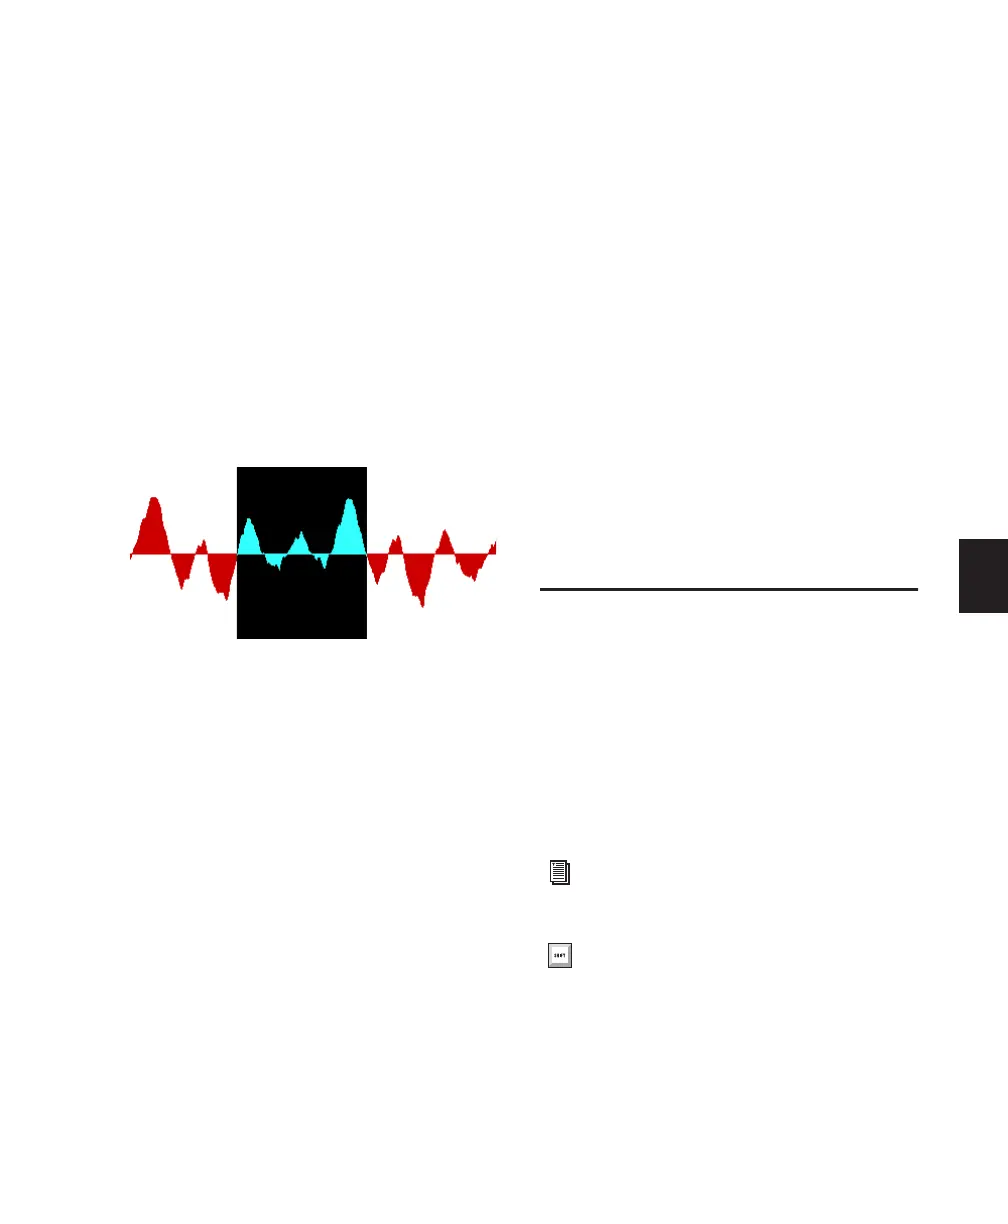
If an edited region begins or ends at a point of
high amplitude, you may hear a click when
Pro Tools plays from one region to another. In
order to avoid clicks or pops do any of the fol-
lowing:
◆ Make sure that the start and end points of
your selection are as close as possible to the
point where the amplitude of the waveform
tapers down to meet the zero-crossing line (the
center line of the track’s waveform display). If
necessary, use the zooming tools in the Edit
window (see “Using the Zoomer Tools” on
page 367) to display waveforms in greater detail.
◆ Apply a crossfade between regions where a
click or pop occurs. See “Creating a Crossfade”
on page 474 for details.
◆ With Pro Tools HD, use the AutoFade feature
to apply real-time fade-ins/outs to all region
boundaries that do not touch or overlap other
regions. See “Using AutoFades” on page 475 for
details.
Nondestructive Audio Editing
When editing an audio track’s playlist in
Pro Tools, you are not actually cutting and mov-
ing pieces of sound as you would if you were
cutting and splicing analog tape. Instead,
Pro Tools creates a map of the audio file on your
hard disk, which describes the order in which to
play the track portions.
When trimming audio regions with any of the
Trim tools, or when editing the placement or or-
der of regions within a track, use multiple play-
lists to easily return to a track’s previous state.
For more information, see “Playlists” on
page 352.
Audio Regions and Automation
Data
Automation data for audio resides in tracks and
not in the Region List. This means that when
you drag an audio region from the Region List to
a new track, no automation data is placed in the
track. However, if you drag an audio region
from an existing track (that contains automa-
tion data) to another track, the automation
from the source track is placed in the destina-
tion track.
MIDI Regions and MIDI Data
The two most common Track Views you will use
for MIDI and Instrument tracks are Notes and
Regions.
Use Notes View for inserting and editing indi-
vidual MIDI notes, and for working with and af-
fecting groups of notes.
Use Regions View for arranging regions.
Selection that begins and ends at zero crossings
For more information on setting Track
View, see “Track View” on page 335.
To toggle the Track View, click in the track
you want to toggle and press Start+Minus
(Windows) or Control+Minus (Mac) on the
QWERTY keyboard.
 Loading...