284 Upgrade and Maintenance Manual
TX150 S8 / TX200 S7
Accessible drives and LSD
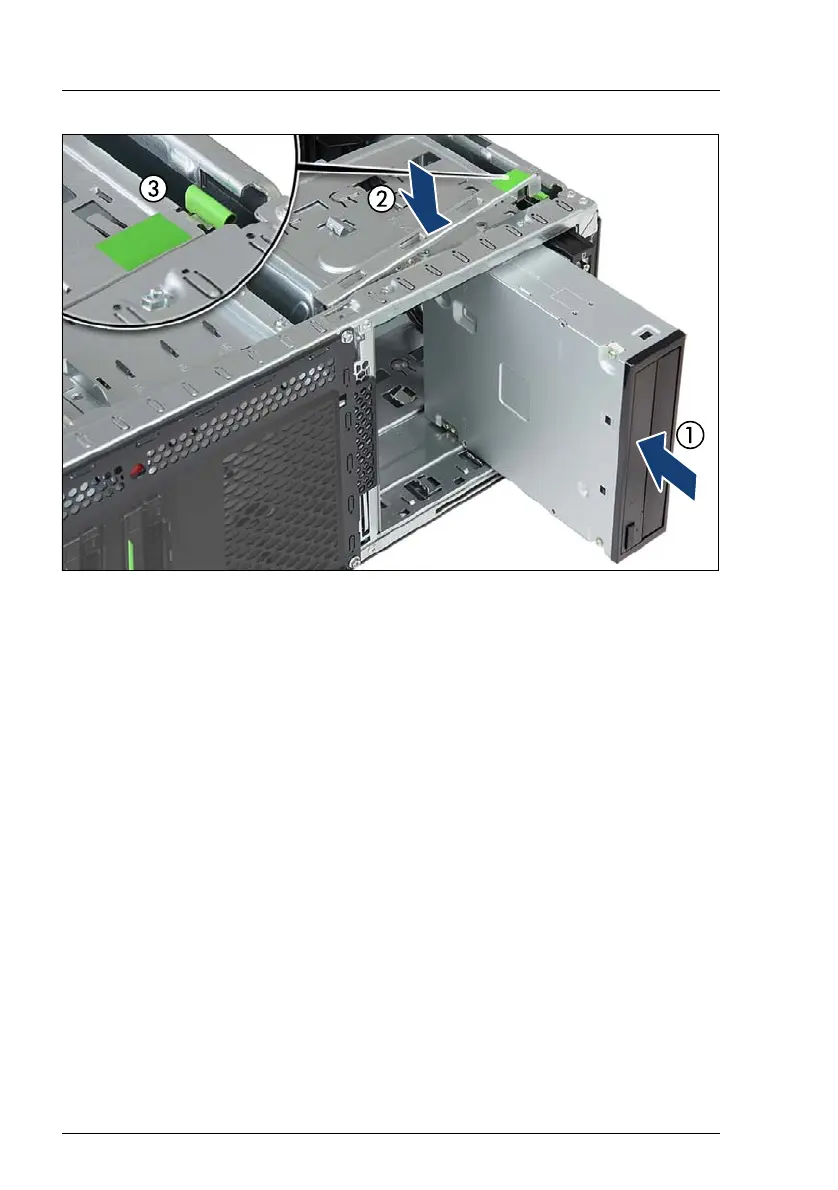
Figure 200: Inserting the accessible drive
Ê Insert the accessible drive into its installation bay and carefully push in until
the front screw hole on the front panel frame lines up with the centering pin
on the locking bar (1).
V CAUTION!
For installing a LTO drive: ensure that the power cables routed behind
the accessible drive cage are not trapped when pushing the LTO
drive in its bay.
Ê Close the locking bar (2) until it locks in place (3).
Ê Connect the cables according to your configuration see section "Cabling
plans" (figure 314 or figure 315).
I Notes on RDX drive USB cabling:
– A USB 2.0 RDX drive may be replaced by a USB 3.0 RDX drive with
previous cabling.
– A USB 3.0 RDX drive may be connected to a USB 2.0 cable with
limited performance.
– A USB 3.0 RDX drive may be connected to an onboard USB 2.0
connector with limited performance.

 Loading...