Service Tests and Utilities
3-6 Designjet Z Series — Service Manual
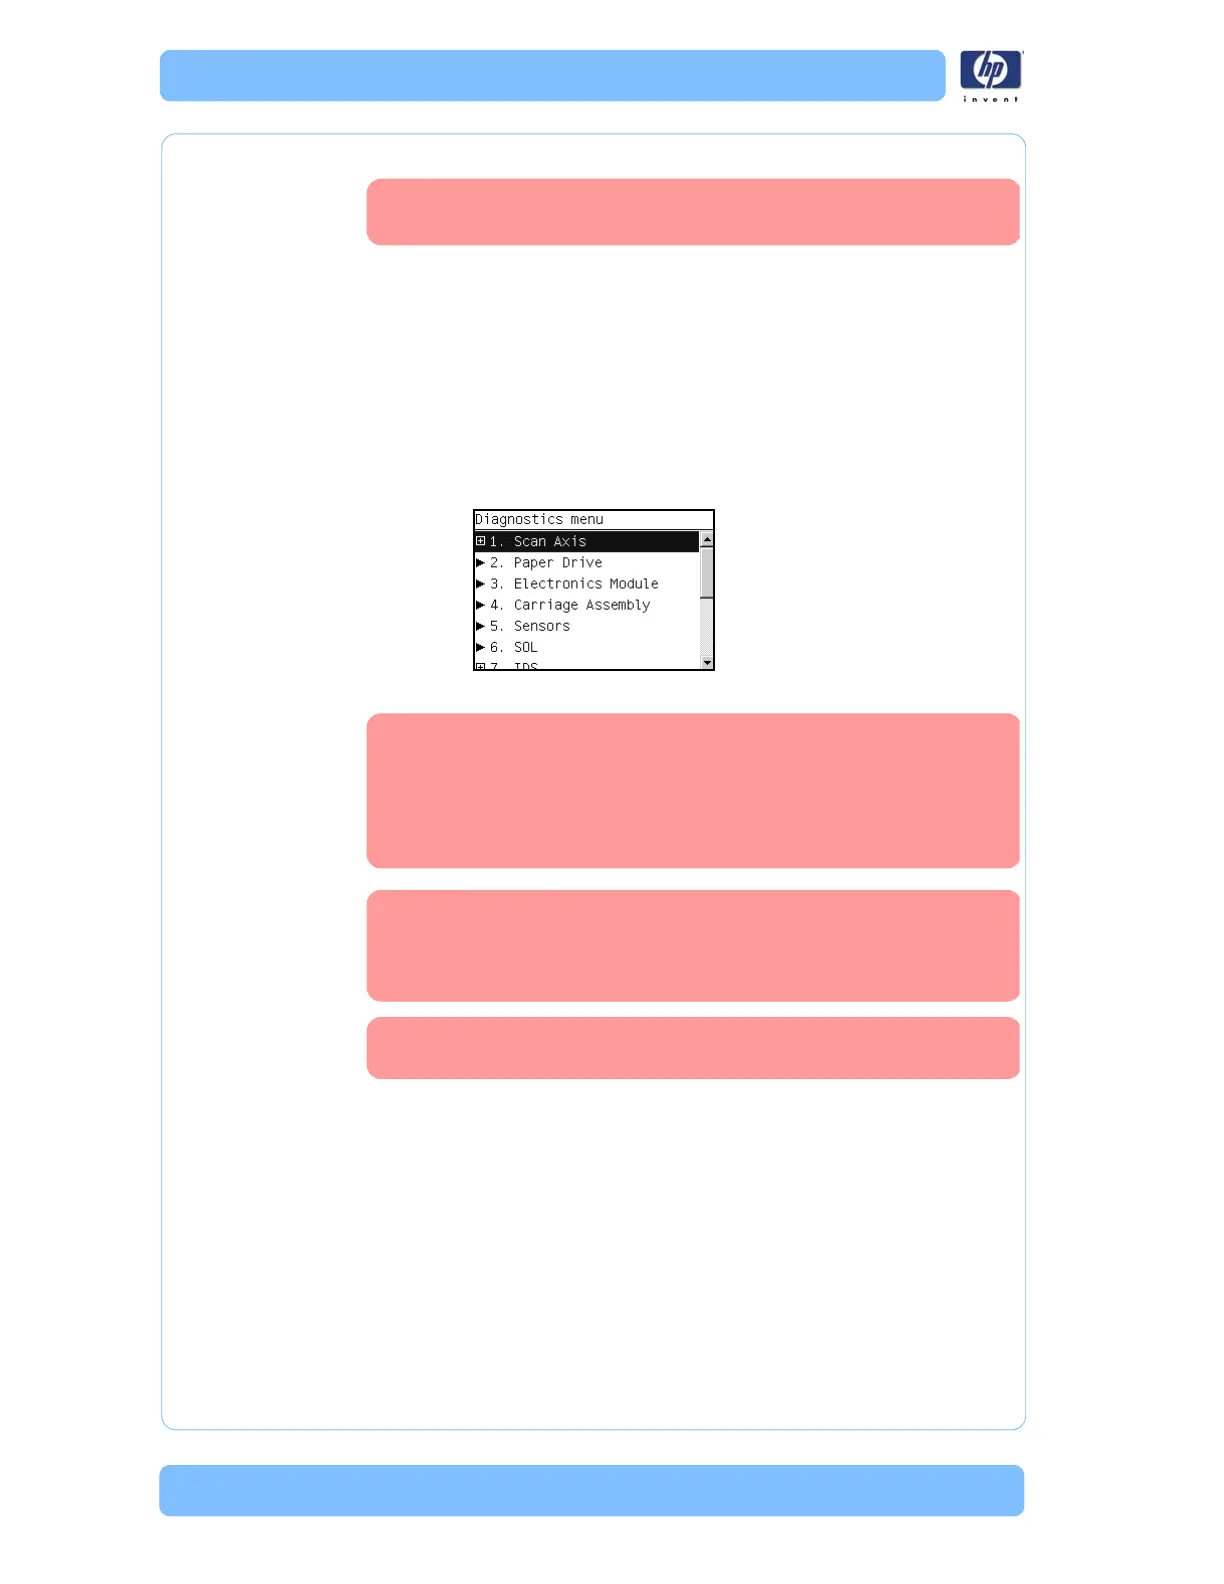
Entering the Diagnostic Tests Menu
1 Make sure the printer is switched OFF from the power switch on the front of
the printer and NOT from the power switch on the back of the printer.
2 For On-Site Engineers, hold the Up arrow key and the OK key down and
switch the printer ON using the front power switch. Wait until the LED of the
power switch stops flashing (usually after 20 seconds) before releasing ALL
three keys.
3 Once inside the Service Tests Menu use the Arrow keys to scroll through the
“diagnostic test” selections. Press the OK key to begin a specific test when
the required diagnostic test is highlighted.
1. S c a n A xi s
The complete Scan Axis test consists of individual tests for the different
components related to the Scan Axis. The subsystem that are included in this
assembly are:
Star Wheel Lifter
Automatic PPS Adjustment.
Scan Axis Servosystem
Cutter
You must perform the Scan-Axis Test after:
In order to enter the Diagnostic Tests Menu, please refer to
the instructions on Page
3-59
.
P
HO
N
E
S
UP
P
O
R
T
O
N
-
S
I
T
E
SU
P
P
O
R
T
The diagnostic tests work in a special Mode which does
NOT require the full Initialization of the Printer. Therefore it
is important that once you have finished with the diagnostic
tests, you MUST power OFF the Printer and Power ON again
before trying to print or before executing another Service
Test.
In some cases a quick press of a button may not be
recognized by the Printer. When pressing a button, be sure
to press it deliberately and all the way to the bottom of its
travel.
If the Printer hangs up during a test, switch the Printer OFF
and restart from step 1.
 Loading...