Designjet Z Series — Service Manual 6-97
Removal and Installation - Trailing Cable (with Carriage PCA Cover)
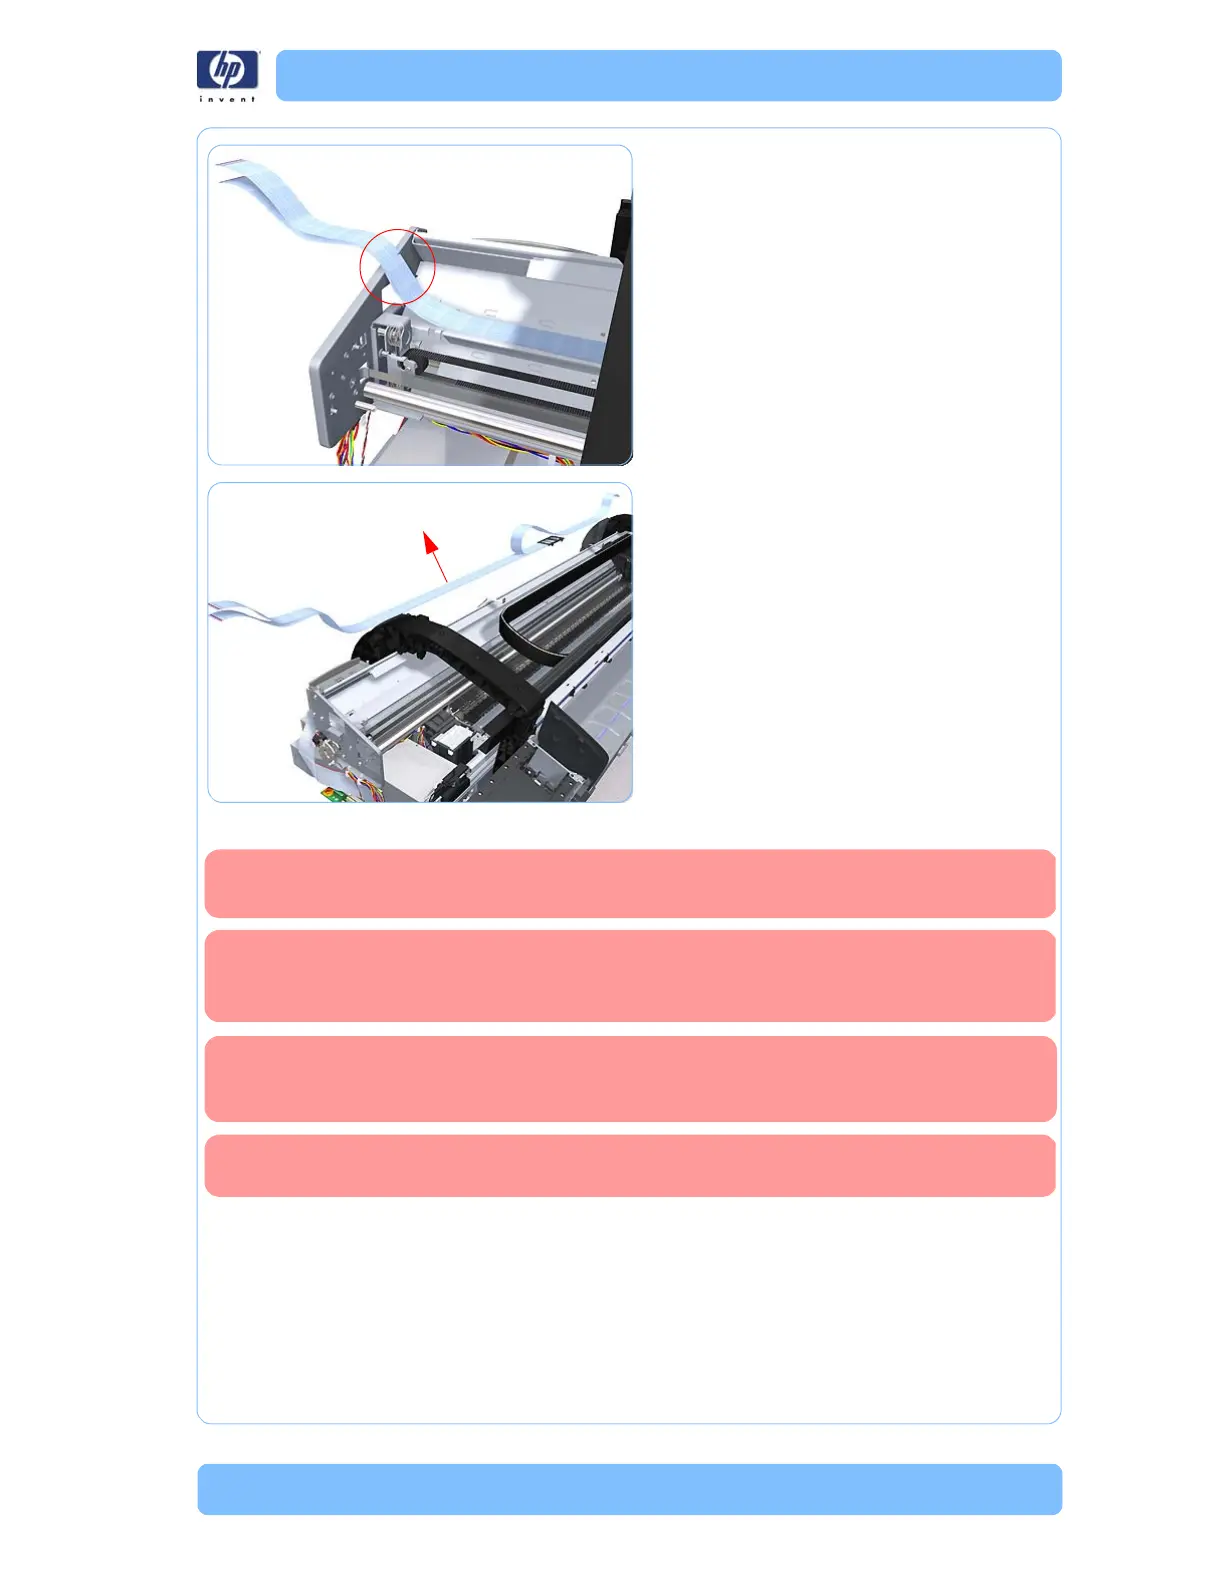
21. Unroute the Trailing Cables.
22. Remove the Trailing Cables from the
printer.
Installation
1. Use an alcohol (from the Lubrification Kit or
Tool Kit) dampened cloth to remove all
traces of residual adhesive (remaining from
the double sided pads removed in step
16 )
from the printer before applying new pads
in the same positions as the original pads.
Make sure to install the new Carriage PCA Cover when you reinstall the
Trailing Cable.
Some printers have clips instead of adhesive pads that attach the Trailing
Cables to the printer. Use the adhesive pads or clips that are included in the
Trailing Cable service kit, replacing the clips or adhesive pads as necessary.
When you finish installing or replacing this component, you must perform the
necessary Service Calibrations. To find which calibrations you must perform,
Refer to page 6-8,
Service Calibration Guide to Removal and Installation
.
Make sure you carry out the following actions during the installation of the
Trailing Cable
 Loading...