6-214 Designjet Z Series — Service Manual
Removal and Installation
Full Bleed Foam
Removal
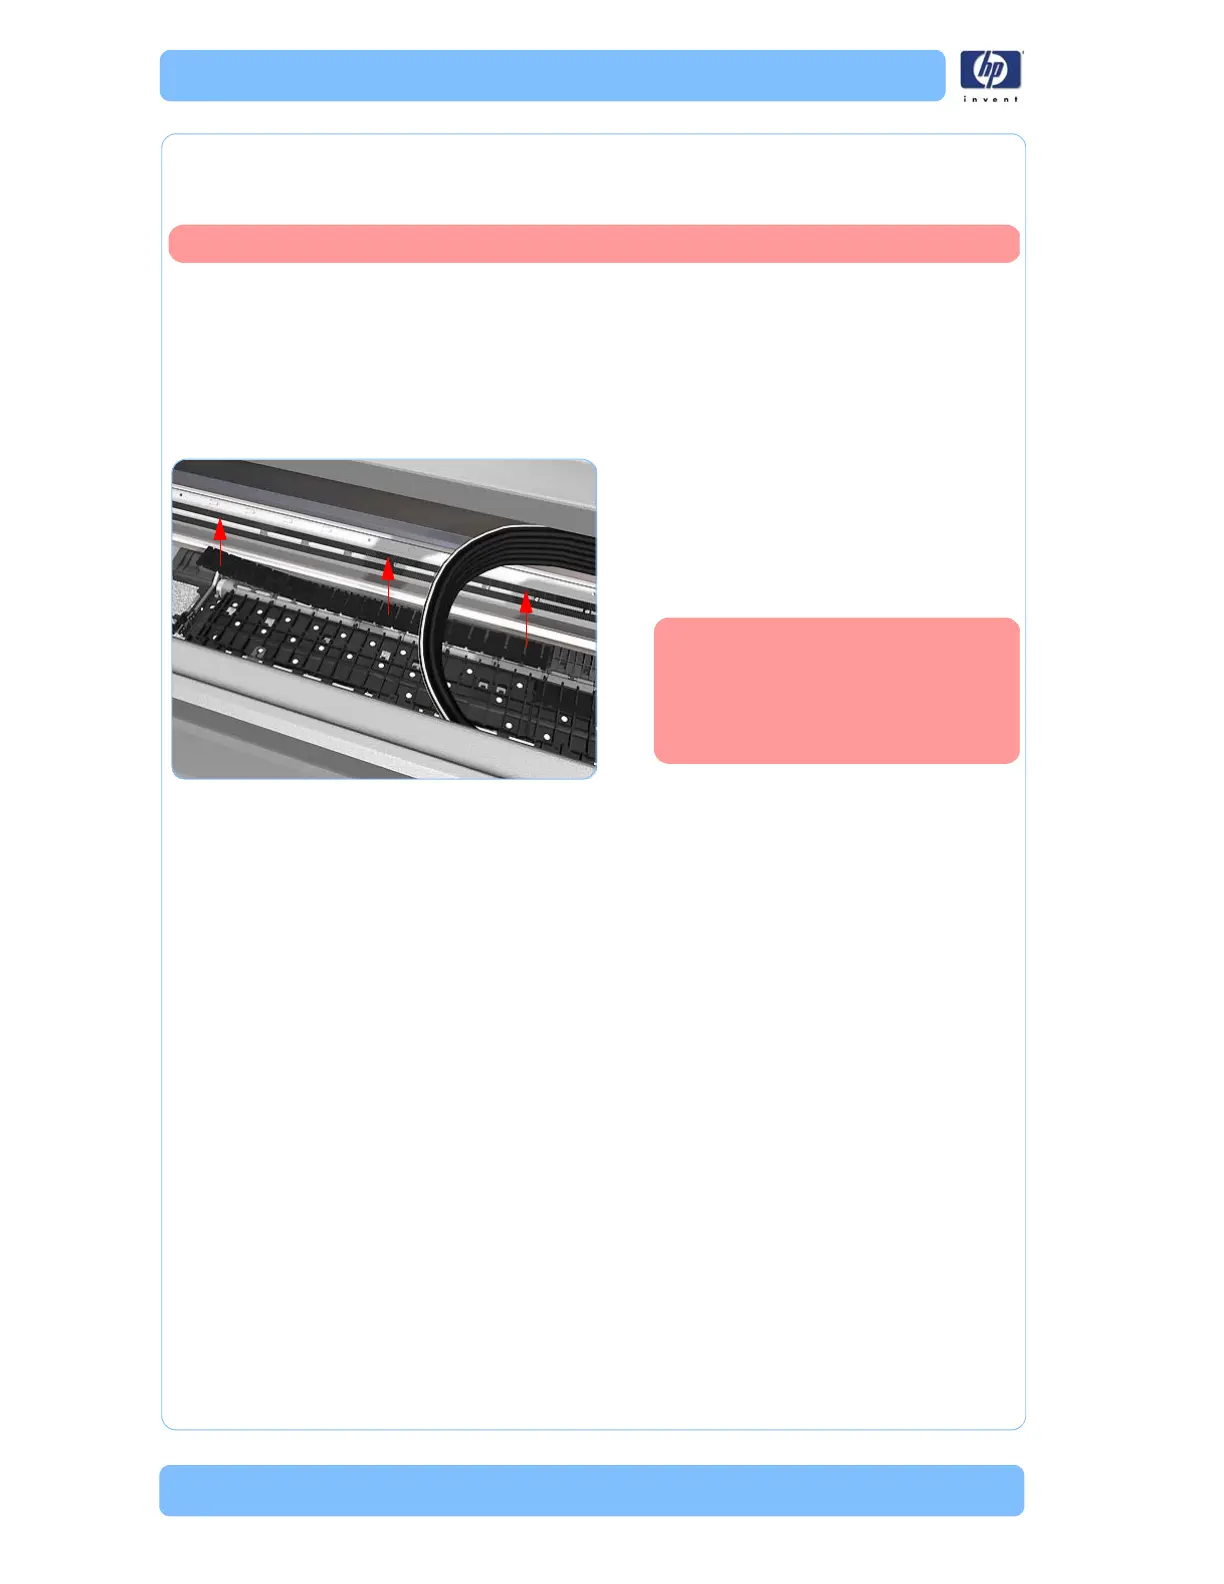
The complete Full Bleed Foam is
constructed of three separate sections,
left, center and right. This procedure
only describes how to remove the left
section. Removal of the other two
sections is identical.
1. Open the Window.
2. Remove the Left Full Bleed Foam from the
left platen.
3. Remove the Platten Middle Foams that are
exposed once the Full Bleed Foam has
been removed.
Switch off the printer and remove the power cable.
When you reinstall the full
bleed foams, take care to
correctly seat them to avoid
possible damage to the
Carriage Assembly
 Loading...