Designjet Z Series — Service Manual 6-21
Removal and Installation - Left Front Trim
Left Front Trim
Removal
1. Remove the Front Cover (refer to page 6-
17 ) .
2. Remove the Media Output Assembly (refer
to page 6-18).
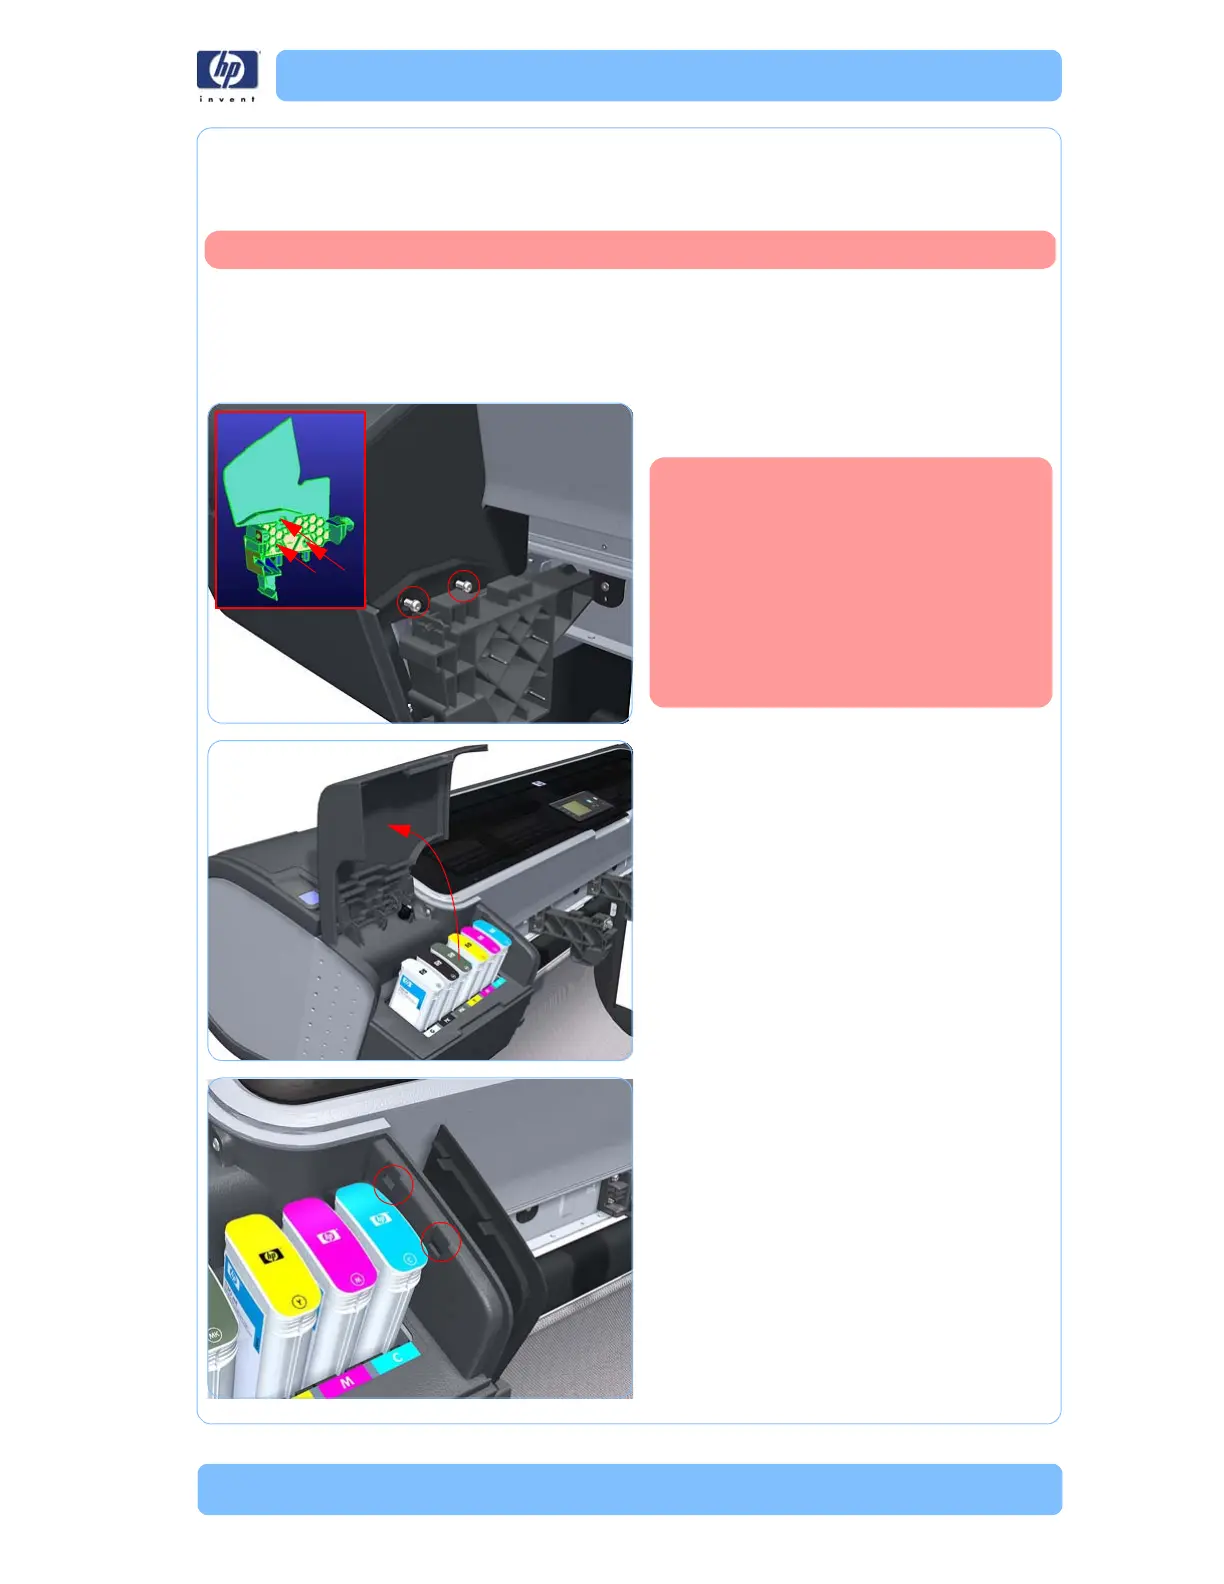
3. Remove two T-15 screws that secure the Left
Front Trim to the printer.
4. Open the Left Ink Cartridge Door.
5. Unclip the Left Front Trim.
Switch off the printer and remove the power cable.
On some printers, the Left Front
Trim is integrated with the Output
Support. In this case, you need to
remove three screws that secure
the Left Front Trim to the printer
(shown in the small graphic on the
left). Once you have removed the
three screws, you are free to
remove the Left Front Trim from the
printer.
 Loading...