6-92 Designjet Z Series — Service Manual
Removal and Installation
Trailing Cable (with Carriage PCA Cover)
Removal
1. Remove the Left Cover (refer to page 6-30).
2. Remove the Right Cover (refer to page 6-
27).
3. Remove the Front Panel (refer to page 6-
48).
4. Remove the Top Cover (refer to page 6-51).
5. Remove the Window Position Sensor (refer
to page 6-54).
6. Remove the Ink Supply Tubes Support Rail
(refer to page 6-56).
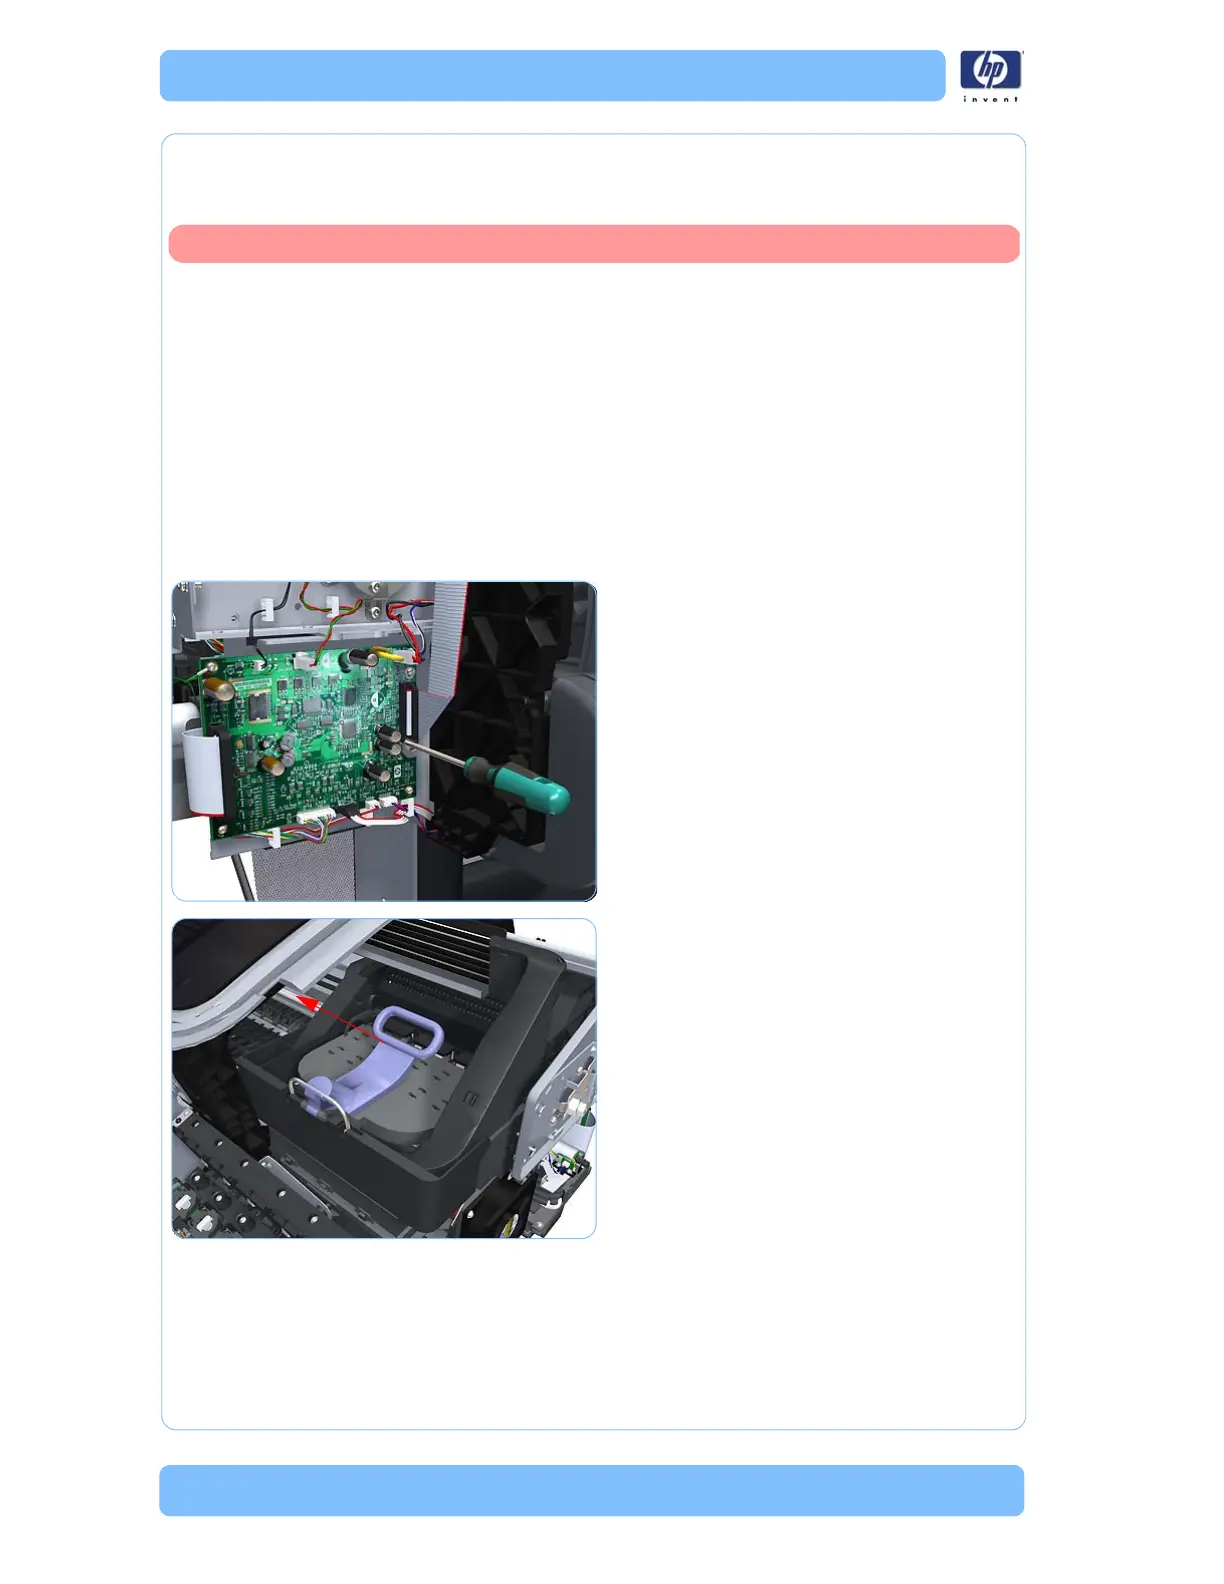
7. Loosen the T-10 uncapping screw
sufficiently so you can manually move the
Carriage Assembly in step
8.
8. Push the Carriage Assembly into the print
path.
Switch off the printer and remove the power cable.
 Loading...