Designjet Z Series — Service Manual 1-22
The Service Image Quality Diagnostic Print
Considerations for Printing the Diagnostic Print
1 The IQ Diagnostic Print prints in A3 and B sizes so you must have media
loaded (roll or sheet) that is this size or larger.
2 Use the same type of media that the customer was using when they found
the image quality problem.
3 If the customer is using non-HP media and after the Image Quality Test you
still have the same image quality problems, change to genuine HP media
and repeat the Image Quality Test.
4 If you do not see any problems with the Image Quality Test, the problem
may not be with the printer itself. The problem may be with the RIP or the
driver.
If you do see problems with the Image Quality Test, continue with the
Advanced Diagnostic procedures which will help you diagnose the problem.
Printing the Diagnostic Print
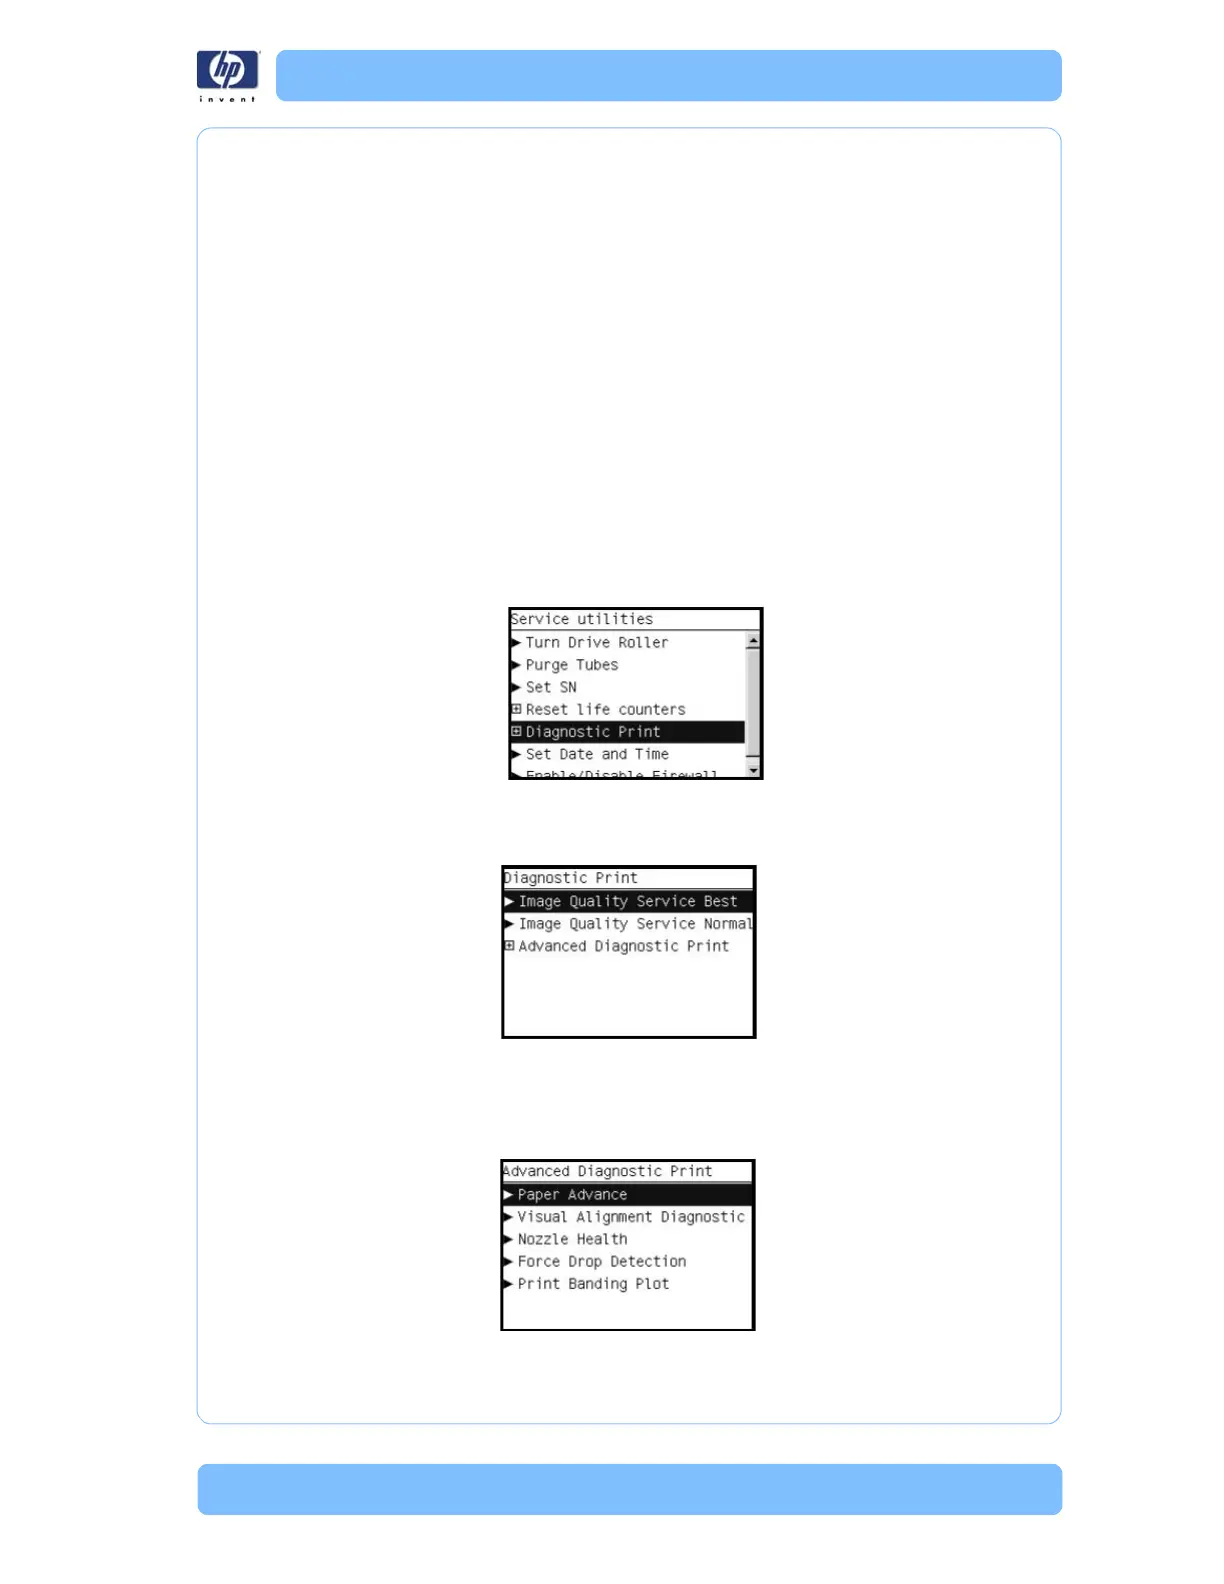
1 In the Service Utilities submenu, scroll to “Diagnostic Print” and press OK.
2 You will be given three options. Use the Arrow keys to make the selection
and press the OK key to start printing the required Diagnostic Print or to
enter the Advanced Diagnostics menu.
3 If you selected the Advanced Diagnostics Prints in the previous step, use the
Arrow keys to make the required selection Paper Advance, Visual
Alignment Diagnostic, Nozzle Health, Force Drop Detection or Print Banding
Plot, and press the Enter key to start printing.
 Loading...