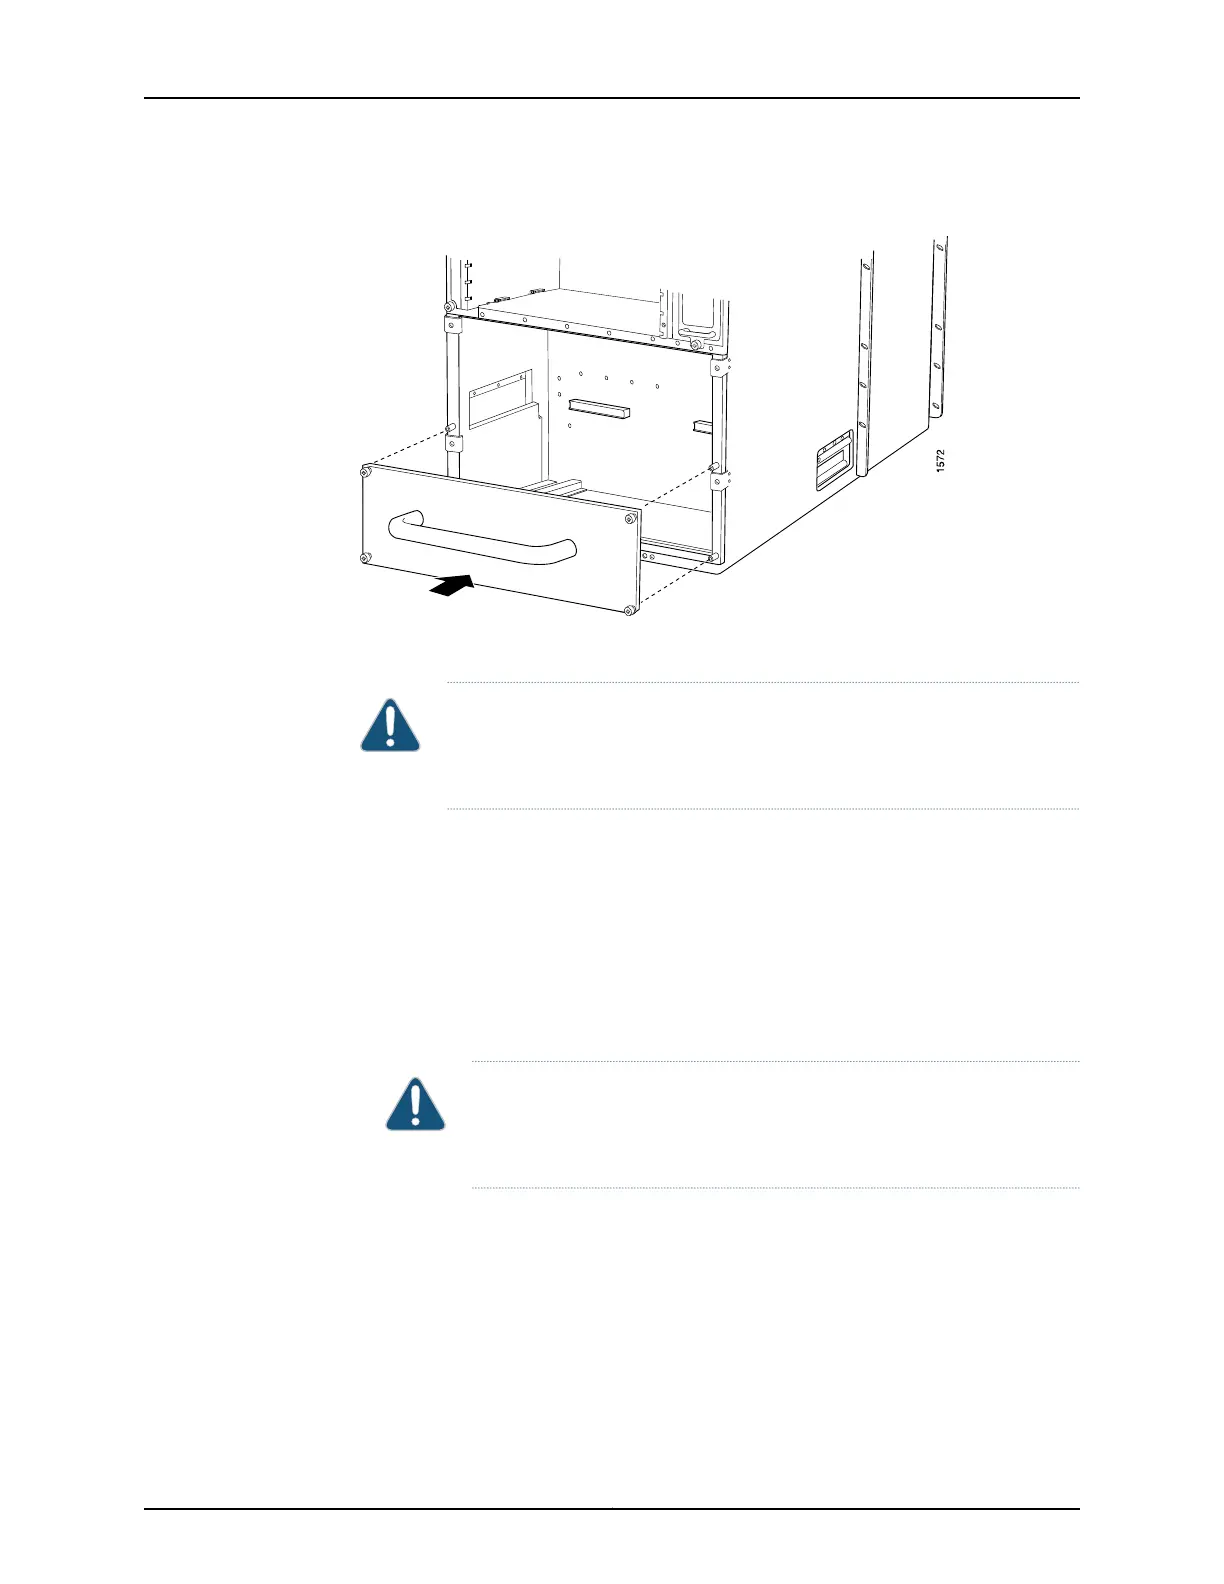
Figure 65: Attaching the Installation Handle
Mounting the T640 Chassis Using a Mechanical Lift
CAUTION: Before front-mounting the router in a rack, have a qualified
technician verify that the rack is strong enough to support the router's weight
and is adequately supported at the installation site.
To install the T640 router using a lift (see Figure 67 on page 176):
1. If you are installing the router in an open-frame rack, ensure that the rack is in its
permanent location and is secured to the building. Ensure that the installation site
allows adequate clearance for both airflow and maintenance. For details, see “T640
Clearance Requirements for Airflow and Hardware Maintenance” on page 122.
2. Load the router onto the lift, making sure it rests securely on the lift platform (see
Figure 66 on page 175).
CAUTION: Do not lift the router using the installation handle, or the
handles on the sides of the chassis. Use these handles onlyto help position
the router.
3. Using the lift, position the router in front of the rack or cabinet, centering it in front of
the mounting shelves.
4. Lift the chassis approximately 0.75 in. above the surface of the mounting shelves and
position it as close as possible to the shelves.
173Copyright © 2017, Juniper Networks, Inc.
Chapter 18: Installing the T640 Router With a Mechanical Lift

 Loading...


