4. Insert the blade of a flat-blade screwdriver into the slot on the other side of the craft
interface, and then gently pry that side out from the chassis.
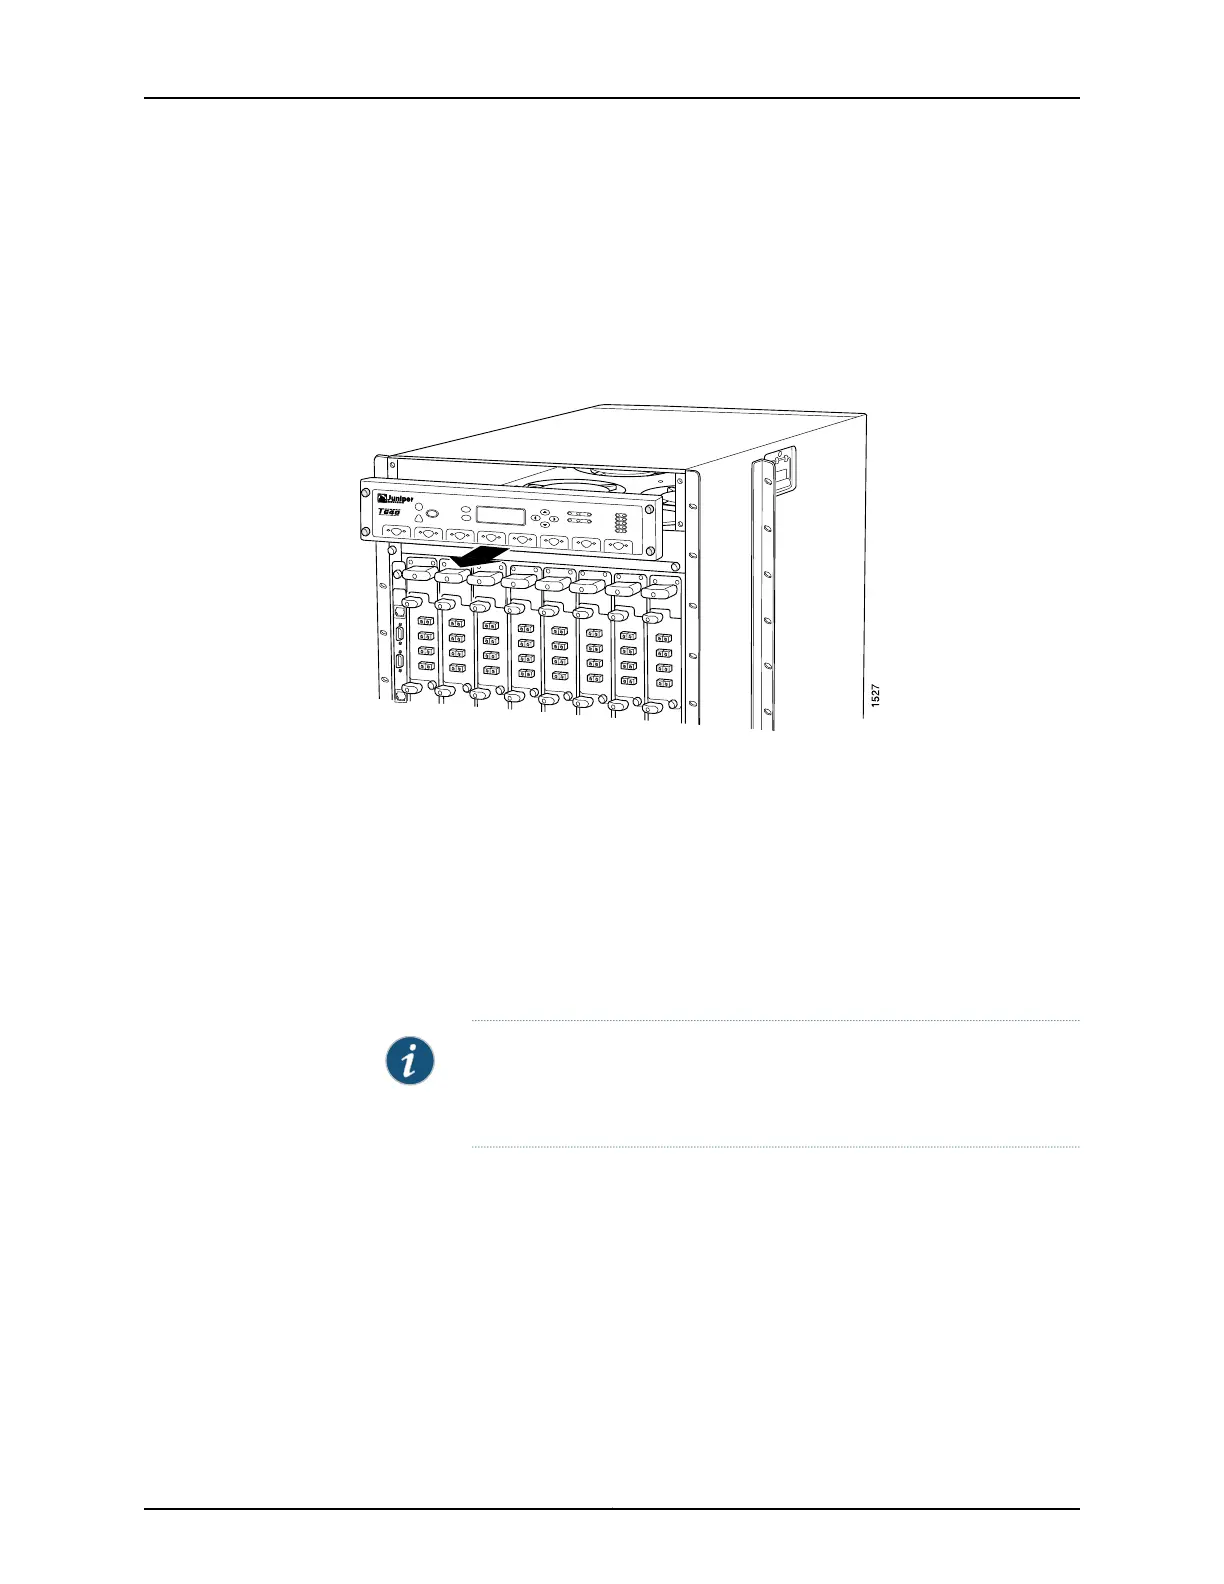
5. Grasp the craft interface by the top and bottom edges, and carefully pull it straight
out of the chassis.
Figure 115: Removing a Craft Interface
Installing a T640 Craft Interface
To install the craft interface (see Figure 116 on page 267):
1. Attach an electrostatic discharge (ESD) grounding strap to your bare wrist, and connect
the strap to one of the ESD points on the chassis.
2. Grasping the craft interface by the top and bottom edges, press it into place.
3. Tighten the screws at the corners of the craft interface.
NOTE: When you install the craft interface in an operating router, allow
several minutes for the LEDs on the craft interface to reflect the current
state of the router.
After you install the replacement craft interface, immediately reinstall the upper front
fan tray.
Copyright © 2017, Juniper Networks, Inc.266
T640 Core Router Hardware Guide

 Loading...


