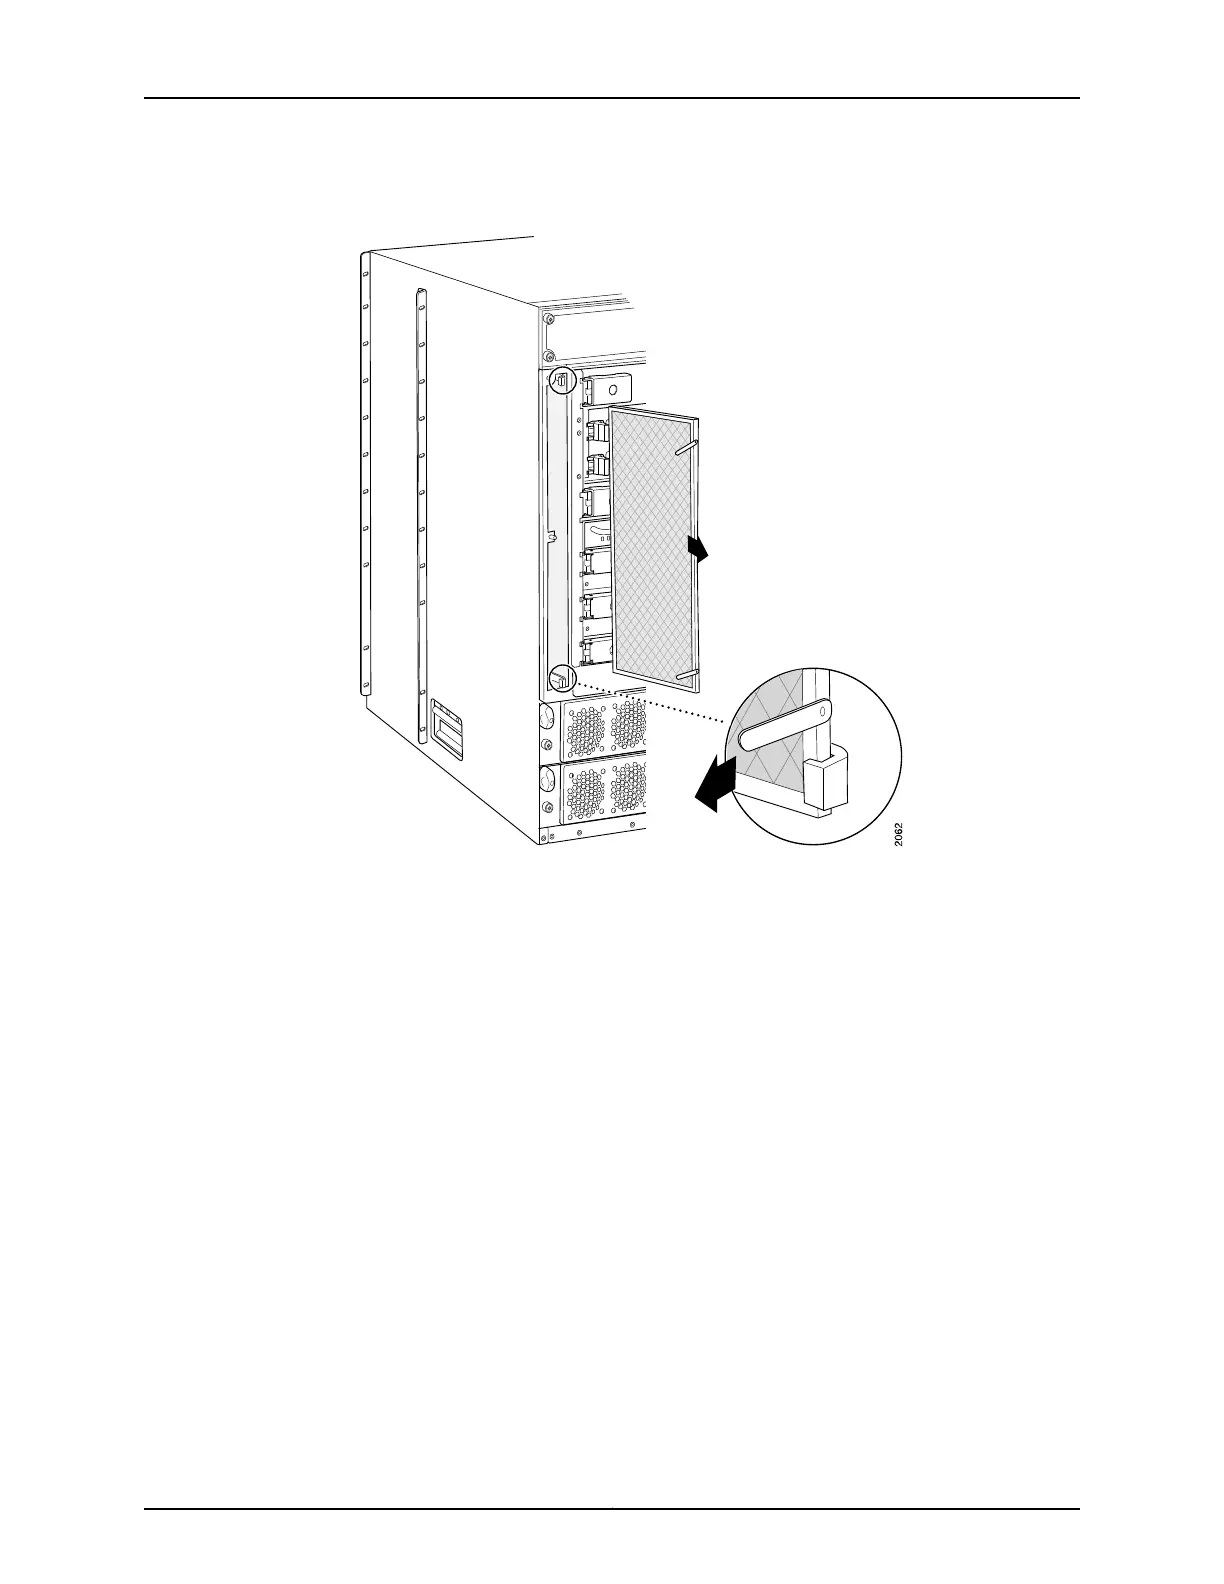
Figure 128: Removing the Rear Air Filter Element
Installing a Rear T640 Air Filter
To install the rear air filter (see Figure 129 on page 286):
1. Attach an electrostatic discharge (ESD) grounding strap to your bare wrist, and connect
the strap to one of the ESD points on the chassis.
2. Holding the filter by the tabs, carefully push the filter all the way into the air filter slot.
3. Holding the filter all the way in, push it to the right side of the slot until it is held in
place behind the hooks.
4. Move the tabs to a vertical position.
5. Place the right edge of the honeycomb against the flange of the air filter slot.
6. Line up the holes at the top, center, and bottom of the honeycomb with the pins in
the slot, and press the honeycomb into place.
285Copyright © 2017, Juniper Networks, Inc.
Chapter 26: Replacing Cooling System Components

 Loading...


