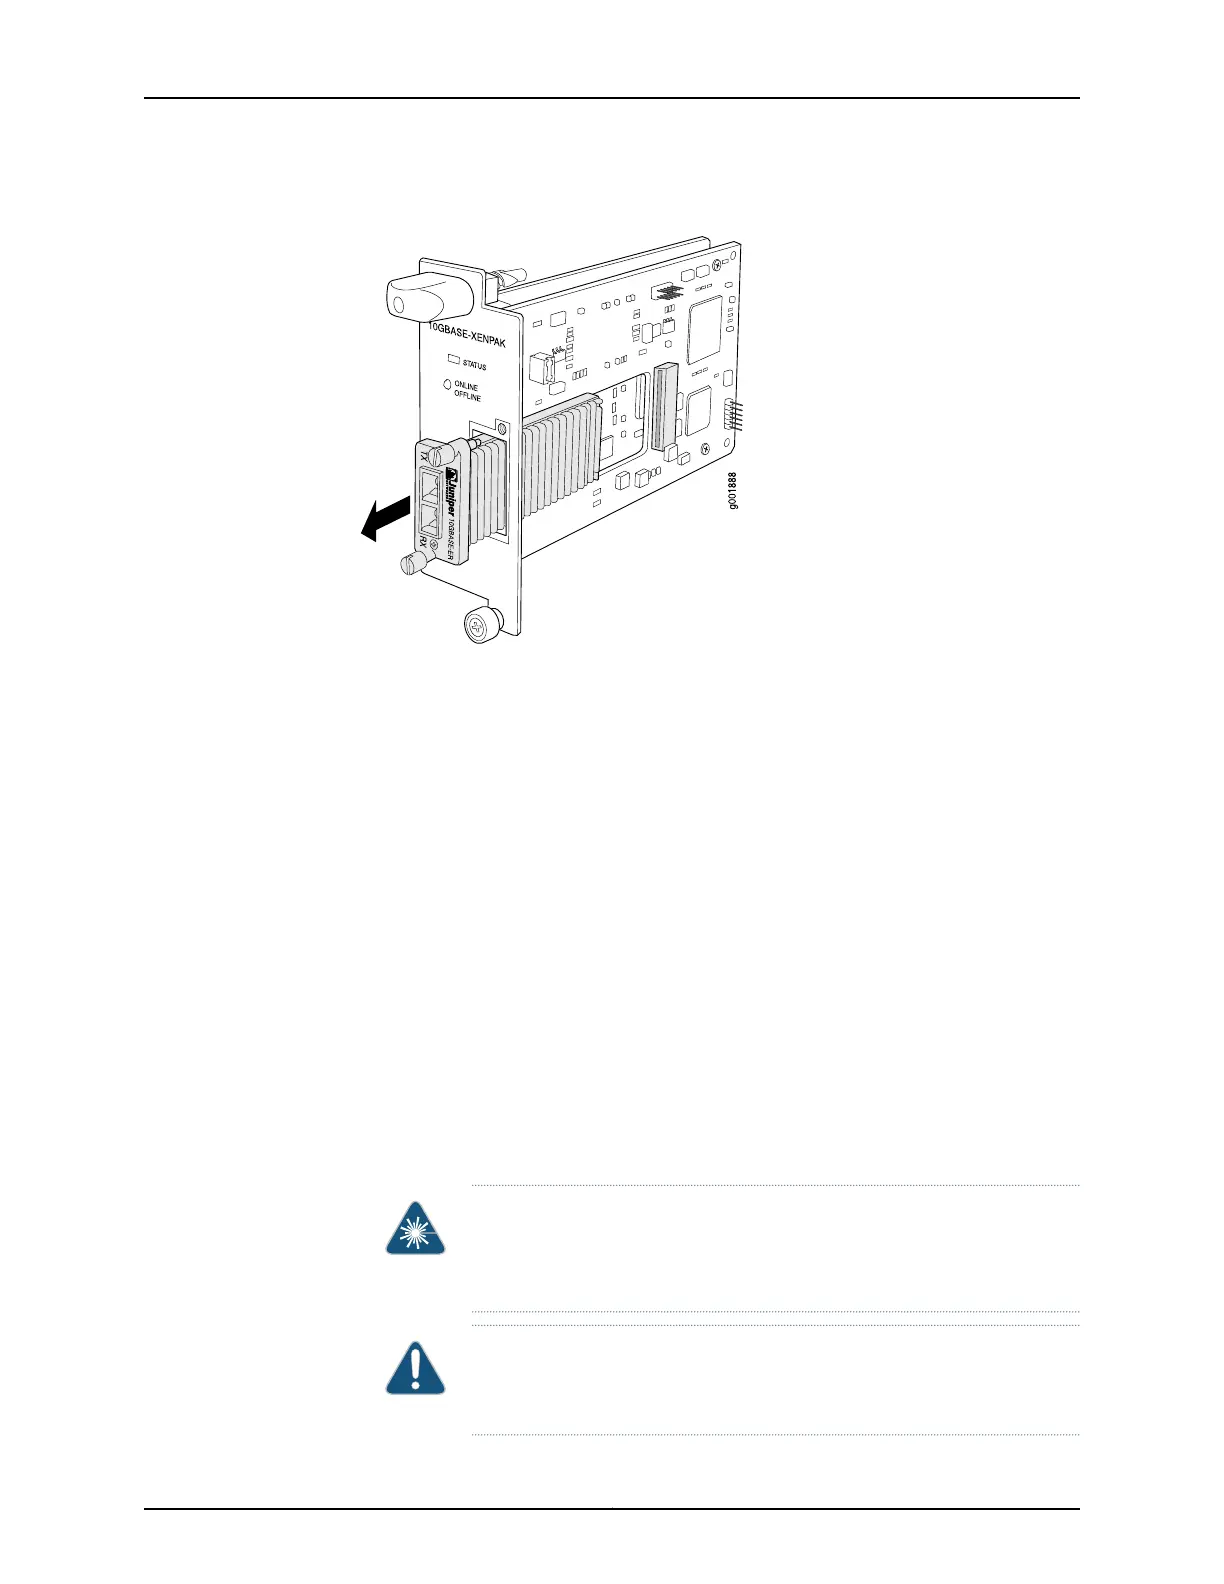
Figure 230: Removing a XENPAK Module
Installing a T640 XENPAK Module
To install a replacement XENPAK module (see Figure 231 on page 437):
1. Attach an electrostatic discharge (ESD) grounding strap to your bare wrist, and connect
the strap to one of the ESD points on the chassis.
2. Verify that a rubber safety cap covers the XENPAK transceiver. Install one if necessary.
3. Orient the XENPAK module so that the optical port faces out, and the transmit (TX)
port is above the receive (RX) port (see Figure 231 on page 437).
4. Slide the XENPAK module into the slot.
5. Tighten the thumbscrews at the top and bottom of the XENPAK module. Verify that
the module is seated properly.
6. Remove the rubber safety cap from the transceiver and the end of the cable. Insert
the cable into the transceiver.
WARNING: Do not look directly into a fiber-optic transceiver or into the
ends of fiber-optic cables. Fiber-optic transceivers and fiber-optic cable
connected to a transceiver emit laser light that can damage your eyes.
CAUTION: Do not leave a fiber-optic transceiver uncovered except when
inserting or removing cable. The safety cap keeps the port clean and
prevents accidental exposure to laser light.
Copyright © 2017, Juniper Networks, Inc.436
T640 Core Router Hardware Guide

 Loading...


