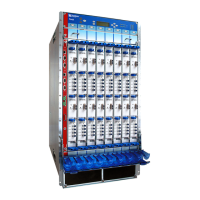
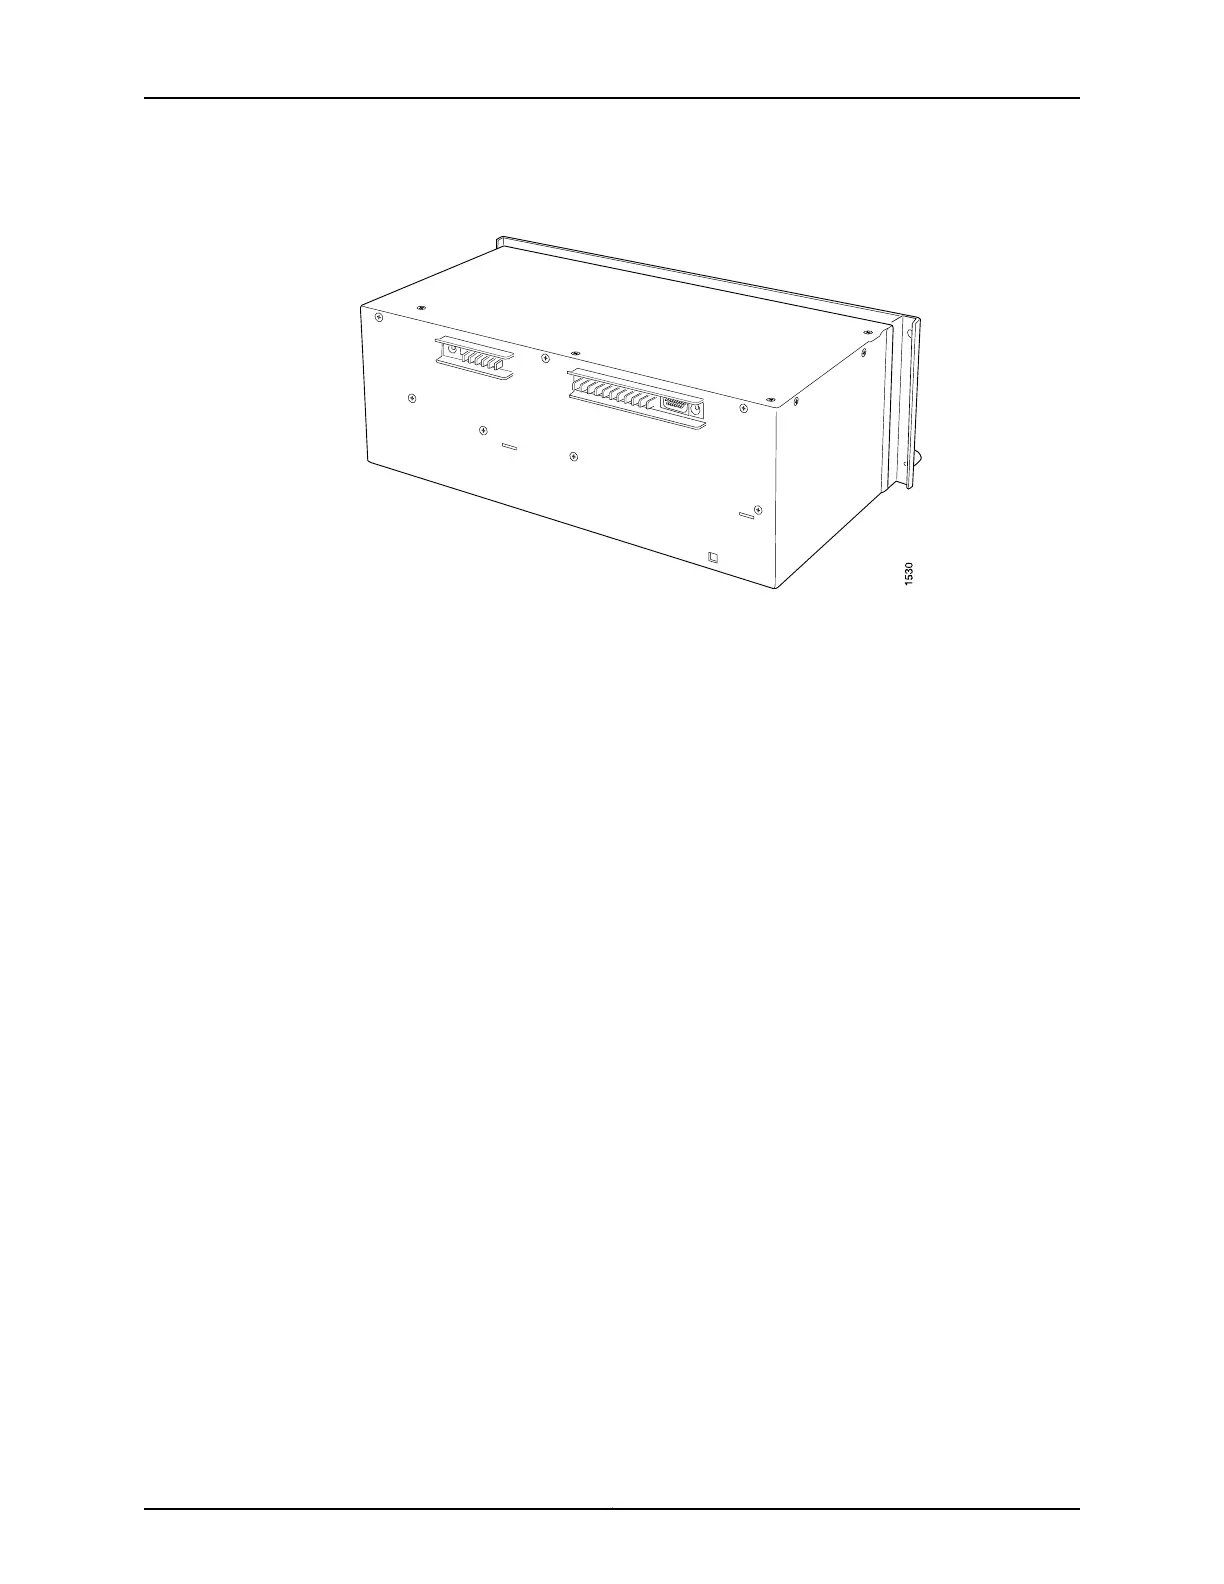
Figure 212: Rear of the Power Supply Showing Midplane Connectors
Installing a T640 Three-Phase Delta AC Power Supply
Each three-phase delta AC power supply weighs approximately 31.0 lb (14.06 kg). To
install a three-phase delta AC power supply:
1. Make sure that the voltage across the AC power source cord leads is 0 V and that
there is no chance that the cord might become active during installation.
2. Attach an electrostatic discharge (ESD) grounding strap to your bare wrist, and connect
the strap to one of the ESD points on the chassis.
3. Switch the power switch on the power supply faceplate to the standby position.
4. Using both hands, slide the power supply into the chassis until you feel resistance
(see Figure 214 on page 404).
5. Twist the ejector handles at the upper corners of the power supply faceplate clockwise
until they stop.
6. Tighten the captive screws at the lower corners of the power supply faceplate to
secure the power supply in the chassis.
7. Using a number 2 Phillips (+) screwdriver, loosen the two screws on the door of the
metal wiring compartment that protects the AC terminal block.
8. Open the door of the metal wiring compartment.
9. Unscrew the retaining nut from the AC power cord.
Copyright © 2017, Juniper Networks, Inc.400
T640 Core Router Hardware Guide

 Loading...