5. Remove the cover from the Routing Engine slots.
CAUTION: Do not remove the cover if any of the LEDs on the Routing
Engine faceplate are lit.
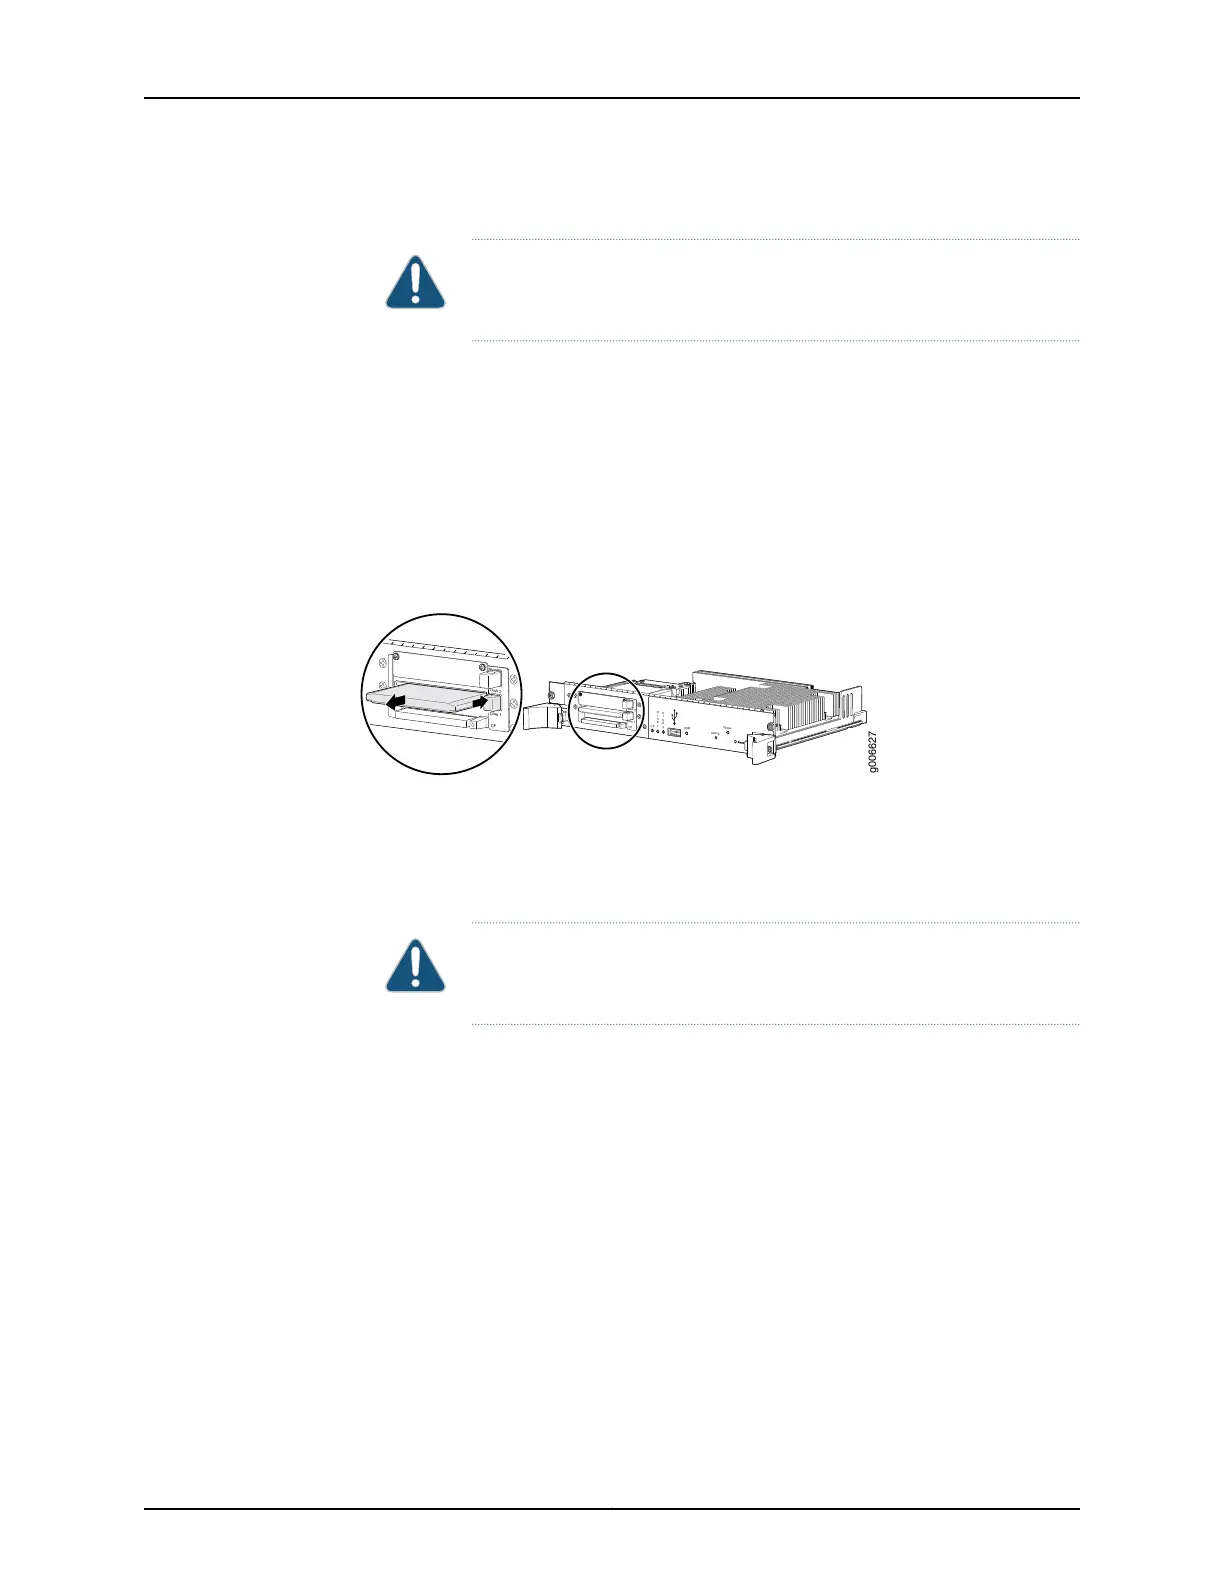
6. Press the eject button on the right side of the DISK1 slot to release the SSD.
7. The SSD pops partially out of the slot. Grasp the SSD and carefully slide it completely
out of the slot.
8. Place the SSD on the antistatic mat.
Figure 162: Removing an SSD
g006627
CF
Disk 2
Disk 1
D
I
S
K
1
D
I
S
K
2
CF
USB
Offline
Online
Disk 2
Disk 1
CF
Installing a Solid-State Disk in a T640 RE-C1800 Routing Engine
To install an SSD in a Routing Engine (see Figure 163 on page 330):
1. Insert the SSD into the DISK1 slot on the Routing Engine, with the logo facing down.
CAUTION: Be sure to insert the SSD with the label facing down. Inserting
the SSD incorrectly might damage the Routing Engine.
2. Slide the SSD into the slot until you feel resistance, carefully ensuring that it is correctly
aligned.
3. Reinstall the Routing Engine cover. Using a Phillips (+) screwdriver, number 2, tighten
the screws on the corners of the cover to secure it to the Routing Engine .
4. From the master Routing Engine, power on the Routing Engine. For a standalone router,
issue the request system power-on other-routing-engine command.
329Copyright © 2017, Juniper Networks, Inc.
Chapter 27: Replacing Host Subsystem Components

 Loading...


